
Equator 2WD V6-4.0L (2009)
Wheel Speed Sensor: Service and Repair
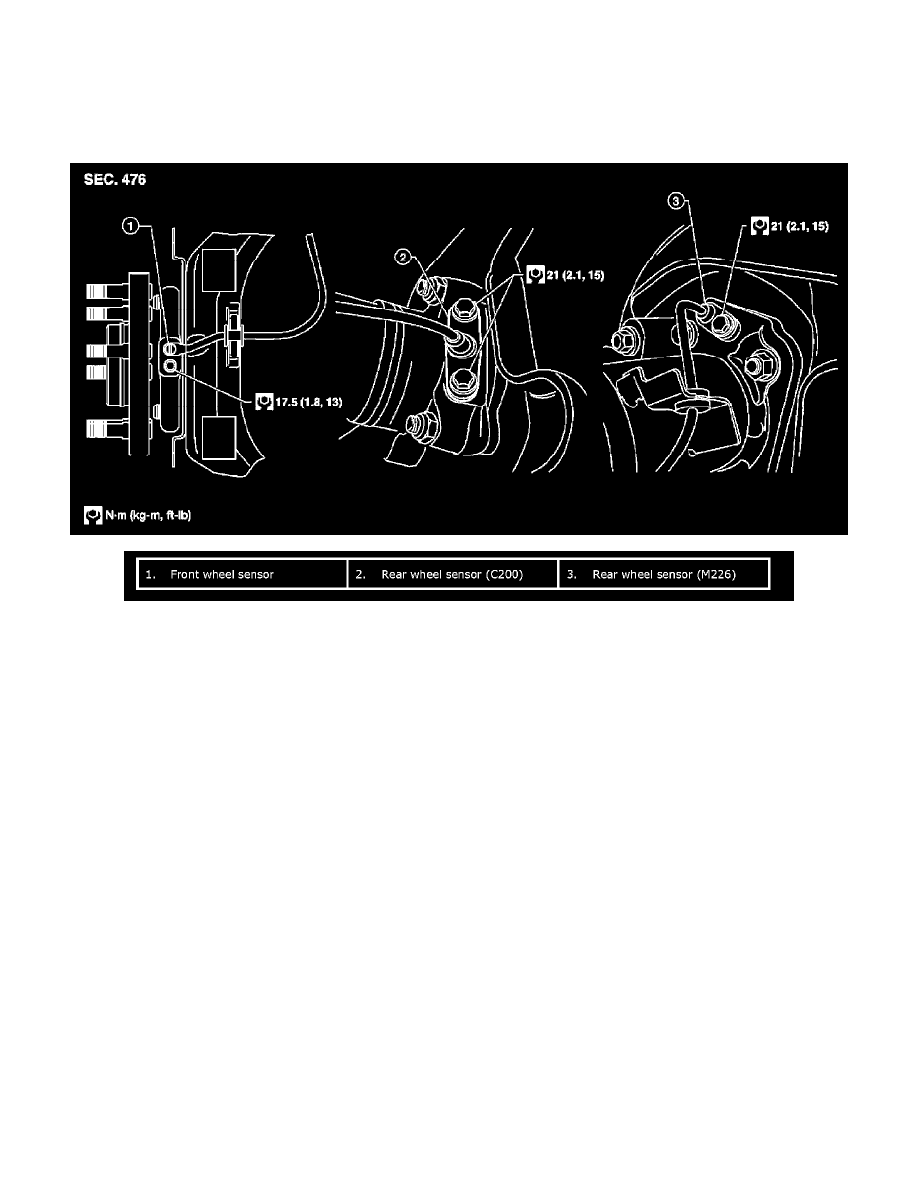
Type 2 (ABLS/ABS)
Wheel Sensor: Removal and Installation
Wheel Sensor: Removal and Installation
REMOVAL
1) Remove the wheel sensor bolt(s).
^
When removing the front wheel sensor, first remove the disc rotor to gain access to the front wheel sensor.
2) Pull the wheel sensor straight out, being careful to turn it as little as possible.
CAUTION:
^
Be careful not to damage the wheel sensor edge and sensor rotor teeth.
^
Do not pull on the wheel sensor harness.
3) Disconnect the wheel sensor harness connector, then remove wheel sensor harness from the mounts to remove the wheel sensor.
INSTALLATION
Installation is in the reverse order of removal.
^
Before installing the wheel sensors do the following:
-
Inspect and replace the wheel sensor if damaged.
-
Clean the wheel sensor hole and mating surface with brake cleaner and a lint-free cloth. Be careful that dirt and debris do not enter the hub and
bearing assembly or the rear axle.
-
Replace the wheel sensor O-ring, then apply a coat of suitable grease to the new O-ring and sensor hole for installation.
Sensor Rotor: Removal and Installation
Sensor Rotor: Removal and Installation
FRONT
Removal and Installation
The wheel sensor rotors are built into the wheel hubs and are not removable. If damaged, replace wheel hub and bearing assembly.
REAR (C200)
Removal and Installation
It is necessary to disassemble the rear axle to replace the sensor rotor. Perform the axle shaft assembly removal procedure to replace sensor rotor.