Equator 2WD V6-4.0L (2009)

Fluid Pan: Service and Repair
Oil Pan: Removal and Installation
REMOVAL AND INSTALLATION
Removal
1) Drain A/T fluid.
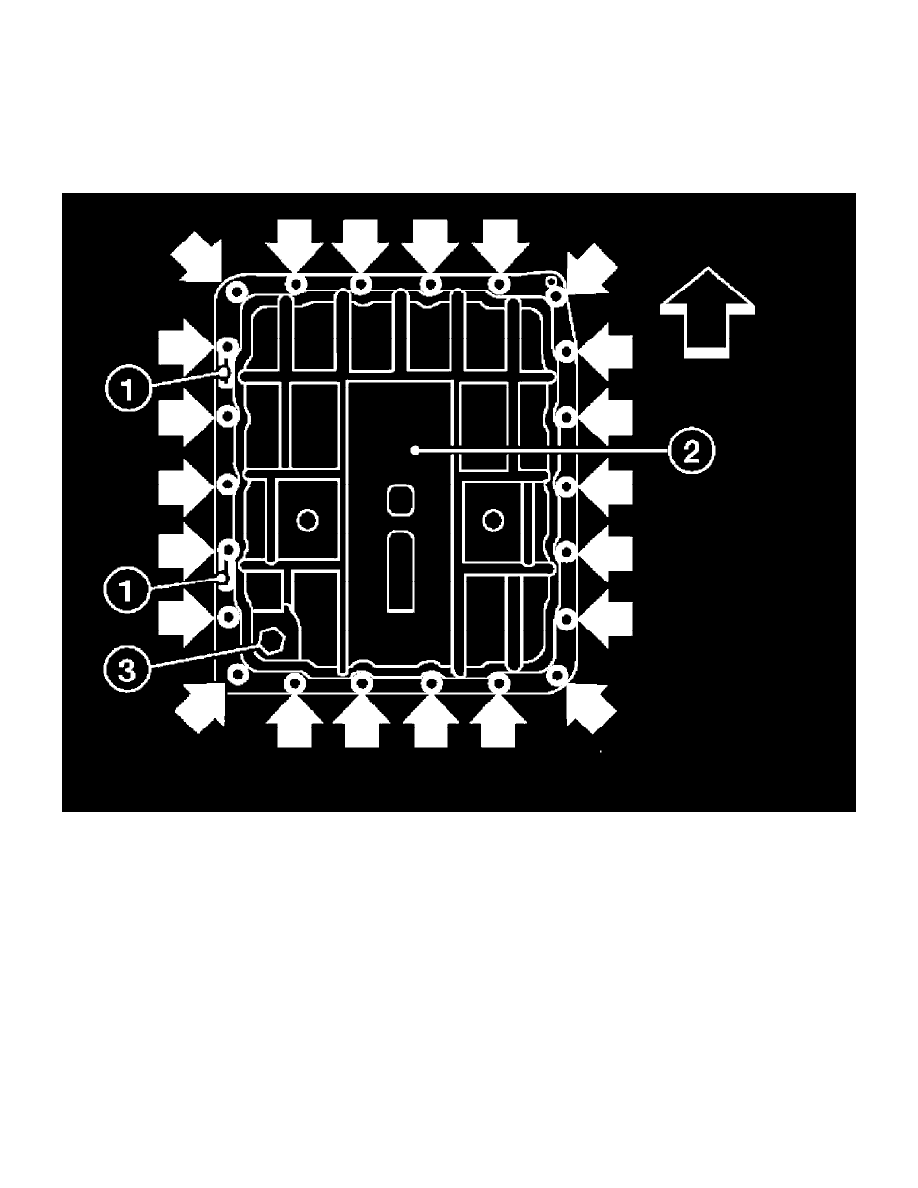
2) Remove oil pan clips (1).
3) Remove oil pan (2).
4) Remove oil pan gasket.
^
=> Vehicle front
^
-> Oil pan bolts
^
Drain plug (3)
5) Check for foreign materials in oil pan to help determine cause of malfunction. If the A/T fluid is very dark, has some burned smell, or contains
foreign particles then friction material (clutches, band) may need replacement. A tacky film that will not wipe clean indicates varnish build up.
Varnish can cause valves, servo, and clutches to stick and can inhibit pump pressure.
CAUTION:
If friction material is detected, flush the transmission cooler after repair.
6) Remove magnets from oil pan.
