
Esteem GL Wagon L4-1.8L (1999)
Hydraulic Hose: Service and Repair
REMOVAL
NOTE: Do not allow fluid to get on painted surface.
1. Remove dust and dirt from each joint of hose and pipe to be disconnected and clean around reservoir cap.
2. Take out fluid with syringe or such.
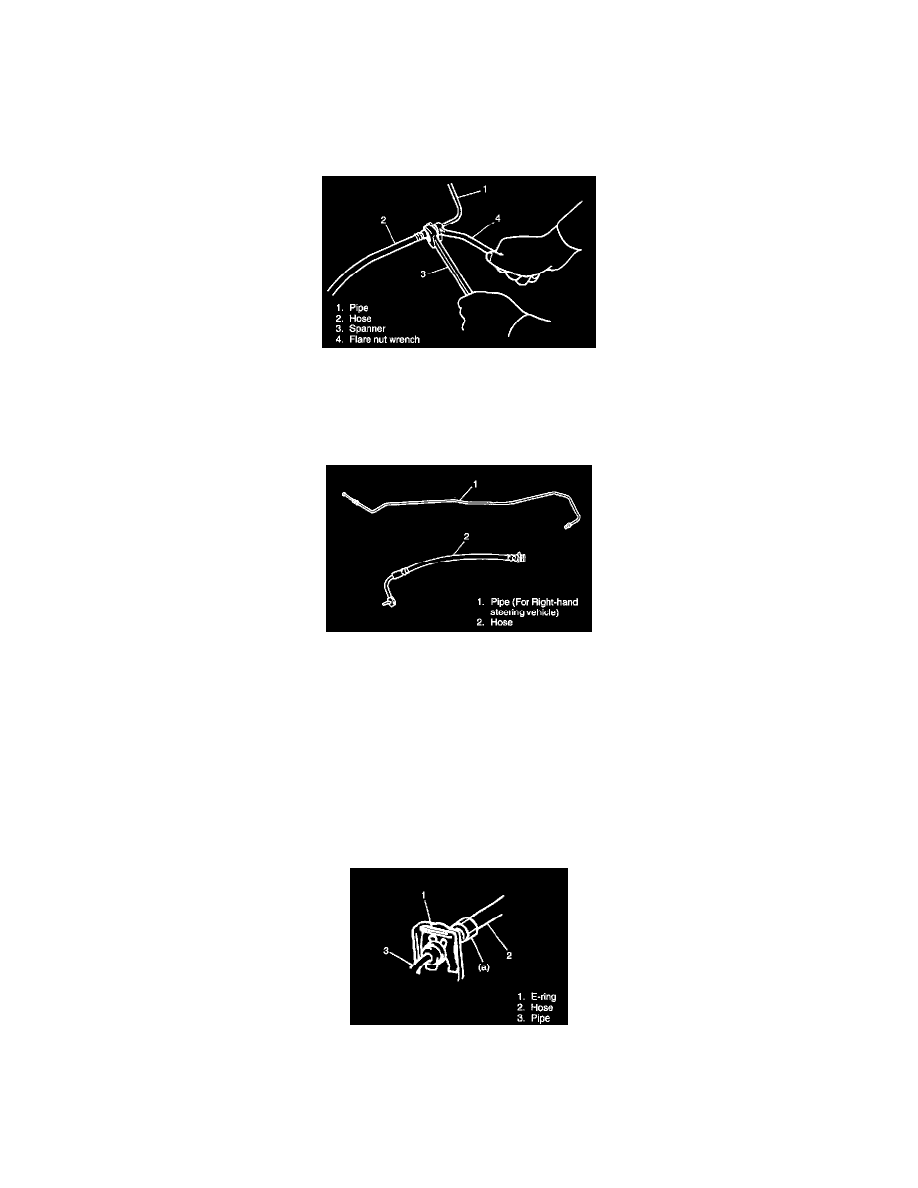
3. Disconnect fluid pipe from hose.
NOTE: To disconnect pipe from hose, separate them by using flare nut wrench and spanner so as not to kink them.
INSPECTION
Check pipe and hose for dent, kink, crack, dirt and dust.
Replace if check result is not satisfactory.
INSTALLATION
Reverse removal sequence noting following points.
NOTE:
-
For air bleeding of master cylinder alone, it must be removed from vehicle body.
-
Do not allow fluid to get on painted surface.
-
Do not allow pipe and hose to contact hard against vehicle body or other parts.
-
Install each clamp securely.
-
For installation angle of each hose, refer to previous figure of pipe and hose locations.
-
Install E-ring securely as shown in figure.
Tightening Torque
(a): 16 Nm (1.6 kg.m, 11.5 ft. lbs.)
-
After installation, check clutch pedal free travel and bleed air from system.
-
Check fluid leakage.
-
Add fluid close to MAX level of reservoir.