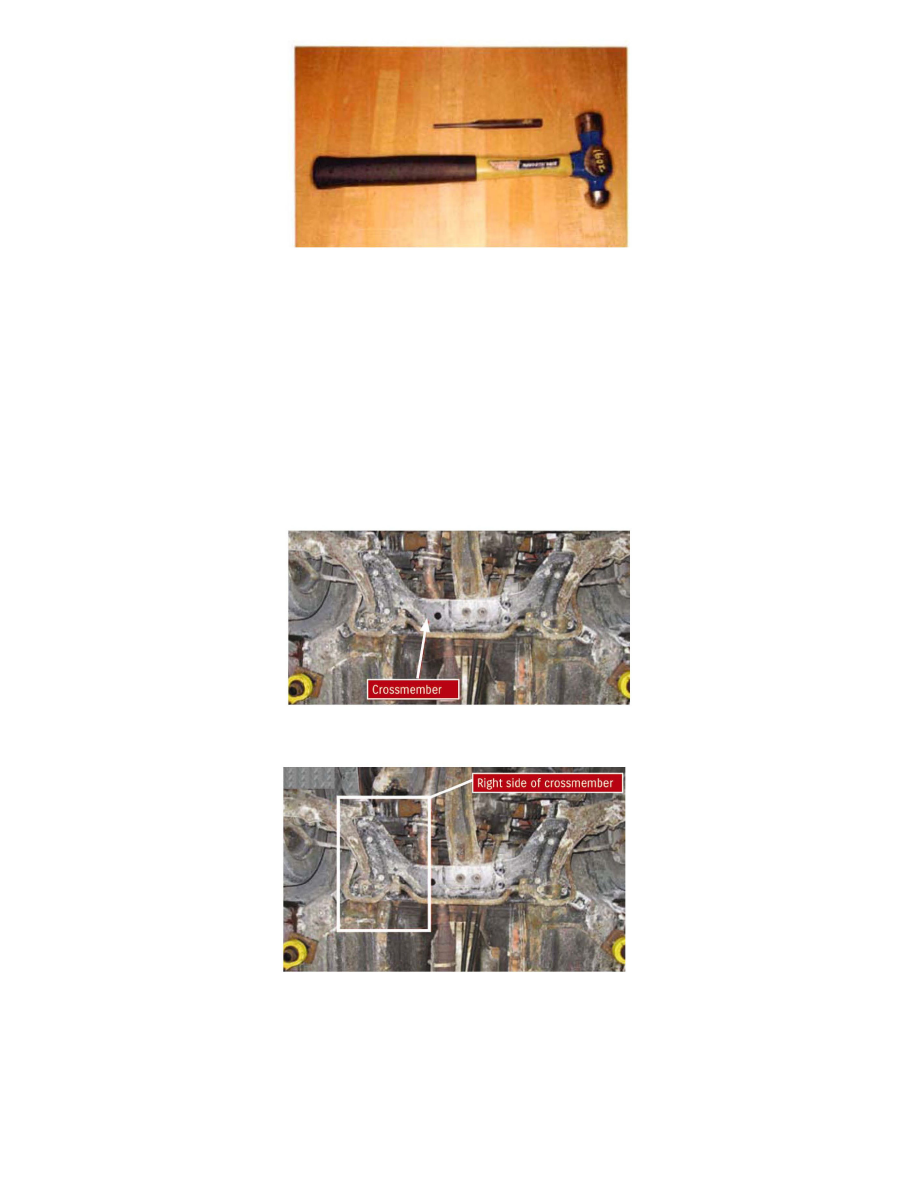
Esteem GLX Wagon L4-1.8L (1999)

Required Tools:
12-16 oz. Hammer
3/16 in. Flat Tip Punch
1. Check vehicle history for any warranty claim(s) for inspection or replacement of the front cross-member. If an inspection or replacement has been
performed within the last 12 months, inspection claims will not be paid.
2. If the customer states the vehicle has symptoms that could possibly be caused by a weakening of the cross-member or related parts, an inspection and
replacement may be necessary. In this case, a claim will be paid and the campaign will be closed for the vehicle. After the cross-member has been
replaced no further inspections are required.
3. Raise the vehicle securely on vehicle lift.
4. Visually inspect the cross-member for perforation caused by corrosion. Replace the cross-member if perforation is identified.
5. If no perforation is identified visually, continue the inspection.
6. Begin on the right side of the cross-member and using a 3/16 in. Flat Tip Punch and striking it with a 10-12 inch swing of a 12-16 oz Hammer, check
the integrity of the cross-member at the locations described in the following steps. Replace the cross-member if the metal becomes perforated or
displays a significant dent during the test.
