
Esteem GLX Wagon L4-1.8L (1999)
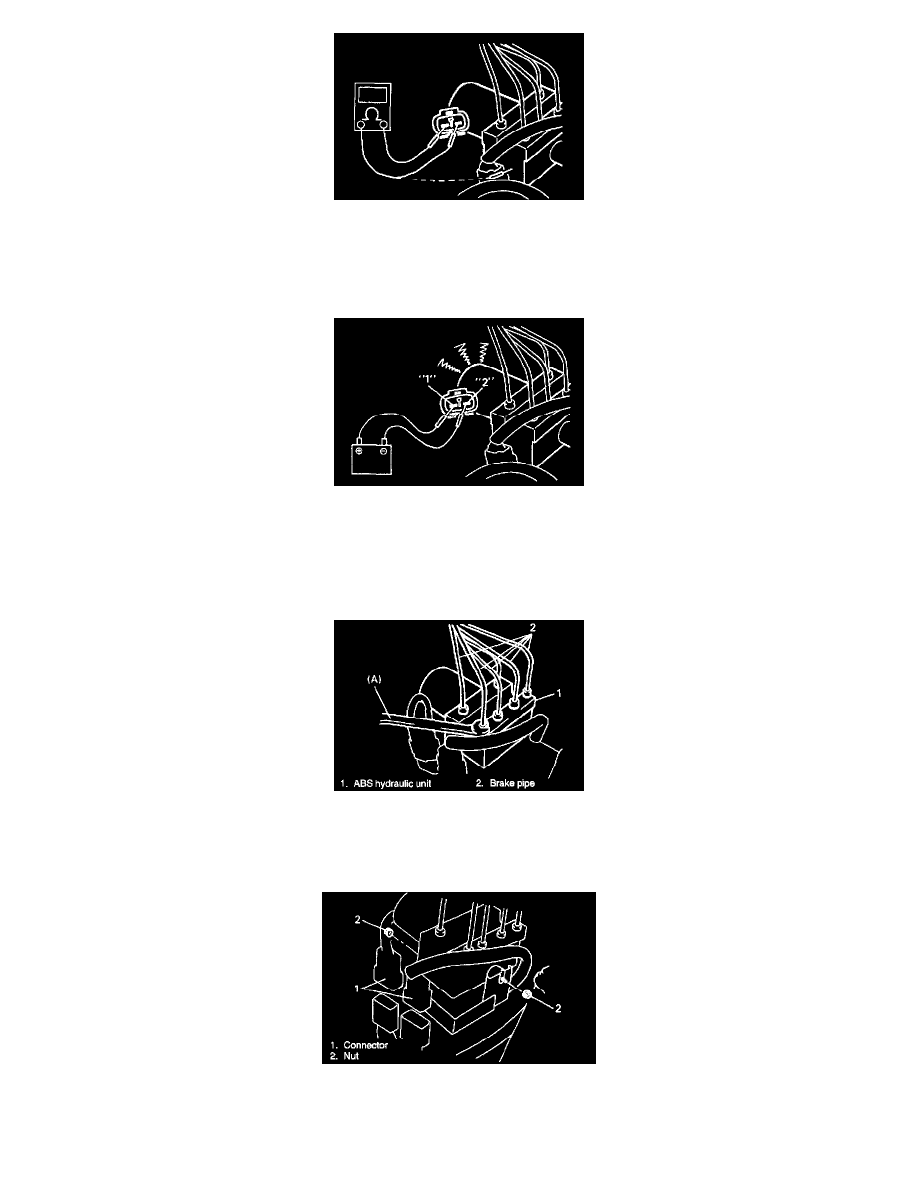
1. Turn ignition switch "OFF".
2. Disconnect motor connector.
3. Check motor for resistance.
Between motor terminals: Less than 1 Ohms at 20°C (68°F)
Between terminal and motor body: 1 M Ohms or more
4. Connect 12 V battery positive terminal to motor connector terminal "1" and negative terminal to "2". Then check if operation sound is heard from
motor. If faulty condition was found in Steps 3) or 4), replace hydraulic unit.
REMOVAL
1. Disconnect negative cable from battery.
2. Using special tool, disconnect brake pipes from ABS hydraulic unit.
Special Tool (A): 09950-78210
NOTE: Put bleeder plug cap onto pipe to prevent fluid from spilling. Do not allow brake fluid to get on painted surfaces.
3. Disconnect ABS hydraulic unit connectors.
4. Remove three nuts and takeout ABS hydraulic unit from bracket.
CAUTION: