
Esteem GLX Wagon L4-1.8L (1999)
Coolant: Service and Repair
Cooling System Flush and Refill
1. Remove radiator cap when engine is cool:
Turn cap counterclockwise slowly until it reaches a "stop". (Do not press down while turning it.)
Wait until pressure is relieved (indicated by a hissing sound) then press down on cap and continue to turn it counterclockwise.
WARNING: To help avoid danger of being burned, do not remove radiator cap while engine and radiator cap while engine and radiator
are still hot. Scalding fluid and steam can be blown out under pressure if cap is taken off too soon.
2. With radiator cap removed, run engine until upper radiator hose is hot (this shows that thermostat is open and coolant is flowing through system).
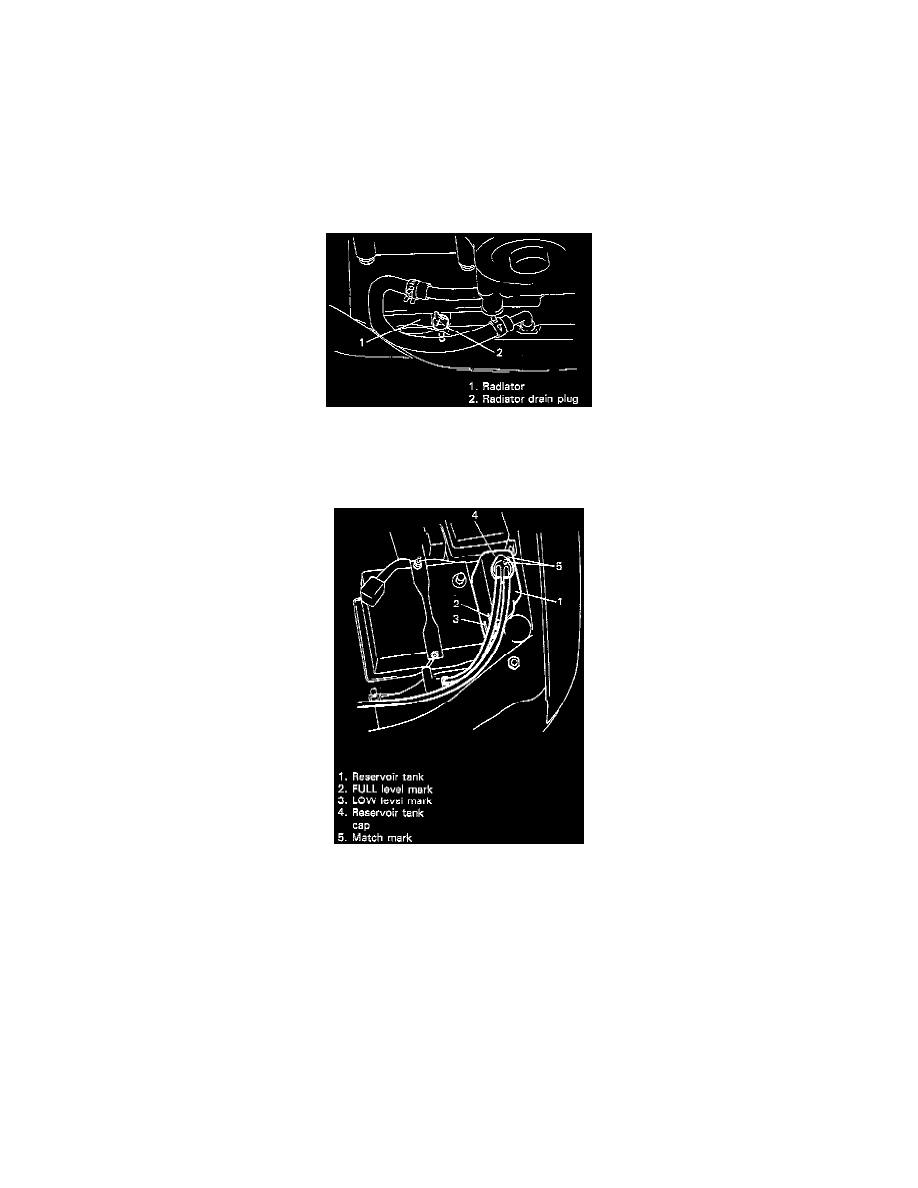
3. Stop engine and open radiator drain plug to drain coolant.
4. Close drain plug. Add water until system is filled and run engine until upper radiator hose is hot again.
5. Repeat steps 3) and 4) several times until drained liquid is nearly colorless.
6. Drain system and then close radiator drain plug tightly.
7. Remove reservoir tank and remove cap from reservoir tank and pour out any fluid, scrub and clean inside of tank with soap and water.
Flush it well with clean water and drain. Reinstall tank.
8. Add 50/50 mixture of good quality ethylene glycol antifreeze and water to radiator and tank.
Fill radiator to the base of radiator filler neck and reservoir tank to "FULL" level mark. Reinstall reservoir tank cap and align match marks on tank
and cap.
9. Run engine, with radiator cap removed, until radiator upper hose is hot.
10. With engine idling, add coolant to radiator until level reaches the bottom of filler neck. Install radiator cap, making sure that the ear of cap lines up
with reservoir tank hose.