
Esteem GLX Wagon L4-1.8L (1999)
12. With hoses connected, detach A/C compressor from compressor bracket.
NOTE: Suspend removed A/C compressor at a place free from any possible damage during removal and installation of timing chain cover.
13. Remove A/C compressor bracket.
14. Disconnect P/S oil tank from body.
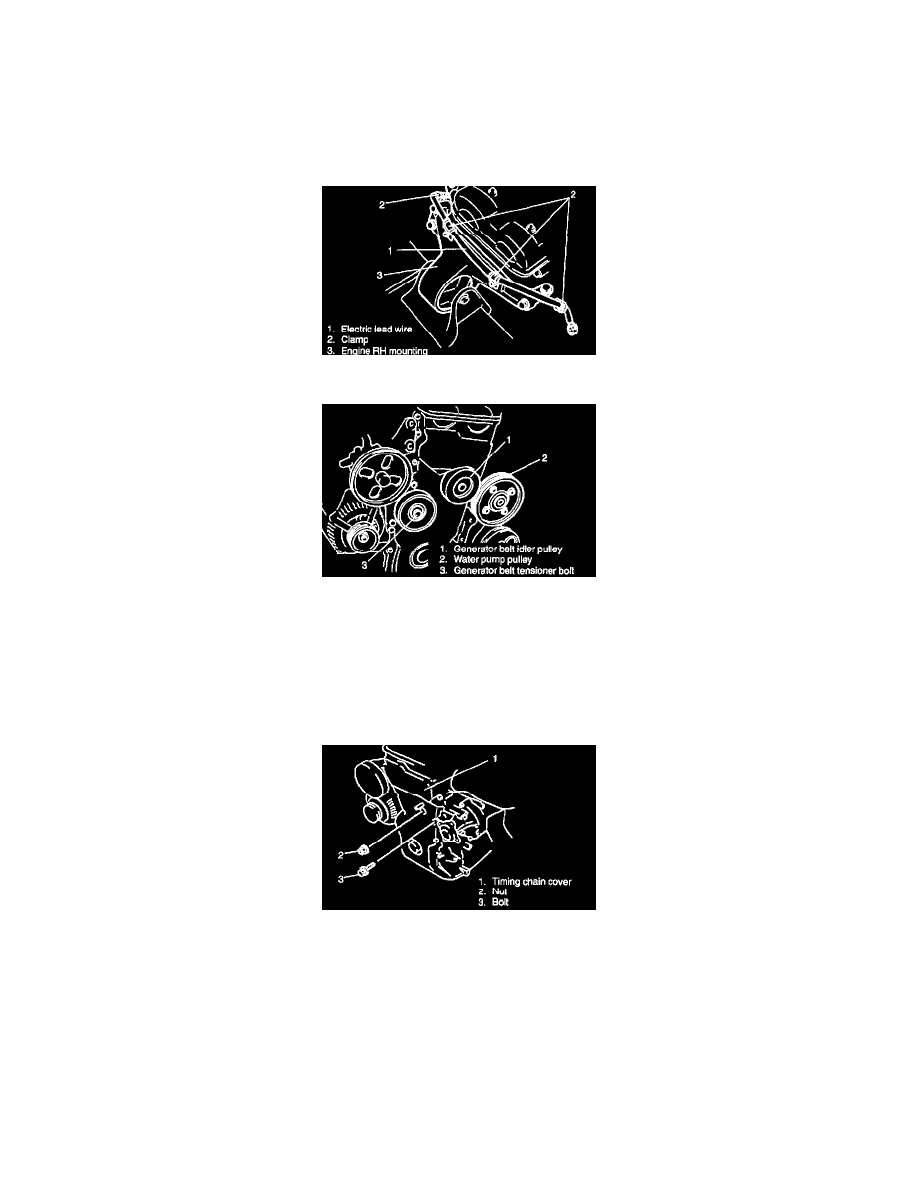
15. Disconnect electric lead wire couplers (heated oxygen sensor and A/C magnet clutch) and release clamps.
16. Remove engine RH mounting.
17. Using lifting device, raise engine enough to allow removal of water pump pulley, generator belt idler pulley, generator belt tensioner and remove
them.
CAUTION:
^
Do not loosen generator belt tensioner bolt and disassemble generator belt tensioner assembly, as It may spoil its original performance.
^
Do not raise engine excessively. That may cause damage to engine, transmission, etc.
18. Remove cylinder head cover.
19. Remove timing chain cover bolts and nut.
20. Using lifting device, raise engine enough to allow removal of timing chain cover and remove it.
CAUTION: Do not raise engine excessively. That may cause damage to engine, transmission, etc.
After removing timing chain cover, lower engine till front torque bush and rear mounting are set onto mounting member.
CLEAN
^
Clean sealing surface on timing chain cover, crank case, cylinder block and cylinder head.
Remove oil, old sealant, and dust from sealing surface.
INSPECTION