
Esteem GLX Wagon L4-1.8L (1999)
19.
Install the fuel tank to the vehicle. Tighten the fuel tank fixer belt bolts (Figure 16).
Tightening torque:
50 N.m (5.0 kg-m, 36.5 lb-ft)
CAUTION:
Make sure that the fuel tank flange is not positioned between the body and fuel tank fixer belt (Figure 16).
20.
Measure the clearance between the fuel tank flange and the underside of the floor panel using the end of the measuring gauge stamped 99, 00MY".
The end of the gauge stamped 99, 00MY" is 18 mm high (Figure 17).
^
If the clearance is less than 18 mm re-adjust the tank by loosing the fuel tank fixer belt bolts push the tank rearward while first tightening the
rear fuel tank fixer belt bolts and then tightening the front bolts.
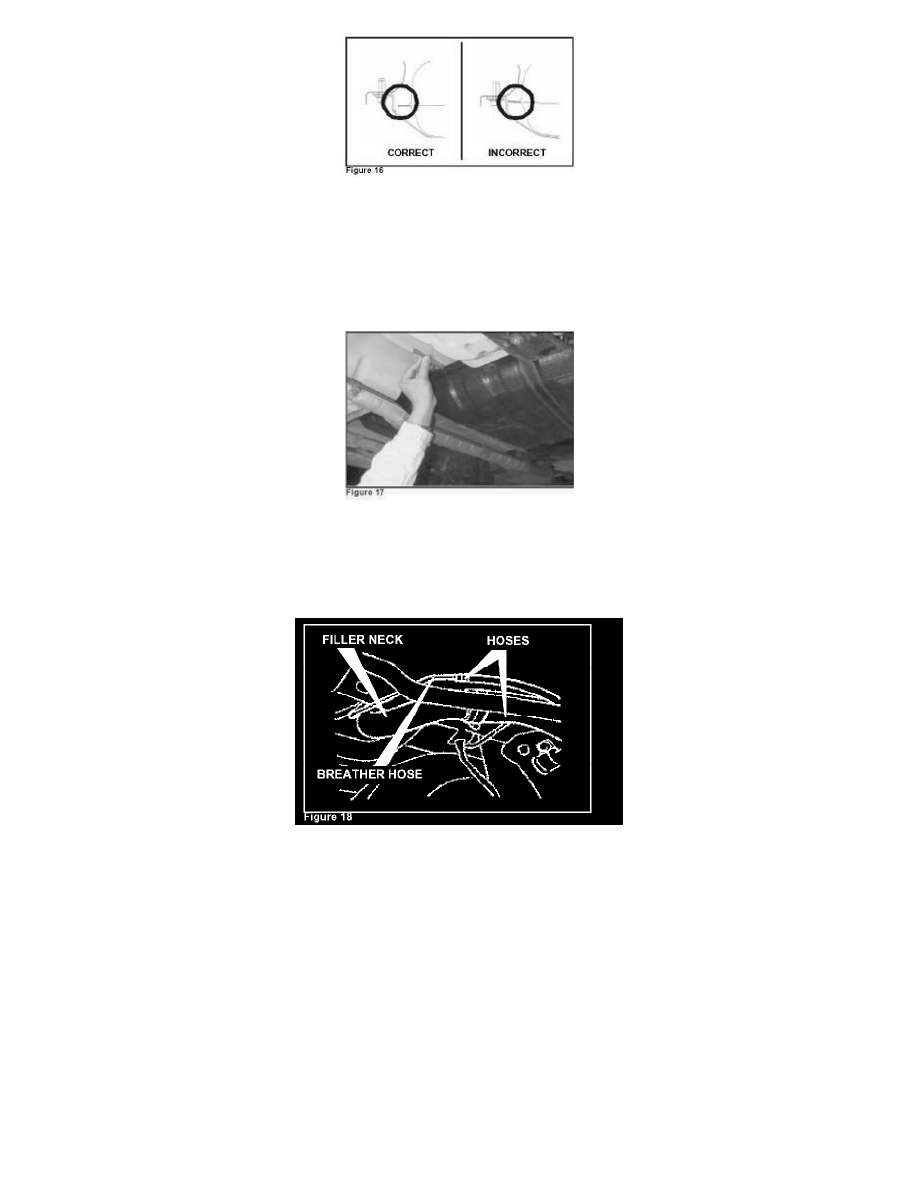
21.
Connect the fuel filler hose and the breather hose to the filler (Figure 18). Tighten clamps.
Tightening torque:
3.5 N.m (0.35 kg-m, 2.5 lb-ft)