
Esteem GLX Wagon L4-1.8L (1999)
CAUTION:
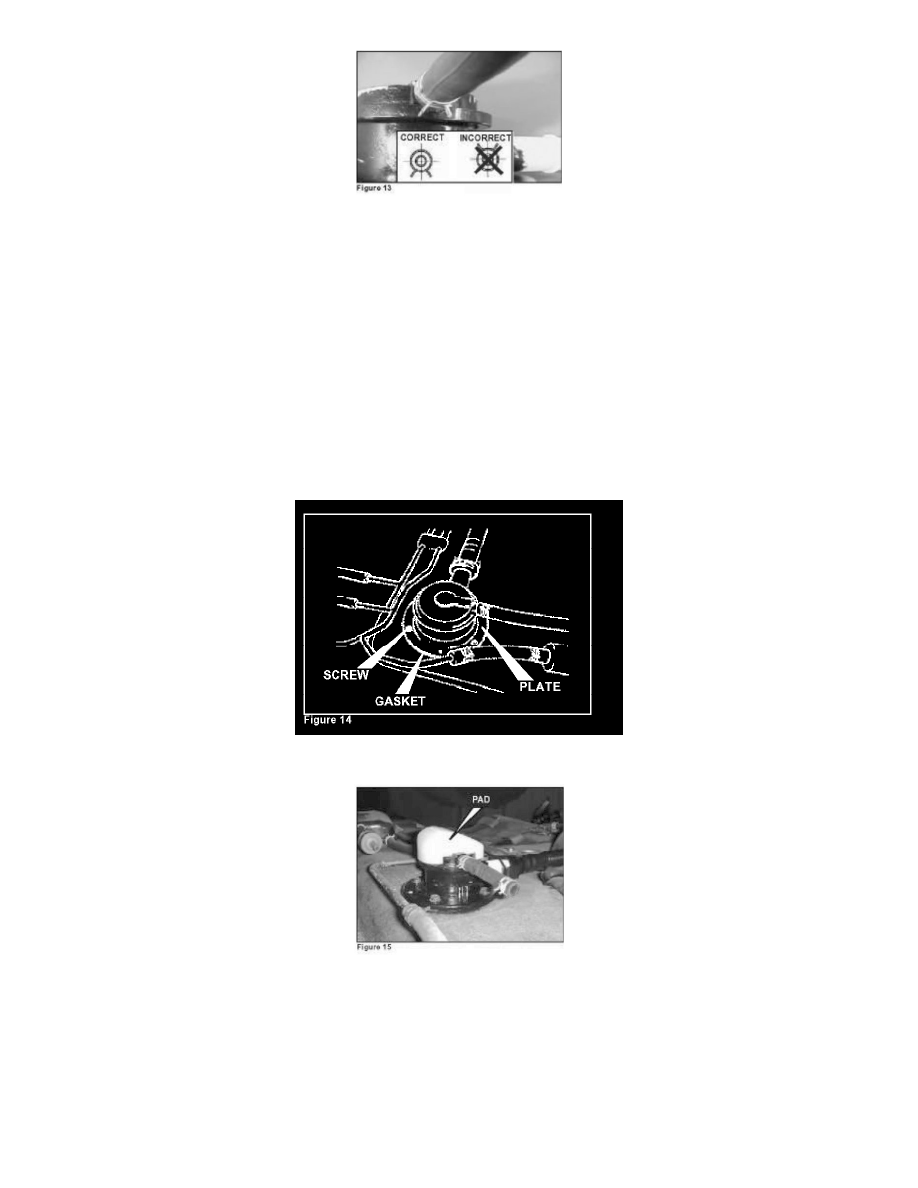
Make sure hose clamp tabs face downward (Figure 13).
14.
Remove all debris around the refuel vapor control valve quick connectors with compressed air. Disconnect the hoses from the refuel vapor control
valve. To disconnect the quick connectors push both sides of joint in while pulling hose joint out.
15.
Remove the refuel vapor control valve screws with a hand impact driver and remove the refuel vapor control valve from the fuel tank.
16.
Clean the mating surfaces of the refuel vapor control valve and fuel tank. Install the new refuel vapor control valve (89491-65G00) to the fuel
tank.
17.
Connect the hoses to the refuel vapor control valve and clamp the hoses with the hose clamp tabs facing downward (Figure 13).
CAUTION:
^
Be sure hose clamp tabs face downward.
^
Align screw holes in fuel tank gasket and plate accurately or vapor may leak (Figure 14).
18.
Clean the top surface of the refuel vapor control valve. Install the pad (89492-65G00) to the top of the refuel vapor control valve using the
adhesive (Figure 15).