Esteem GLX Wagon L4-1.8L (1999)

Control Arm Bushing: Service and Repair
SUSPENSION CONTROL ARM/BUSHING
REMOVAL
1. Hoist vehicle and remove wheels.
2. Remove stabilizer link nut, washer and cushion.
3. Remove ball stud bolt.
4. Remove suspension arm front bushing bolt.
5. Remove suspension arm rear bracket bolt and nut.
6. Remove rear bracket and suspension arm.
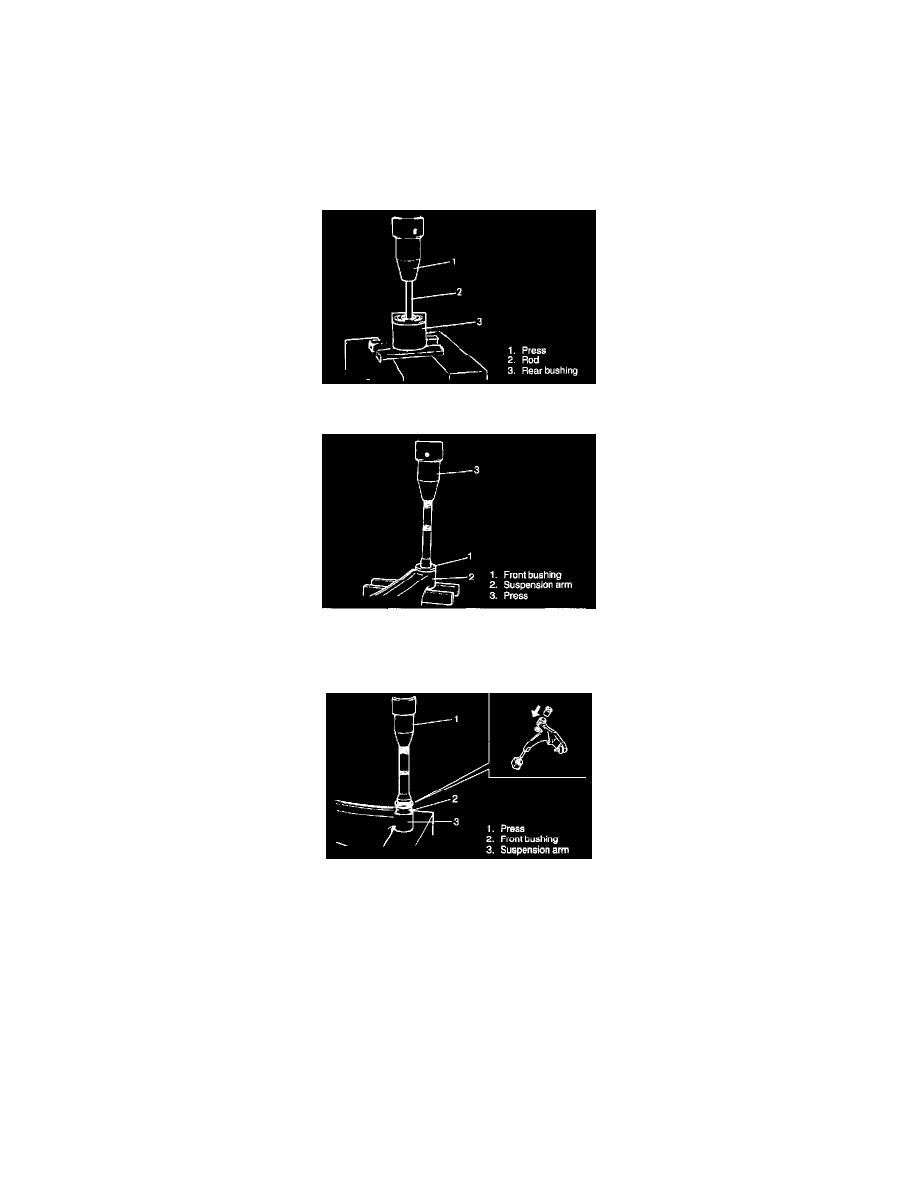
7. Remove rear bushing by using hydraulic press.
8. Cut off flange of front bushing and then push out front bushing by using hydraulic press.
INSTALLATION
1. Install front bushing. Before installing bushing, apply soap water on its circumference to facilitate installation. When installed, bush should be
equal on the right and left of arm as shown.
