
Esteem GLX Wagon L4-1.8L (1999)
11. If there is no evidence of perforation found on the right side of the cross-member, repeat steps 5-9 on the left side.
12. If the metal does not become perforated or display a significant dent after completing the inspection of the left side, there is no need to replace the
cross-member. Reinstall the front wheel assemblies. Inspection is complete.
CROSS-MEMBER REPLACEMENT PROCEDURE
Removal
1. Hoist the vehicle and remove the front wheels. Using the appropriate Service Manual along with the following guidelines for reference, replace the
cross-member assembly only if it has failed the perforation inspection in this bulletin.
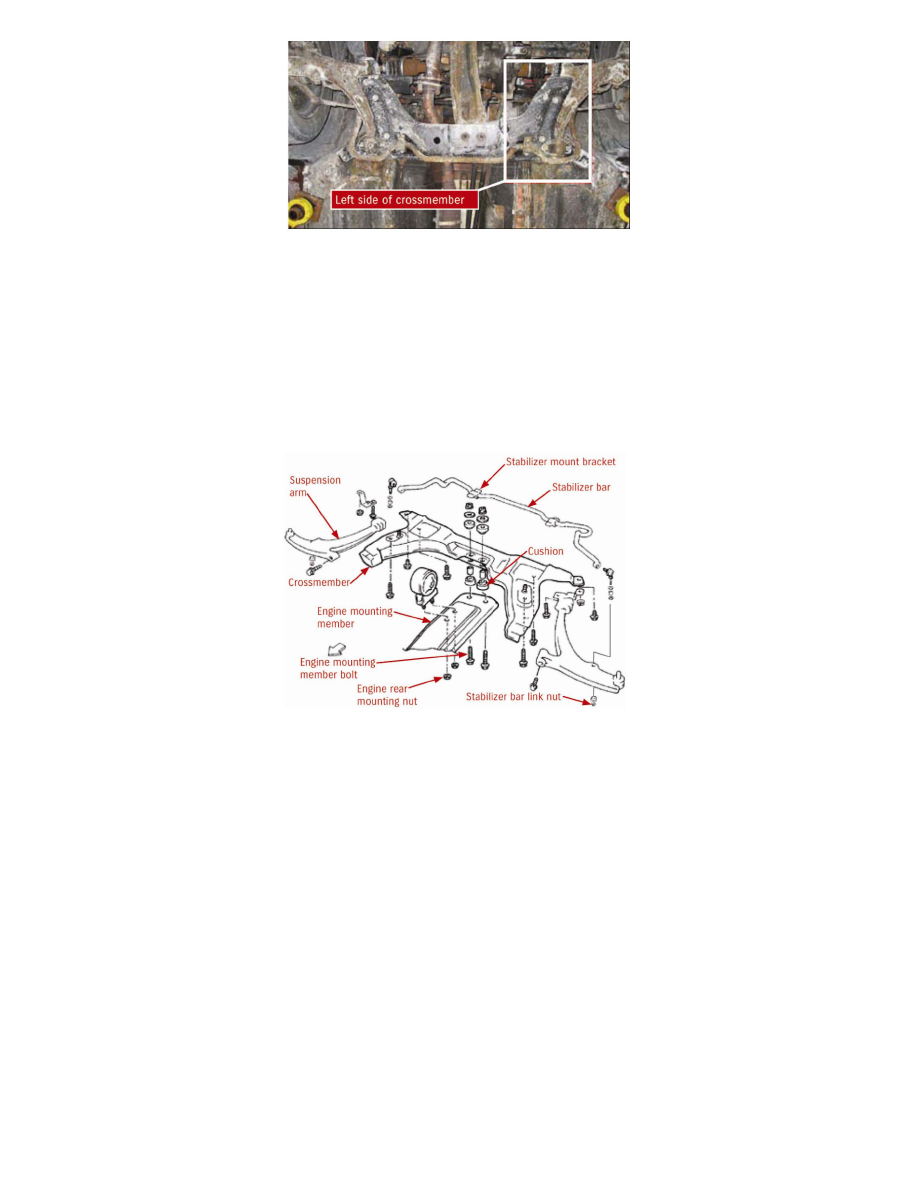
2. Remove stabilizer link nuts, washers and cushions. When loosening link nut, hold the stud with a wrench.
3. Remove stabilizer mount brackets.
4. Remove stabilizer bar.
5. Remove right and left suspension arms.
6. Remove engine rear mounting nuts and engine mounting member bolts. Be careful to not lose the cushions and spacer which may stick to the
cross-member.
7. Remove the six cross-member bolts.
8. Remove the cross-member from the body.
Installation