
Esteem GLX Wagon Plus L4-1.6L (1998)
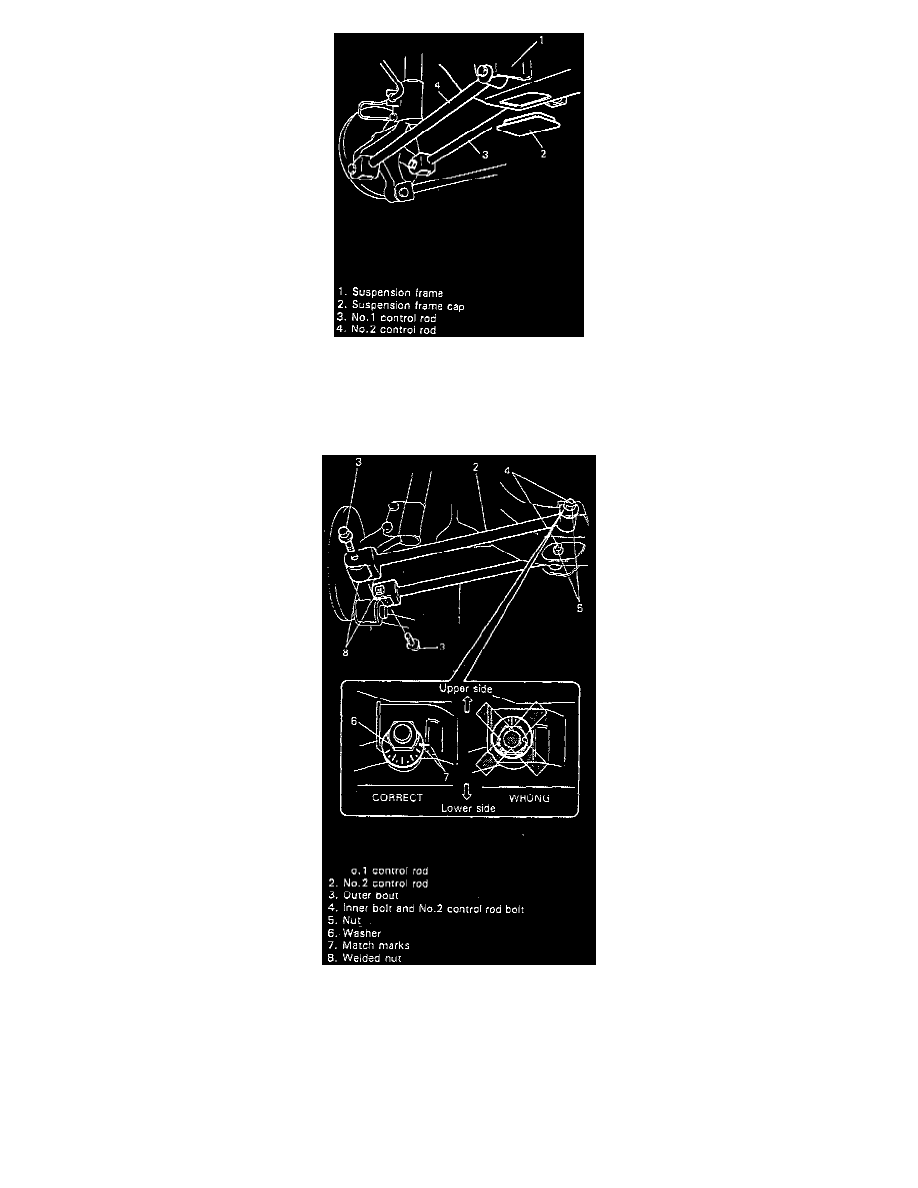
4. Remove suspension frame cap.
5. Remove No.2 control rod from suspension frame and knuckle.
6. Remove No.1 control rod from suspension frame and knuckle.
INSTALLATION
1. Install No.1 control rod.
a. Install No.1 control rod, setting it so that its welded nut comes toward the rear.
b. Insert inner and outer bolts from the vehicle front and tighten them temporarily by hand.
2. Install No.2 control rod.
a. Install No.2 control rod, setting it so that its welded nut comes toward the front.
b. Insert No.2 control rod bolt from the vehicle front and outer bolt from the rear.
c. Install washer with its graduated part facing down.
d. With marks on washer and frame marked before removal aligned to each other, tighten bolts and nut temporarily by hand.