Esteem GLX Wagon Plus L4-1.8L (1999)

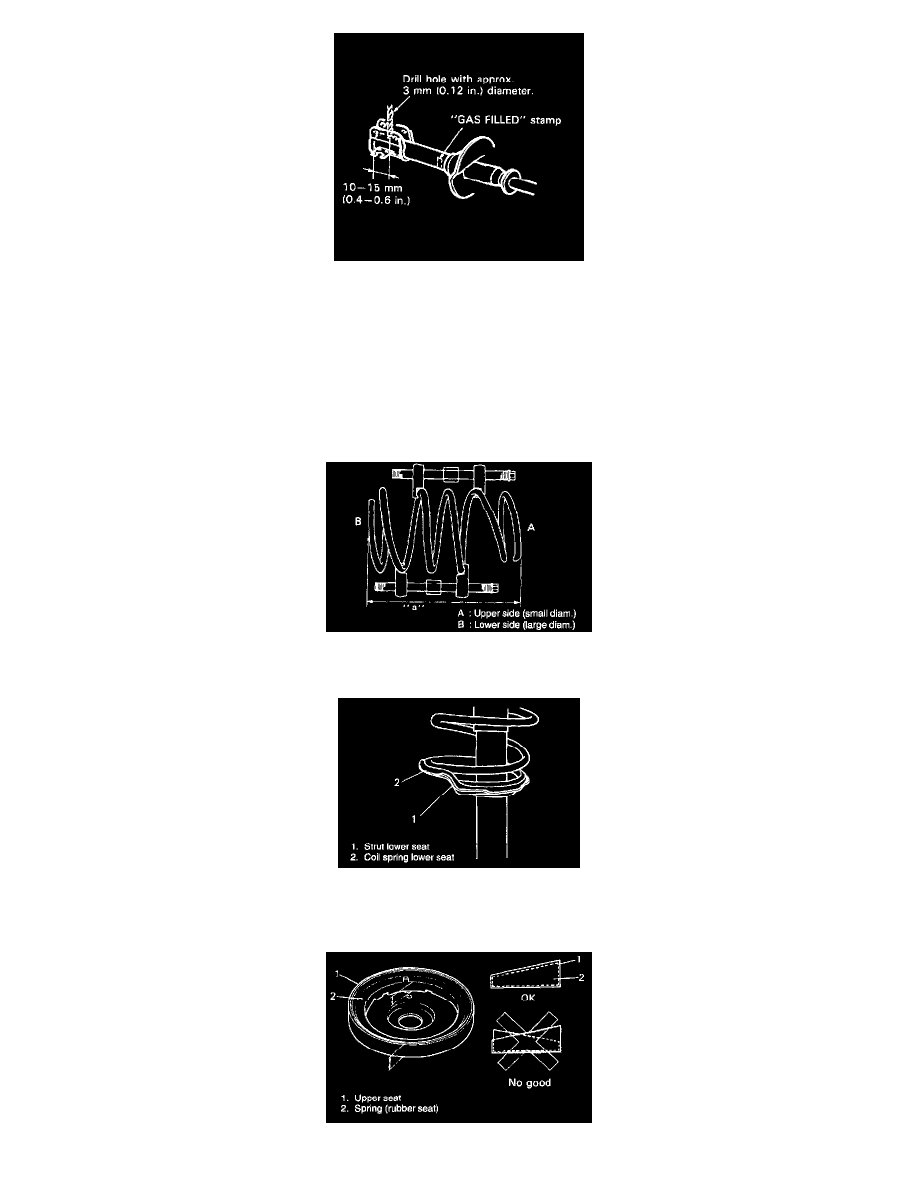
WARNING: Strut with "GAS FILLED" stamp is filled with gas and oil. When handling it, make sure to observe the following
precautions:
^
Don't disassemble it.
^
Don't put it into the fire.
^
Don't store it where it gets hot.
^
Before disposing it, be sure to drill a hole in it where shown by an arrow in the figure and let gas out. Lay it down sideways for this
work.
^
The gas itself is harmless but it may issue out of the hole together with chips generated by the drill. Therefore, be sure to wear goggle.
ASSEMBLY
1. Compress spring with special tool (A) until total length becomes about 290 mm (11.42 inch) as shown.
Length "a": 290 mm (11.42 inch)
2. Install coil spring lower seat and compressing coil spring, mate large-diameter spring end with stepped part of lower seat as shown.
3. Install bump stopper onto strut rod. For installing direction, refer to figure shown in DISASSEMBLY.
4. Install dust cover onto bump stopper.
