
Forenza L4-2.0L (2004)
Expansion Valve: Service and Repair
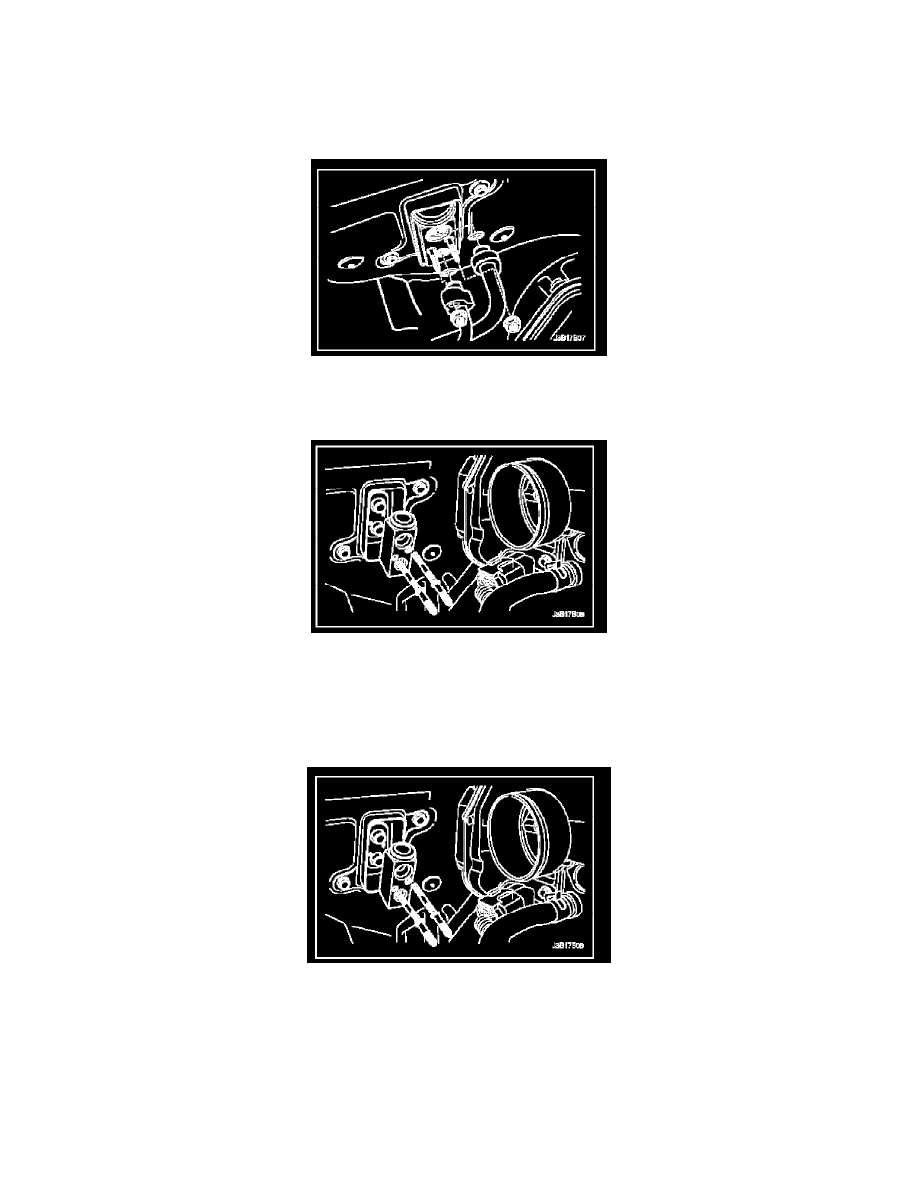
A/C Expansion Valve Removal and Installation
Removal
1. Disconnect the negative battery cable.
2. Recover the refrigerant. Refer to Discharging, Adding Oil, Evacuating, and Charging Procedures for A/C System.
3. Remove the suction hose/liquid pipe block retaining nuts at the fire wall.
4. Remove the expansion valve connector block retaining stud bolts.
5. Remove the expansion valve.
6. Discard the O-rings.
Installation
1. Clean the grooves that fit the O-rings of any dirt or contamination.
2. Install new O-rings on the evaporator tubes.
3. Install a expansion valve onto the evaporator tubes.
4. Insert the expansion valve connector block retaining stud bolts.
Tighten: Tighten the expansion valve retaining stud bolts to 8 Nm (71 in. lbs.).
5. Install the suction hose/liquid pipe block retaining nuts.
Tighten: Tighten the suction hose/liquid pipe block-to-expansion valve retaining nuts to 14 Nm (10 ft. lbs.).
6. Connect the negative battery cable.