
Forenza L4-2.0L (2004)
9. Install the caulking nut onto the axle shaft.
^
Tighten the drive axle-to-hub caulking nut to 150 Nm (111 ft. lbs.). Loosen the nut, then retighten it to 275 Nm (203 ft. lbs.).
10. Install the wheel.
11. Lower the vehicle.
Rear Suspension
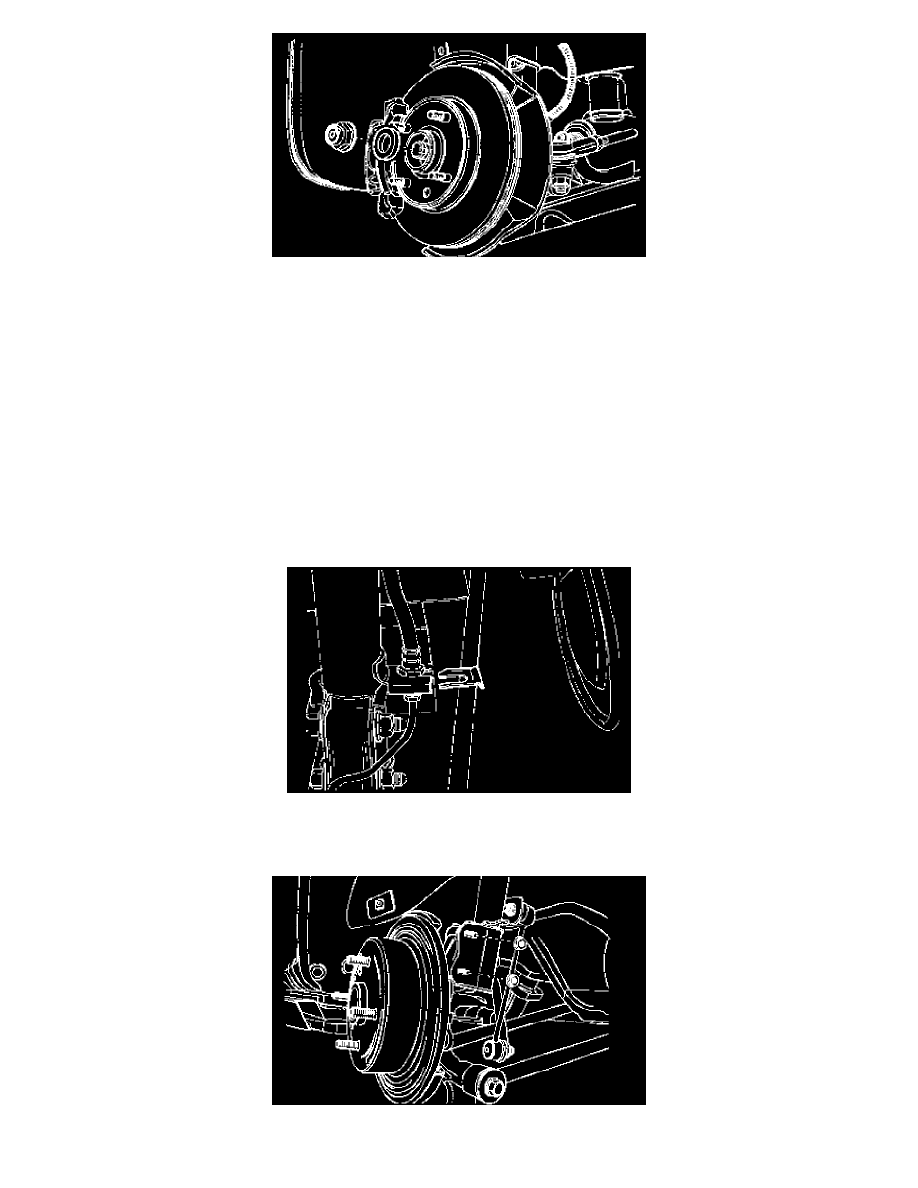
Knuckle Assembly Removal and Installation
Removal
1. Raise and suitably support the vehicle.
2. Remove the wheel.
3. On vehicles equipped with the antilock braking system, remove the ABS speed sensor.
4. On vehicles equipped with rear disc brakes, remove the rear brake caliper from the knuckle assembly.
5. Disconnect the parking brake from the knuckle assembly.
6. Disconnect the front parallel link from the knuckle.
7. Disconnect the rear parallel link from the knuckle.
8. Disconnect the rear trailing link from the rear knuckle.
9. On vehicles equipped with rear drum brakes, remove the clip that secures the brake line to the strut assembly.
10. On vehicles equipped with rear drum brakes, disconnect the brake line from the knuckle assembly.
11. Remove the rear knuckle-to-strut assembly nuts and the bolts.
12. Disconnect the brake line from the strut assembly and remove the rear knuckle from the strut assembly.