
Forenza L4-2.0L (2004)
6. Install the tie rod end boot retaining clamps.
7. Reposition the adjusting nut to the marks on the inner tie rod and install the outer tie rod by twisting it onto the inner tie rod.
8. Perform a front toe adjustment.
9. Tighten the adjusting nut.
^
Tighten the outer tie rod adjusting nut to 64 Nm (47 ft. lbs.).
10. Install the rack bearing assembly into the rack and pinion steering assembly.
11. Install the valve and pinion assembly into the rack and pinion steering assembly.
12. Install the rack and pinion steering assembly into the vehicle.
Rack Bearing Disassembly and Assembly
Rack Bearing Disassembly and Assembly
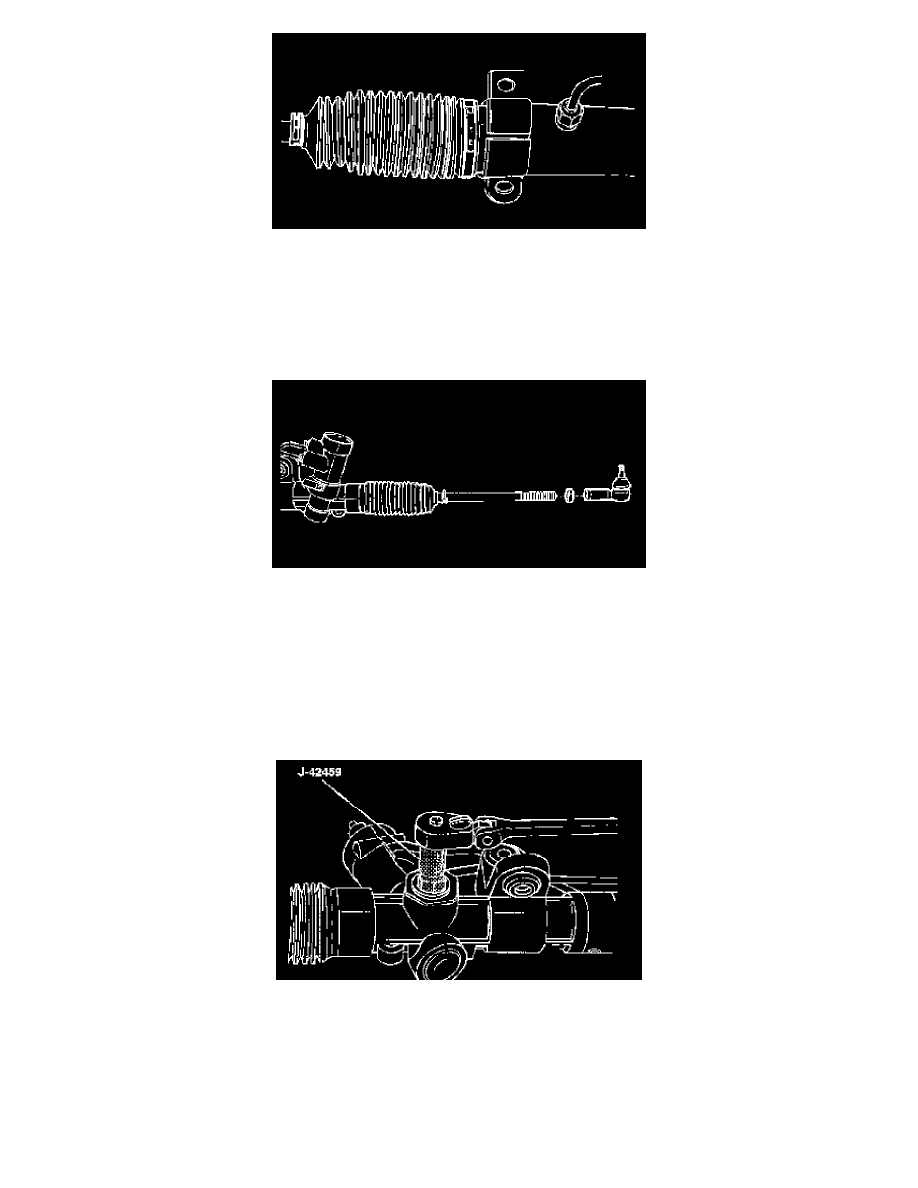
Tools Required: J-42459 Rack Guide Spring Cap Wrench
Disassembly
1. Remove the rack and pinion steering assembly from the vehicle.
2. Remove the adjuster plug locknut from the adjuster plug, and remove the adjuster plug from the housing with the rack guide spring cap wrench
J-42459, or with a 19 mm alien wrench.