
Forenza L4-2.0L (2004)
3. Connect the stabilizer shaft link to the strut assembly by attaching the stabilizer link-to-strut assembly nut.
^
Tighten the stabilizer link-to-strut assembly nut to 47 Nm (35 ft. lbs.).
4. Install the brake line to the securing bracket on the strut assembly.
5. On vehicles equipped with the ABS, connect the ABS sensor line to the strut assembly.
6. Install the wheel.
7. Lower the vehicle.
8. Install the nuts securing the strut assembly to the body of the vehicle.
^
Tighten the strut assembly-to-body nuts to 65 Nm (48 ft. lbs.).
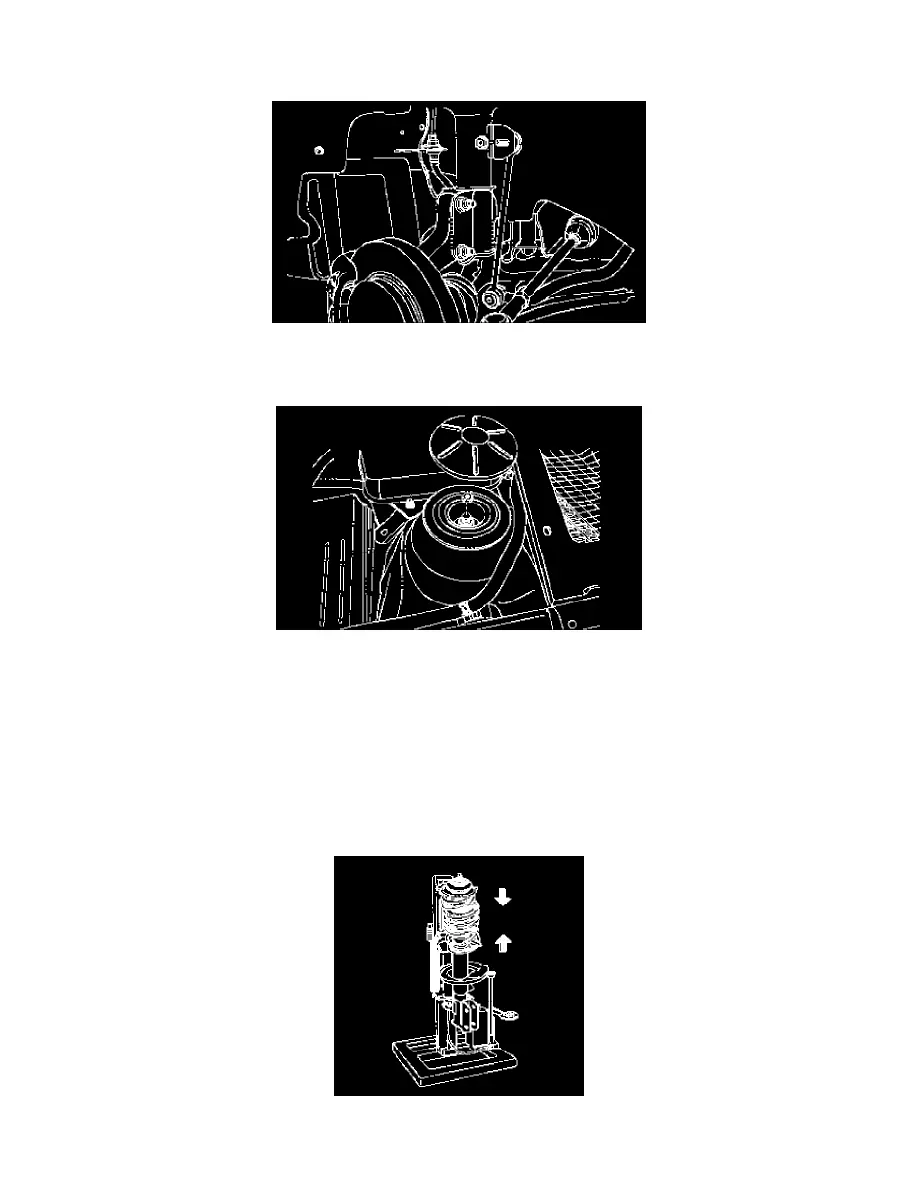
Front Strut Assembly Disassembly and Assembly
Front Strut Assembly Disassembly and Assembly
Tools Required: KM-329-A Spring Compressor
Disassembly
1. Remove the strut assembly.
2. Fasten the strut assembly to the spring compressor (DW320-010 or KM-329-A). Make sure the hooks are seated on the strut spring properly.
3. Compress the front spring with the spring compressor.