
Forenza L4-2.0L (2004)
Trailing Arm: Service and Repair
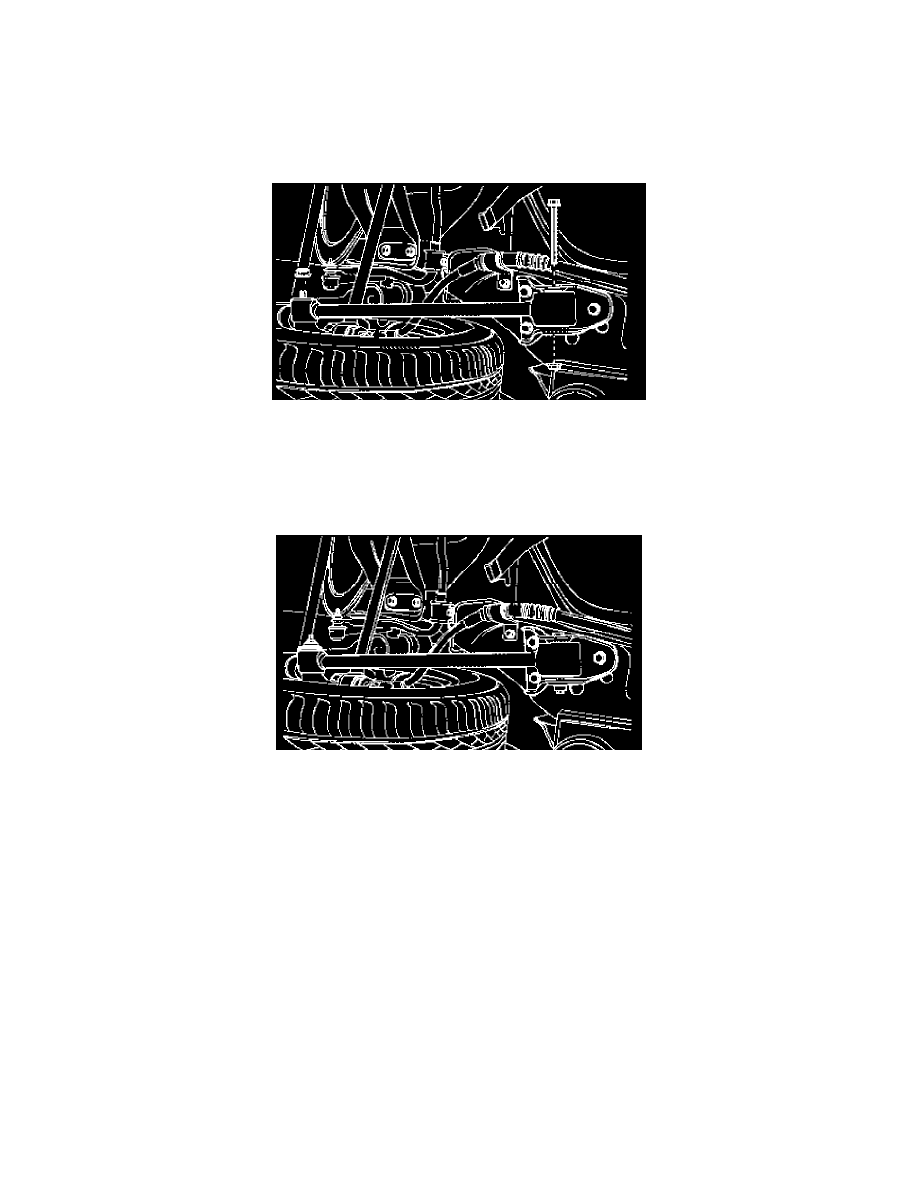
Trailing Link Removal and Installation
Trailing Link Removal and Installation
Removal
1. Raise and suitably support the vehicle.
2. Remove the rear trailing link-to-rear knuckle nut.
3. Remove the rear trailing link-to-trailing link bracket nut and the rear trailing link-to-knuckle link.
4. Remove the rear trailing link.
Installation
1. Install the rear trailing link.
2. Install the rear trailing link bracket nut and the bolt.
^
Tighten the rear trailing link-to-trailing link bracket nut to 100 Nm (74 ft. lbs.).
3. Install the trailing link-to-knuckle nut.
^
Tighten the rear trailing link-to-knuckle nut to 150 Nm (110 ft. lbs.).
4. Lower the vehicle.