
Grand Vitara 2WD V6-2.5L (2004)
5. Remove attaching nuts (6) and then booster as shown in the figure.
CAUTION: Never disassemble brake booster. Disassembly will spoil its original function. If is found faulty, replace it with new one.
Installation
NOTE:
^
Check length of push rod clevis (2).
^
Before installing master cylinder, adjust booster piston rod.
^
Apply silicone grease to master cylinder piston.
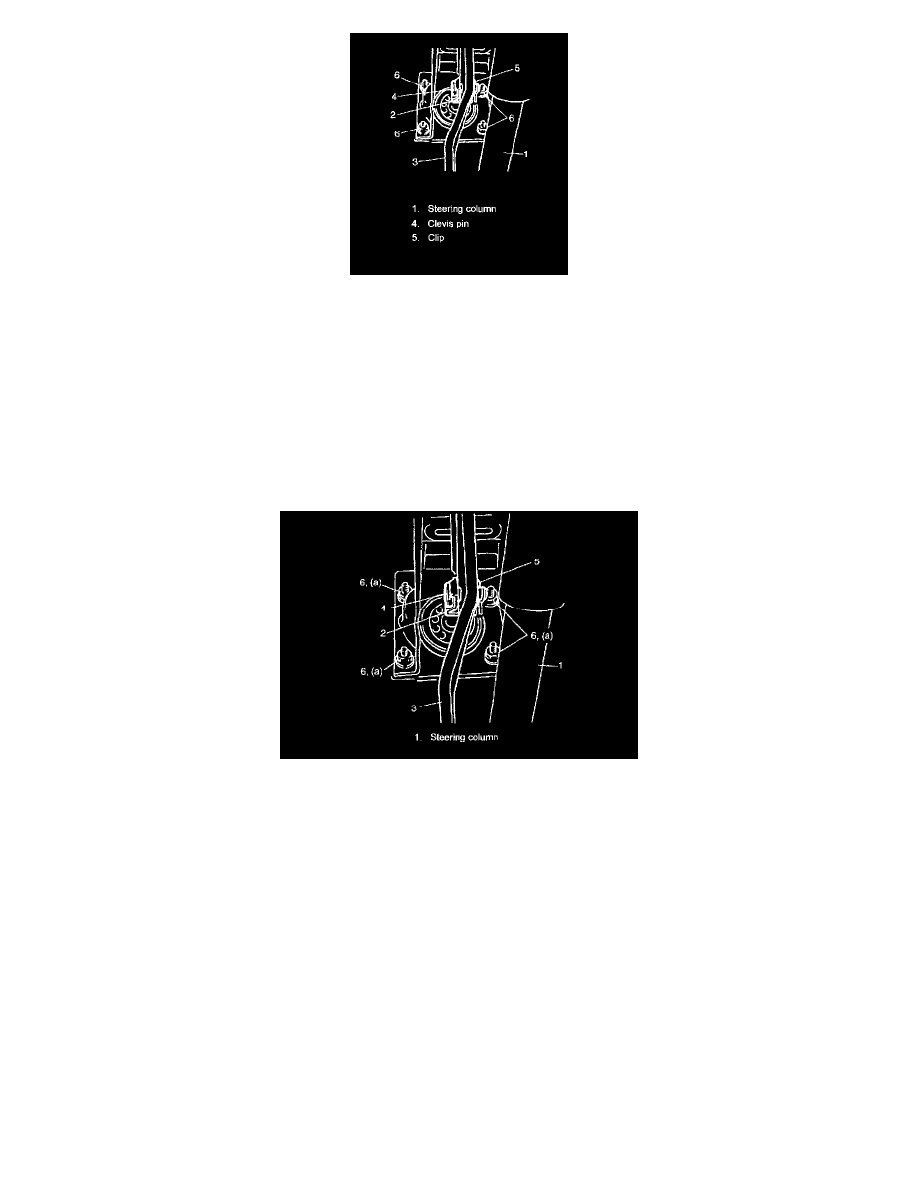
1. Install booster to dash panel as shown in the figure. Then connect booster push rod clevis (2) to pedal arm (3) with clevis pin (4) and clip (5).
2. Tighten booster attaching nuts (6) to the specified torque.
Tightening torque
Booster attaching nut (a): 13 Nm (1.3 kgf-m, 9.5 ft. lbs.)
3. Connect brake vacuum hose to brake booster.
4. Install master cylinder.
5. After installing, check each part.