
Grand Vitara 2WD V6-2.5L (2004)
Actuator: Testing and Inspection
Inspection
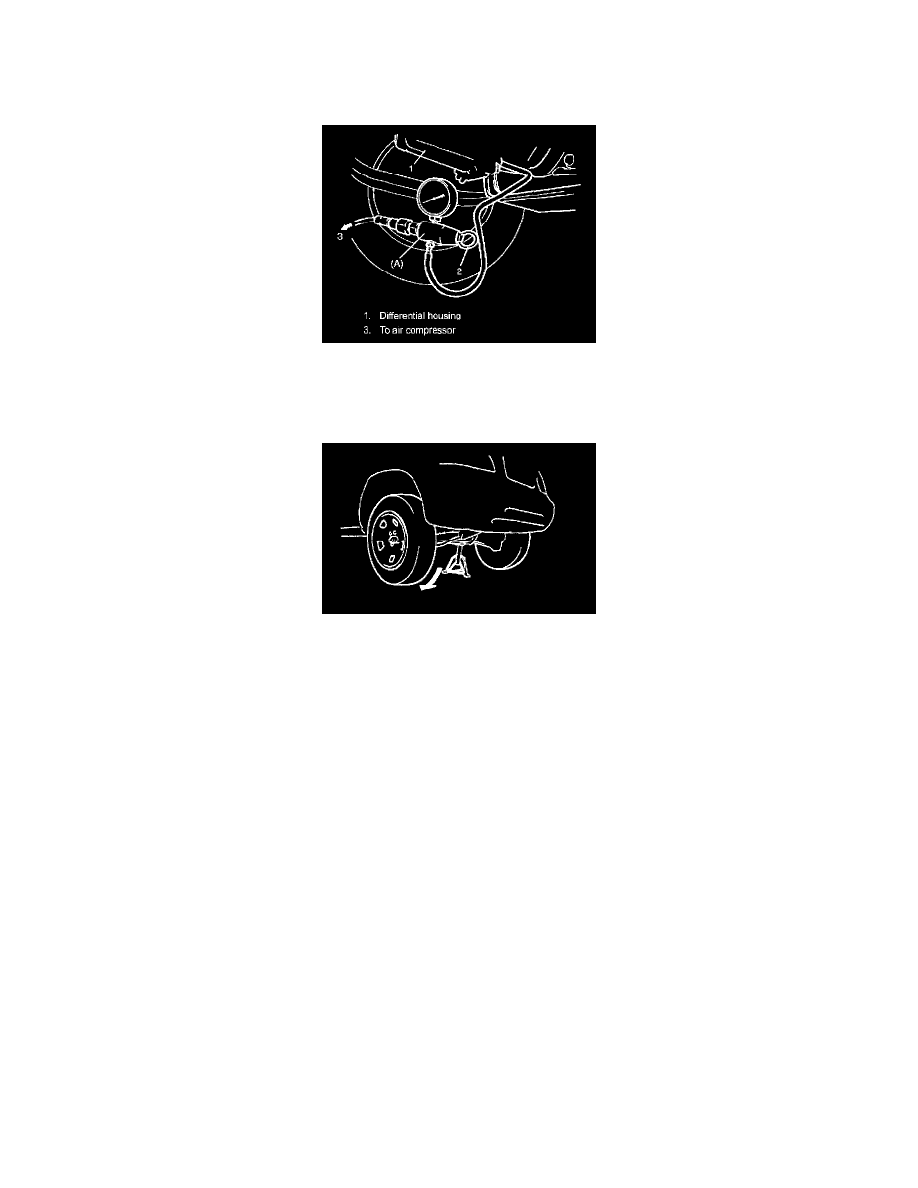
1) Disconnect air hose from pump assembly and install special tool to air hose as shown in figure. Loosen adjusting screw (2) of special tool.
Special tool (A): 09918-18110
2) Connect compressor air hose to special tool. Blow air and turn adjusting screw (2) to obtain specified pressure.
Air pressure specification (for actuator inspection) 30 kPa (0.3 kgf/cm2, 4.25 psi)
CAUTION: Do not apply a pressure exceeding 200 kPa (2.0 kgf/cm2, 28.4 psi) which may cause damage to diaphragm.
3) With the vehicle lifted so that both of the front wheels are off the ground, turn one of the front wheels by hand and check the other wheel, which
should act as described below. If the result is not satisfactory, inspect differential assembly.
^
When the pressure from compressor is applied to actuator: The other front wheel should turn in the direction opposite to the tire being turned
by hand.
^
When the pressure from compressor is not applied to actuator: The other front wheel should remain stationary while the tire pushed by hand is
turning.