
Grand Vitara 2WD V6-2.5L (2004)
4) After select cable (1) was installed, check for the following.
^
Push vehicle with select lever shifted to "P". Vehicle should not move.
^
Vehicle can not be driven in "N".
^
Vehicle can be driven in "D", "2" and "L".
^
Vehicle can be backed in "R".
Adjustment for Type-2 [B]
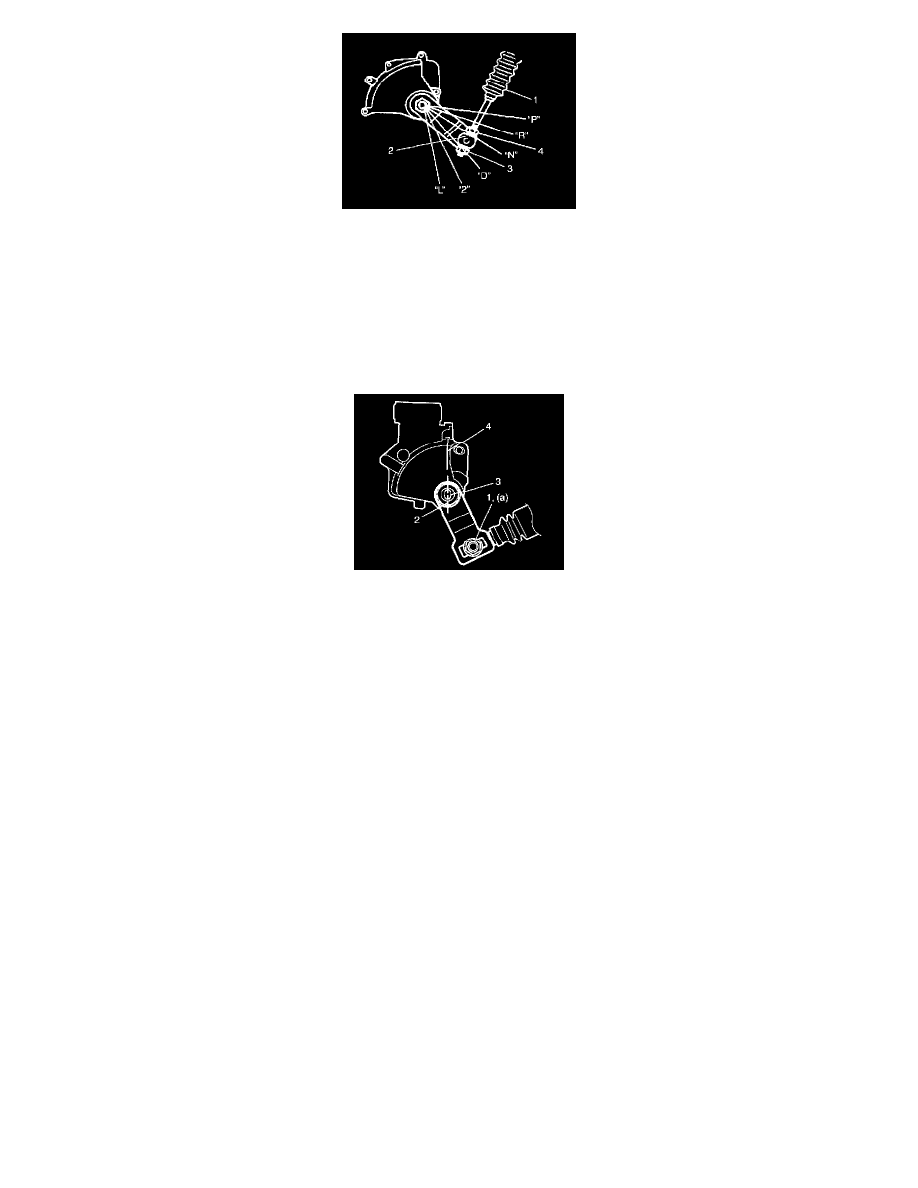
1) Loosen manual shift lever (select cable side) nut (1).
2) Shift select lever to "N".
3) Align center line (2) on manual valve shaft (3) to "N" reference line (4) as shown.
4) Tighten manual shift lever nut (selector cable side) (1) as specified torque.
Tightening torque
Manual shift lever nut (a): 23 Nm (2.3 kgf-m, 17.0 ft. lbs.)
5) After select cable was installed, check for the following.
^
Push vehicle with selector lever shifted to "P". Vehicle should not move.
^
Vehicle can not be driven in "N".
^
Vehicle can be driven in "D", "2" and "L".
^
Vehicle can be backed in "R".