
Grand Vitara 2WD V6-3.2L (2010)
Headlamp Alignment Actuator: Testing and Inspection
Headlight Leveling Actuator Inspection (If Equipped)
1. Make sure all couplers of headlight and leveling actuator are connected securely.
2. Park vehicle in front of blank wall (screen).
3. Turn ignition switch to ON position.
4. Perform Headlight Auto Leveling Warning Light Check (If Equipped). See: Testing and Inspection/Component Tests and General
Diagnostics/Headlight Auto Leveling Warning Light Check (If Equipped)
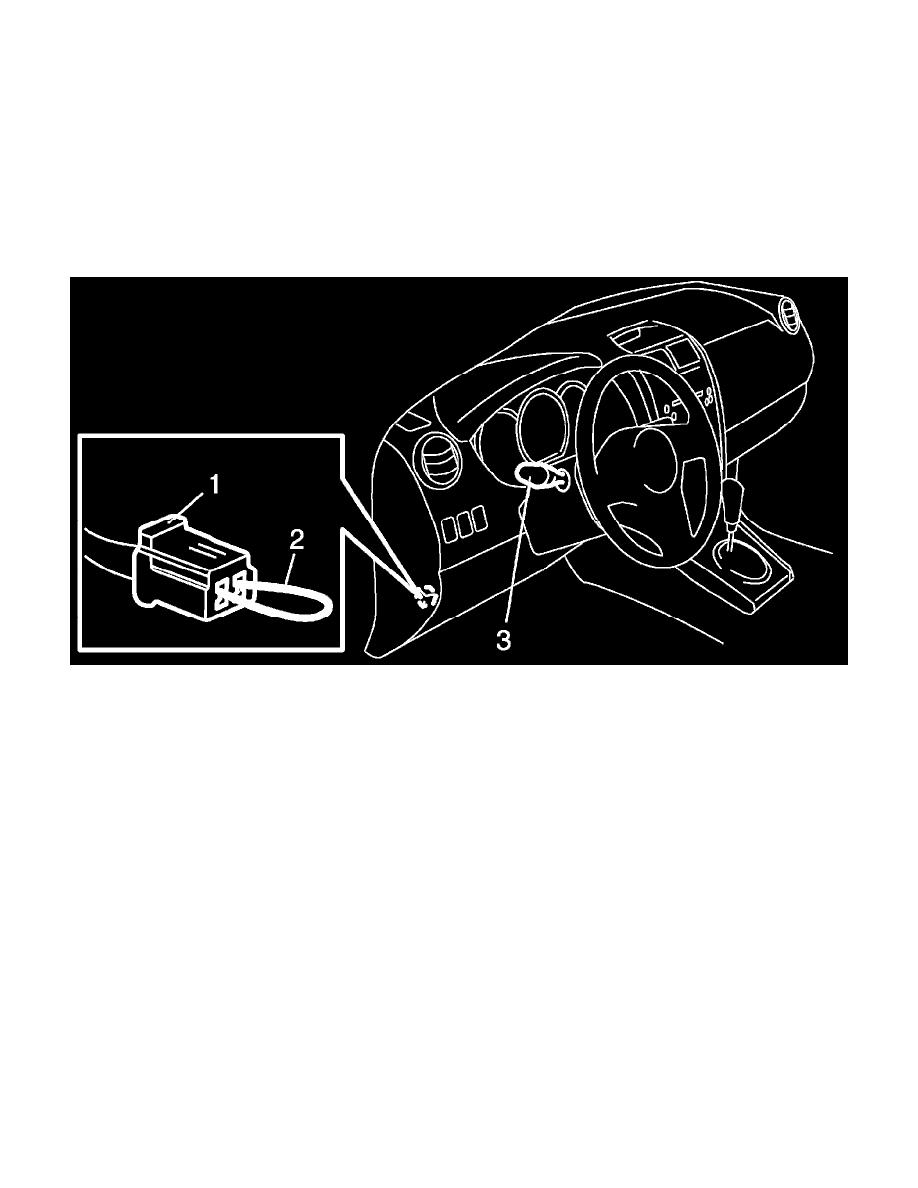
5. Connect service wire (2) to terminals of diagnosis connector (1).
6. Perform Steps a) through c) described below within 20 seconds after Step 5).
a. Turn lighting switch (3) to "HEAD" position and then turn lighting switch to OFF position.
b. Repeat Step a) 2 times.
c. Turn lighting switch (3) to "HEAD" position.
7. Check that optical axes of headlights reflected on blank wall (screen) change. If not, go to Headlight Auto Leveling System Symptom Diagnosis
(If Equipped). See: Testing and Inspection/Symptom Related Diagnostic Procedures/Headlight Auto Leveling System Symptom Diagnosis (If
Equipped)