Grand Vitara 2WD V6-3.2L (2010)

4) Install rear wheels and lower hoist.
5) Tighten wheel nuts to specified torque.
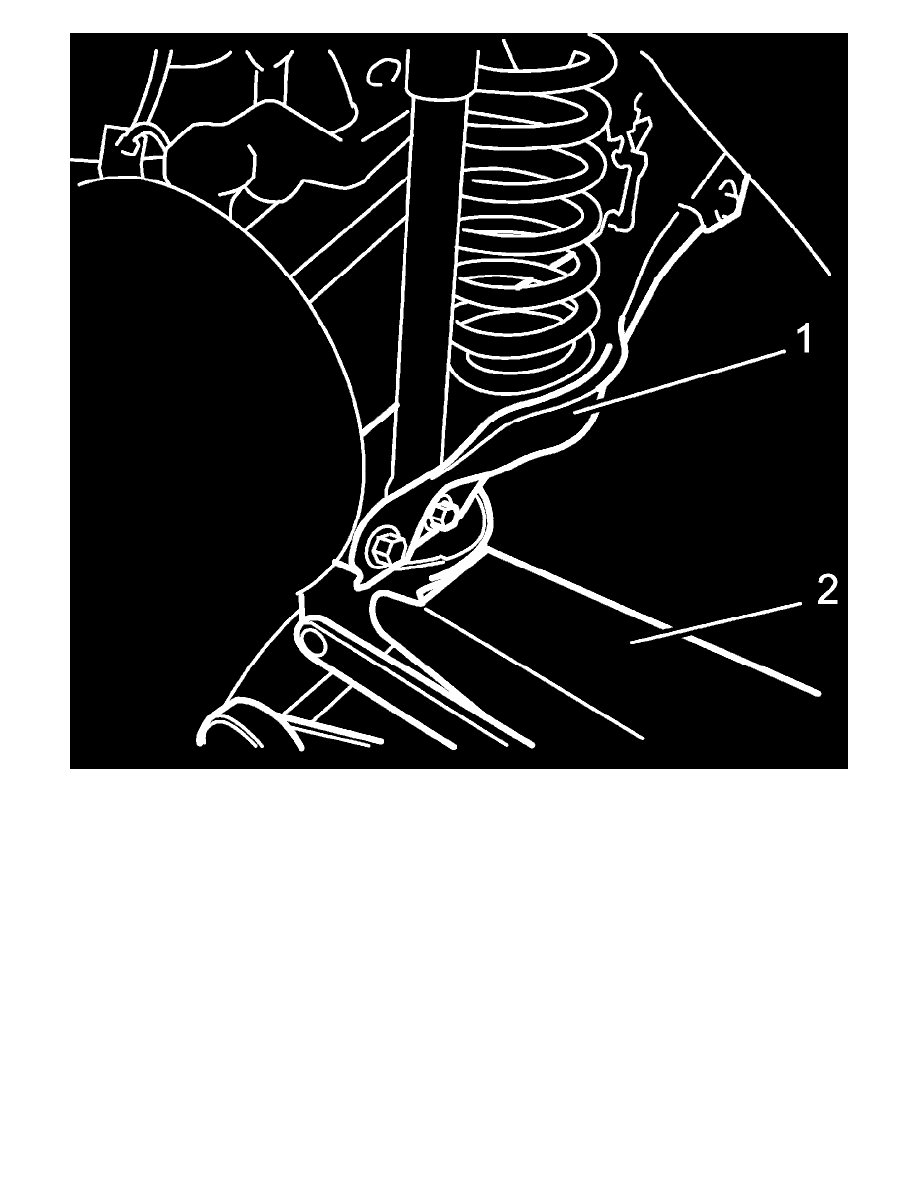
6) Tighten control rod mount nut and control rod outer bolt to specified torque with vehicle weight on suspension.
CAUTION:
^
It is the most desirable to have vehicle off hoist and in non-loaded condition when tightening them.
^
Tighten control rod washer with match marks aligned.
Tightening torque
Control rod mount nut: 135 Nm (13.5 kg-m, 98.0 lbf-ft)
Control rod outer bolt: 135 Nm (13.5 kg-m, 98.0 lbf-ft)
7) Check rear toe and camber adjust it as necessary. For check and adjustment procedures.
Lower Arm Removal and Installation
Lower Arm Removal and Installation
1) Hoist vehicle and remove rear wheels.
2) For headlight auto leveling model, remove rear height sensor.
3) Put match marks (1) on lower arm washer (2) and on suspension frame (3) to install the bolts specified in position.
4) Loosen lower arm mount nut (4).
