
Grand Vitara 4WD L4-2.4L (2009)
Assembly
Judging from abnormality noted before disassembly and what is found through visual check of component parts after disassembly, prepare replacing
parts and proceed to reassembly. Make sure that tripod joint housing is washed thoroughly and air dried. Replace boot with new one.
CAUTION:
^
Do not wash boots in degreaser such as gasoline or kerosene. etc. Washing in degreaser causes deterioration of boot.
^
To ensure full performance of joint as designed, be sure to distinguish between two types of grease in repair set and apply specified
volume to respective joint according to the followings procedure.
1) Wash disassembled parts (except boots). After washing, dry parts completely by blowing air.
2) Clean boots with cloth.
3) Apply grease thinly to inside of new boot band.
: Grease 99000-25011 (SUZUKI Super Grease A)
4) Apply grease to wheel side joint. Use specified grease in tube in wheel side boot set as a spare parts.
Grease specification for front drive shaft wheel side joint
Color: Black
Amount: 96 - 106 g (3.39 - 3.74 oz)
5) Install wheel side boot on shaft.
6) Fill up boot inside with specified grease.
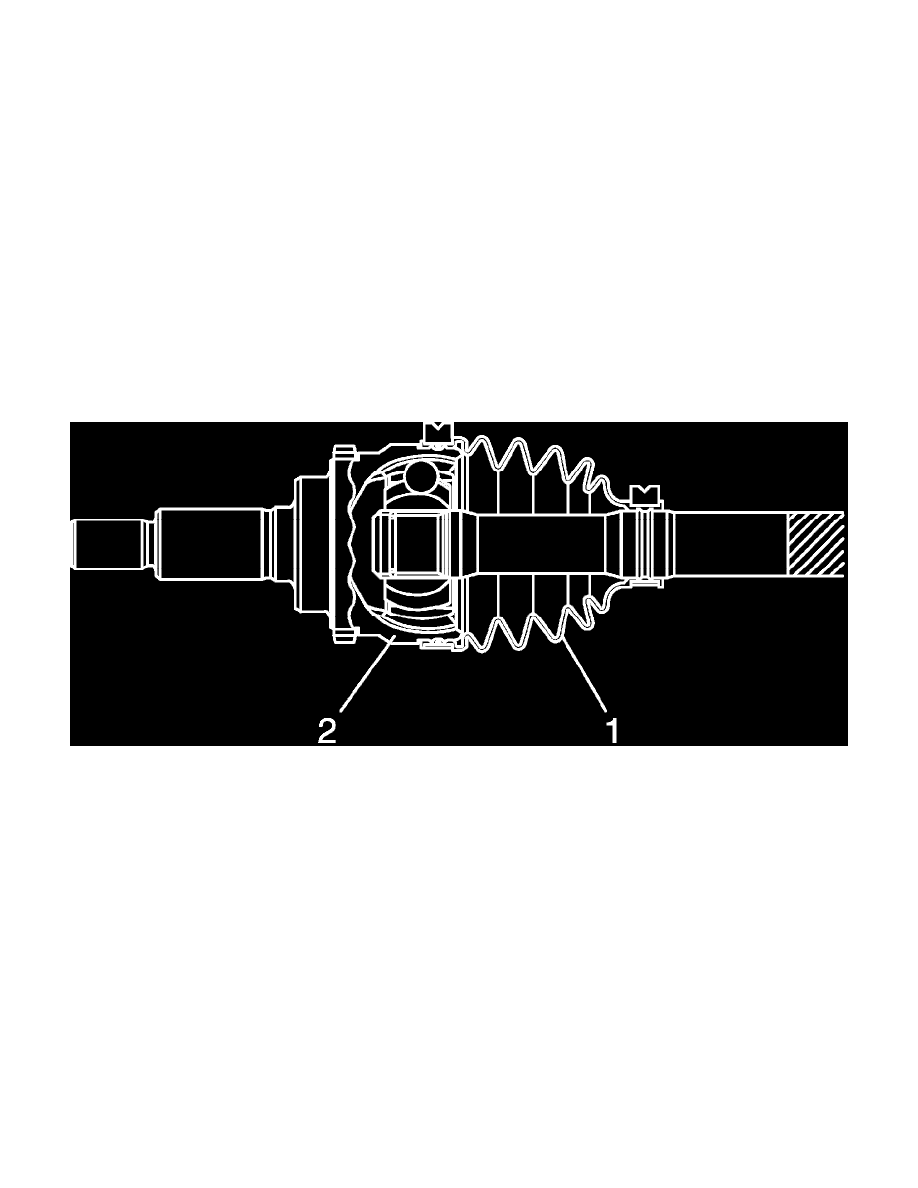
7) Fit boot (1) to grooves of shaft and housing (2).
8) Insert screw driver into boot and allow air to enter boot so that air pressure in boot becomes the same as atmospheric pressure.
9) Place new wheel side boot big band (3) and small band (4) onto boot putting band outer end (1) against forward rotation (2) as shown in figure.