Grand Vitara JLS Plus 2WD V6-2.5L (2000)

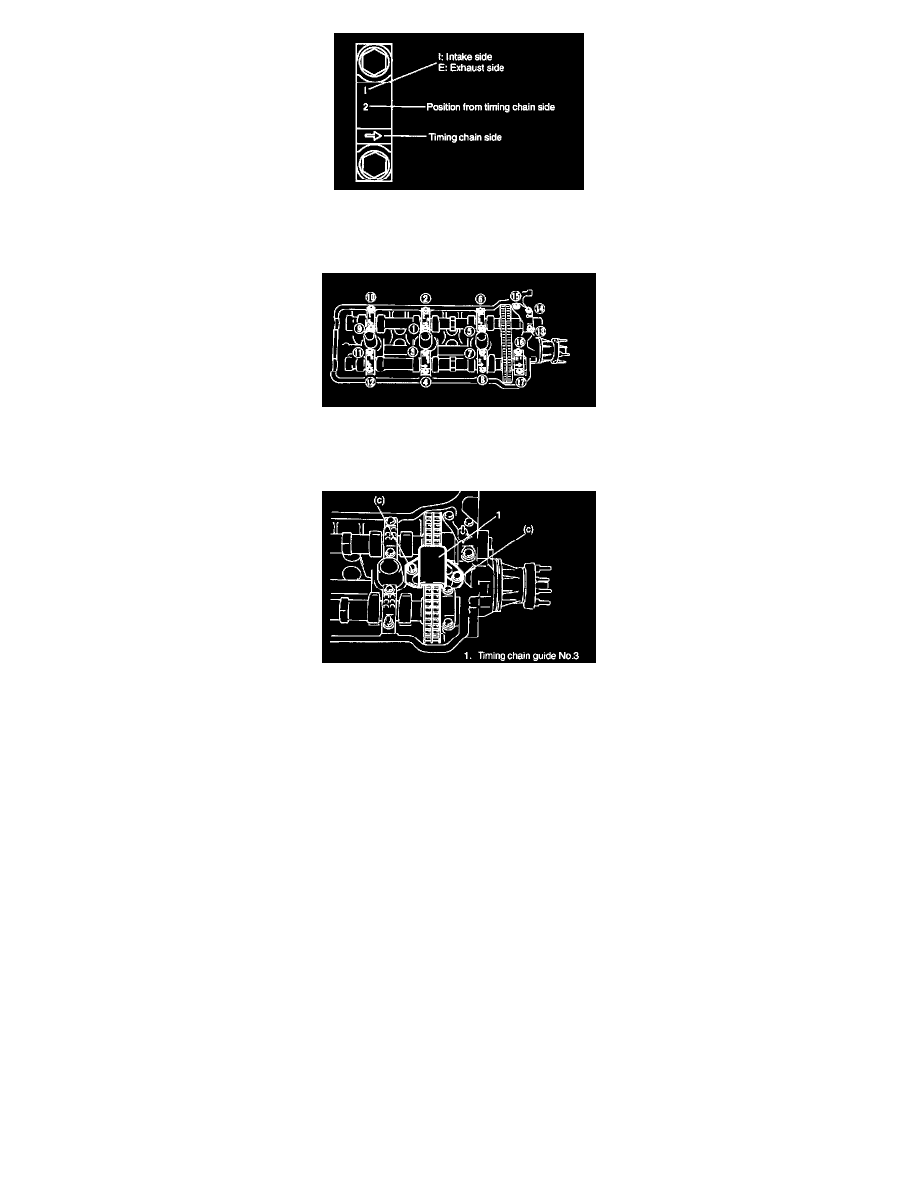
7. Check position of camshaft housings.
Embossed marks are provided on each camshaft housing, indicating position and direction for installation. Install housings as indicated by these
marks.
8. After applying oil to housing bolts, tighten them temporarily first. Then tighten them by following Sequence as indicated in figure. Tighten a little
at a time and evenly among bolts and repeat tightening sequence two or three times before they are tightened to specified torque below.
Tightening Torque 12 Nm (1.2 kg-m, 8.5 ft. lbs.)
9. Install timing chain guide No.3.
Tightening Torque (c): 11 Nm (1.1 kg-m, 7.5 ft. lbs.)
10. Install 1st timing chain.
11. Install LH bank 2nd timing chain.
12. Install timing chain cover. Refer to Timing Cover.
13. Install oil pan, front differential housing, P/S system, cooling system, intake manifold with throttle body and other parts.
14. Refill cooling system with coolant, front differential with gear oil, P/S system with specified fluid and engine with engine oil.
15. Check wheel alignment referring to Wheels Tires and Alignment.
16. Verify that there is no fuel leakage, water leakage and oil leakage at each connection.
