
Grand Vitara LTD 2WD V6-2.5L (2001)
12. Remove ball stud castle nut.
13. Using puller (1), disconnect knuckle (2) from ball stud (3).
14. Remove knuckle and wheel hub component, while lowering jack.
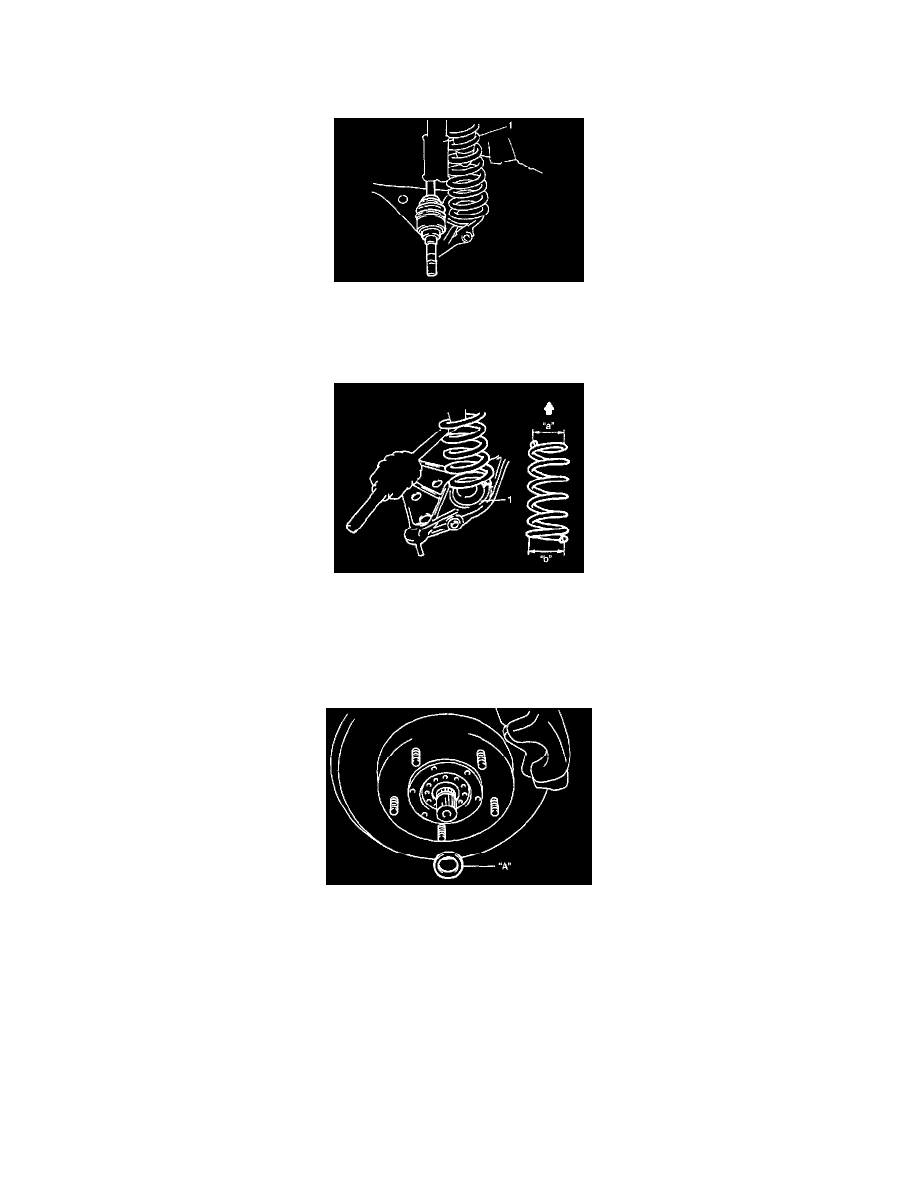
15. Remove coil spring (1).
INSTALLATION
Reverse removal procedure to install coil spring.
NOTE: Upper and lower diameters of coil spring are different.
Bring larger diameter end at bottom and set its open end in place on spring seat (1).
-
Be sure to use specified torque for tightening each fastener.
-
Refer to torque specification chart at the end of this section.
-
As for ball stud nut, be sure to insert split pin and bend it after tightening it.
-
Tighten tie-rod end nut with pushing ball stud to upper side so as not ball stud to be rotated.
For 4WD vehicle Apply lithium grease "A" to front spindle thrust washer and front wheel spindle outer.
"A": Grease 99000-25010
-
For 4WD vehicle
When installing circlip (1) to drive shaft, utilize screw hole in drive shaft to pull it out and bring large diameter (2) of circlip at right.