
Kizashi AWD L4-2.4L (2010)
Trailing Arm: Service and Repair
Trailing Arm Removal and Installation
Trailing Arm Removal and Installation
Removal
1) Hoist vehicle and remove rear wheels.
2) Support lower arm with jack.
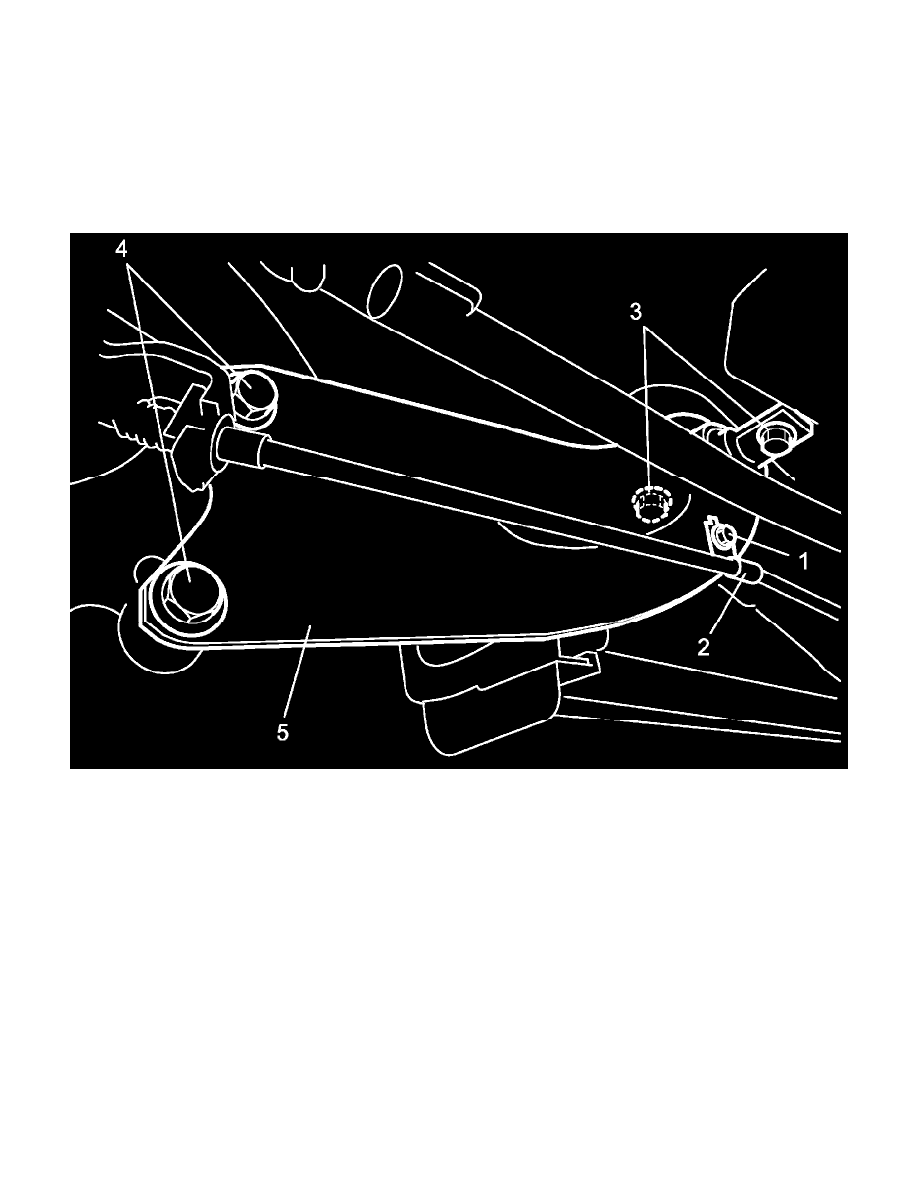
3) Remove parking brake cable guide bolt (1) and parking brake cable guide (2).
4) Remove trailing arm front bolts (3) and trailing arm rear bolts (4).
5) Remove trailing arm (5).
Installation
1) Set trailing arm (1) in position and tighten trailing arm front bolts (2) and new trailing arm rear bolts (3) to specified torques.
CAUTION:
^
Trailing arm front bolt and trailing arm rear bolt are pre-coated with friction stabilizer. Never reuse bolt. Otherwise, bolt may
loosen.
^
Tighten trailing arm rear bolts in the numbered order ("1" --> "2") to specified torque.
Tightening torque
Trailing arm front bolt (a): 65 Nm (6.6 kg-m, 48.0 lbf-ft)
Trailing arm rear bolt (b): 80 Nm (8.2 kg-m, 59.0 lbf-ft)
2) Install parking brake cable guide (4) to trailing arm and tighten parking cable guide bolt (5) to specified torque.
Tightening torque
Parking brake cable guide (c): 25 Nm (2.5 kg-m, 18.5 lbf-ft)