
Reno L4-2.0L (2006)
Brake Master Cylinder: Overhaul
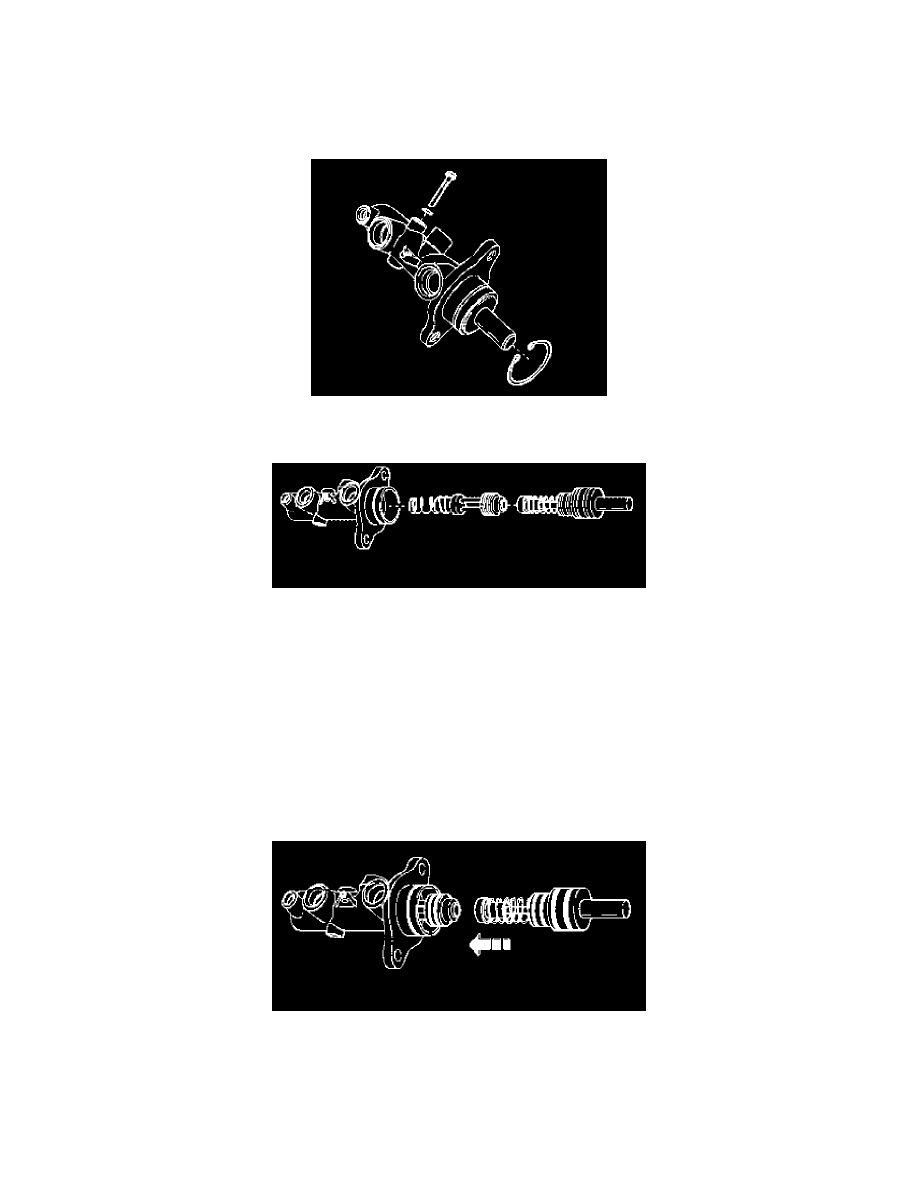
Master Cylinder Disassembly and Assembly
Disassembly
1. Remove the master cylinder.
2. Remove the brake fluid reservoir.
3. Remove the seal ring from the cylinder bore.
4. Remove and discard the retaining ring from the cylinder body (the non-ABS master cylinder body is shown) using a suitable screwdriver.
5. Remove the primary piston (the ABS master cylinder body is shown).
6. Carefully remove the secondary piston assembly, including the springs, from the master cylinder bore.
Assembly
CAUTION: Do not use abrasives in the master cylinder bore. Abrasives can damage the bore.
CAUTION: Rubber parts and retaining rings must be discarded and replaced with new parts.
1. Clean all parts with denatured alcohol or clean brake fluid. Dry the parts with compressed air.
2. Inspect the master cylinder bore for scoring or corrosion. If scoring or corrosion is evident, replace the master cylinder body.
3. Lubricate the master cylinder bore (the non-ABS master cylinder is shown) with clean brake fluid.
4. Carefully insert the secondary piston assembly bore until the secondary piston contacts the base of the cylinder body. Use a wood or a plastic drift,
if necessary.
5. Insert the primary piston.
6. Press the pistons into the cylinder bore using a wooden or a plastic drift.
7. Insert the new retaining ring into the groove in the cylinder bore (the non-ABS cylinder body is shown). Remove the welding rod.