
Reno L4-2.0L (2006)
4. Connect the electrical connectors to the sockets on the back of the controller.
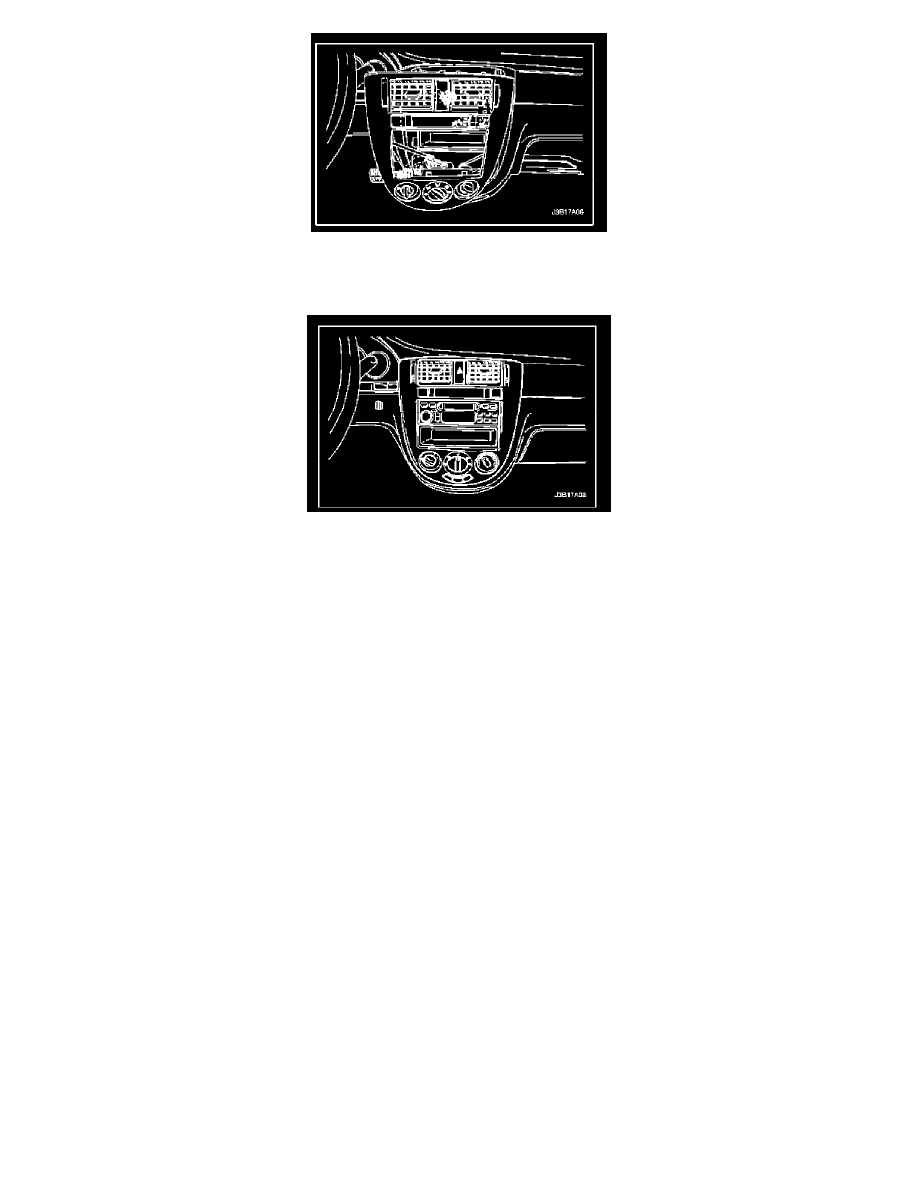
5. Gently insert the center molding into position on the instrument panel.
6. Connect the negative battery cable.
7. Confirm the proper operation of the controller by moving it through all of the controller's possible functioning positions.