
Reno L4-2.0L (2006)
Hose/Line HVAC: Service and Repair
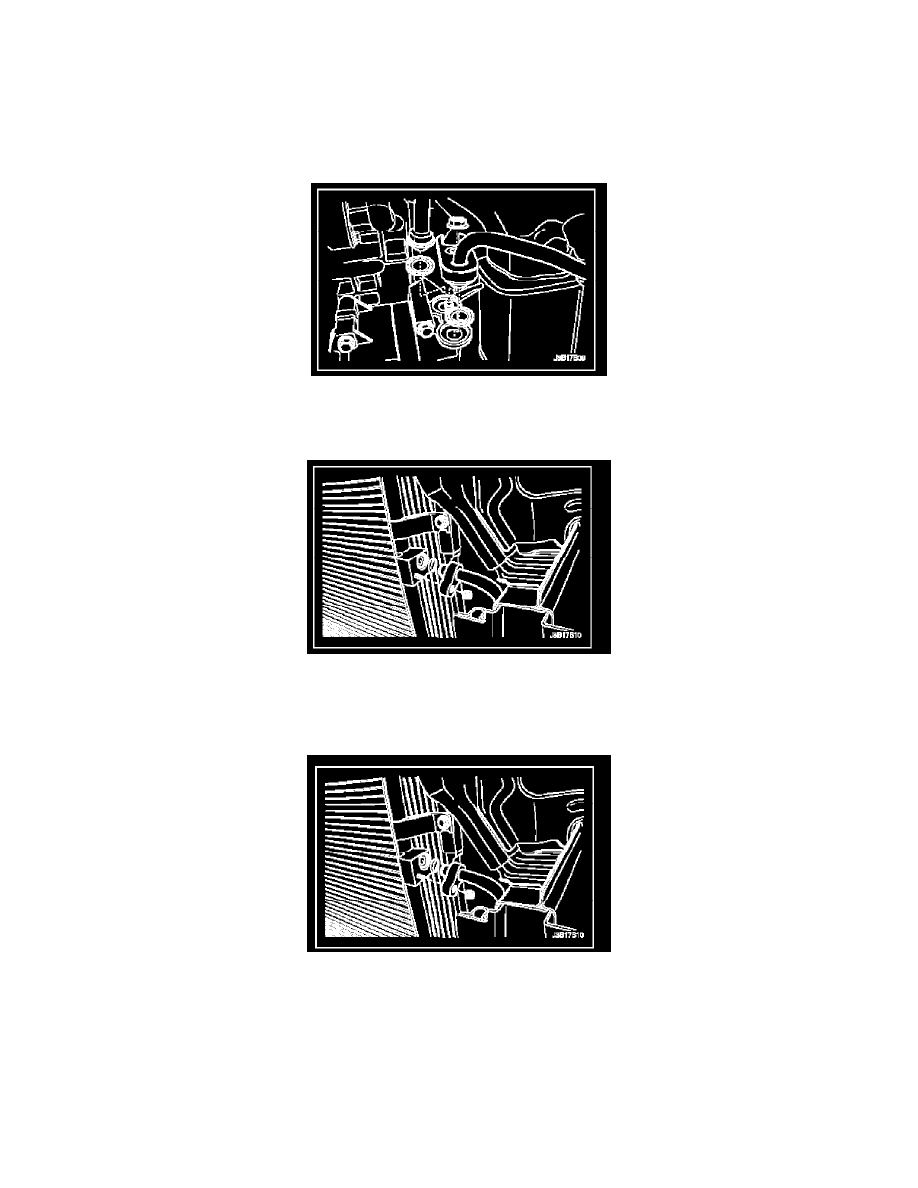
A/C Discharge Hose-Compressor to Condenser
A/C Discharge Hose-Compressor to Condenser Removal and Installation
Removal
1. Disconnect the negative battery cable.
2. Recover the refrigerant. Refer to Discharging, Adding Oil, Evacuating, and Charging Procedures for A/C System.
3. Remove the nut at the discharge hose block connected to compressor.
4. Remove the headlamp housing at the left-hand side.
5. Remove the nut at the condenser connecting block.
6. Remove the refrigerant discharge hose.
Installation
1. Install new sealing washers at the compressor connecting block end and a new O-ring at the condenser connecting block end.
2. Position the hose into the vehicle, and install the nut at the condenser connecting block.
Tighten: Tighten the refrigerant discharge hose block-to-condenser retaining nut to 16 Nm (12 ft. lbs.).
3. Make the hose connecting the connecting block to the compressor, and install the retaining nut.
Tighten: Tighten the refrigerant discharge hose block-to-compressor retaining nut to 33 Nm (24 ft. lbs.).
4. Connect the negative battery cable.