
Reno L4-2.0L (2006)
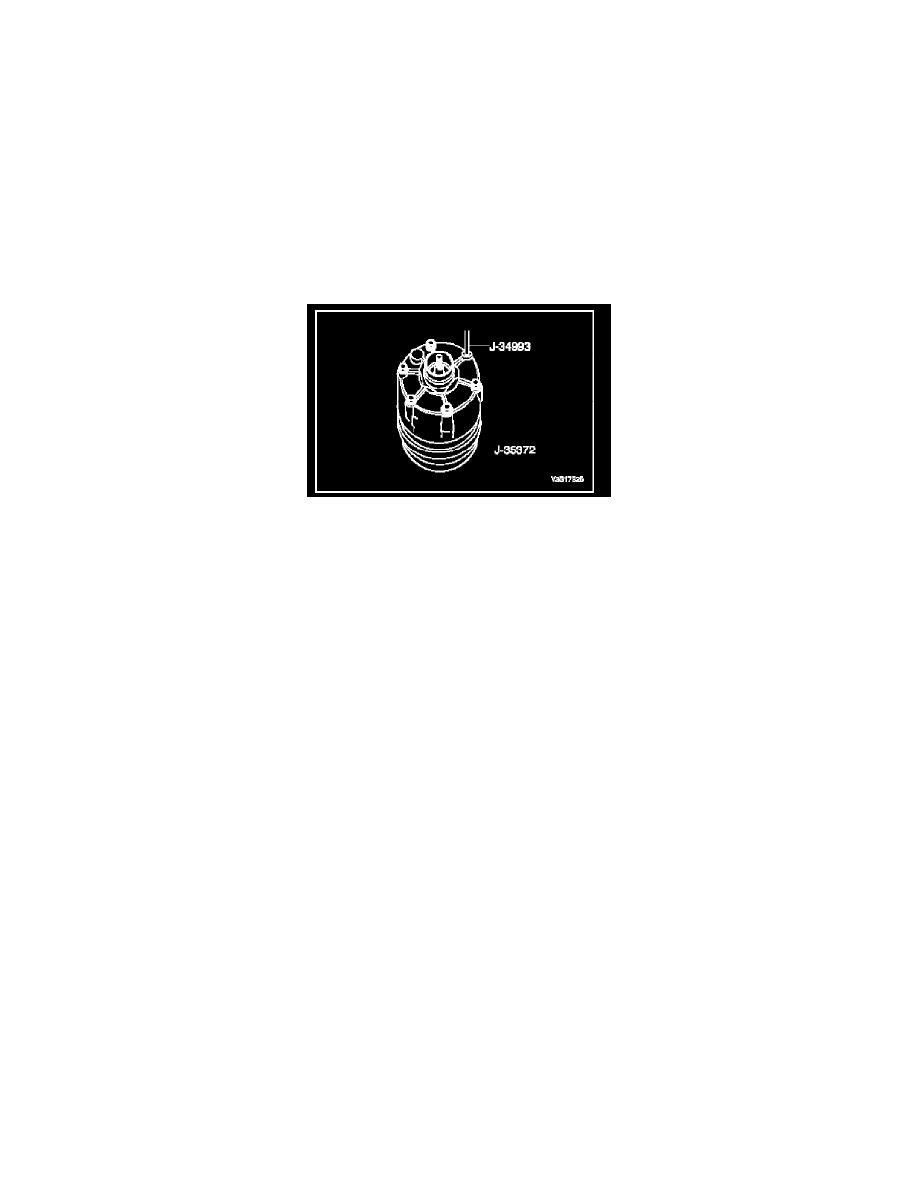
6. Align the guide pin recess in the compressor housing with the guide pin. Press down on the compressor housing with both hands to force it over
the O-ring on the cylinder assembly.
7. Add a new through-bolt gasket to the through-bolts and install it into the compressor assembly. Four through-bolts must thread into the rear head
before removing the guide pins.
Tighten: Alternately tighten the through-bolts in progressive torque sequence to 10 Nm (89 in. lbs.).
8. Install a new shaft seal.
9. Add new PAG oil equal to the amount drained in Step 3.
10. Install the clutch coil.
11. Install the clutch rotor and bearing.
12. Install the clutch plate and hub assembly.
13. Perform a leak test on the compressor. Refer to Leak Testing Refrigerant System. See: Heating and Air Conditioning/Testing and
Inspection/Component Tests and General Diagnostics/Leak Testing Refrigerant System
14. Install the compressor.
15. Evacuate and recharge the A/C system. Refer to Discharging, Adding Oil, Evacuating, and Charging Procedures for A/C System.
Handling of Refrigerant Lines and Fittings
Handling of Refrigerant Lines and Fittings
CAUTION: Using too low or too high torque when tightening a fitting can result in loose joints or deformed joint parts. Both conditions can result in
refrigerant leakage.
^
Keep all metal tubing lines free of dents or kinks. Any line restrictions will cause the loss of system capacity.
^
Never bend a flexible hose line to a radius of less than four times the diameter of the hose.
^
Never allow a flexible hose line to come within 65 mm (2-1/2 in.) of the exhaust manifold.
^
Inspect flexible hose lines regularly for leaks or brittleness.
^
Replace flexible hose lines with new lines if you find signs of deterioration or leaking.
^
Discharge all refrigerant of the refrigeration system before disconnecting any fitting in the refrigeration system.
^
Proceed very cautiously regardless of the gauge readings.
WARNING: Keep your face and your hands away from the fitting so that you will not be injured if there happens to be liquid refrigerant
in the line.
^
Open the fittings very slowly.
^
If you notice pressure when you loosen a fitting, allow the pressure to bleed off as described under Discharging, Adding Oil, Evacuating, and
Charging Procedures for A/C System.
^
Cap or tape any refrigerant line immediately after it is opened. This will prevent the entrance of moisture and dirt, which can cause internal
compressor wear or plugged lines in the condenser, the evaporator core, the expansion valve, or the compressor inlet screens.
NOTE: Use two proper wrenches to connect the O-ring fittings.
^
Back up the opposing fitting to prevent distortion of the connecting lines or the components.
^
Back up both the swagged fitting on the flexible hose connections and the coupling to which it is attached with two wrenches to prevent turning the
fitting and damaging the ground seat.
^
Keep the O-rings and the seats in perfect condition. A burr or a piece of dirt may cause a refrigerant leak.
^
Dip new O-rings in clean polyalkaline glycol refrigerant oil before installation.
O-Ring Replacement
O-ring Replacement
CAUTION: