
Sidekick 4 Door 4WD L4-1.8L DOHC MFI 16V (1996)
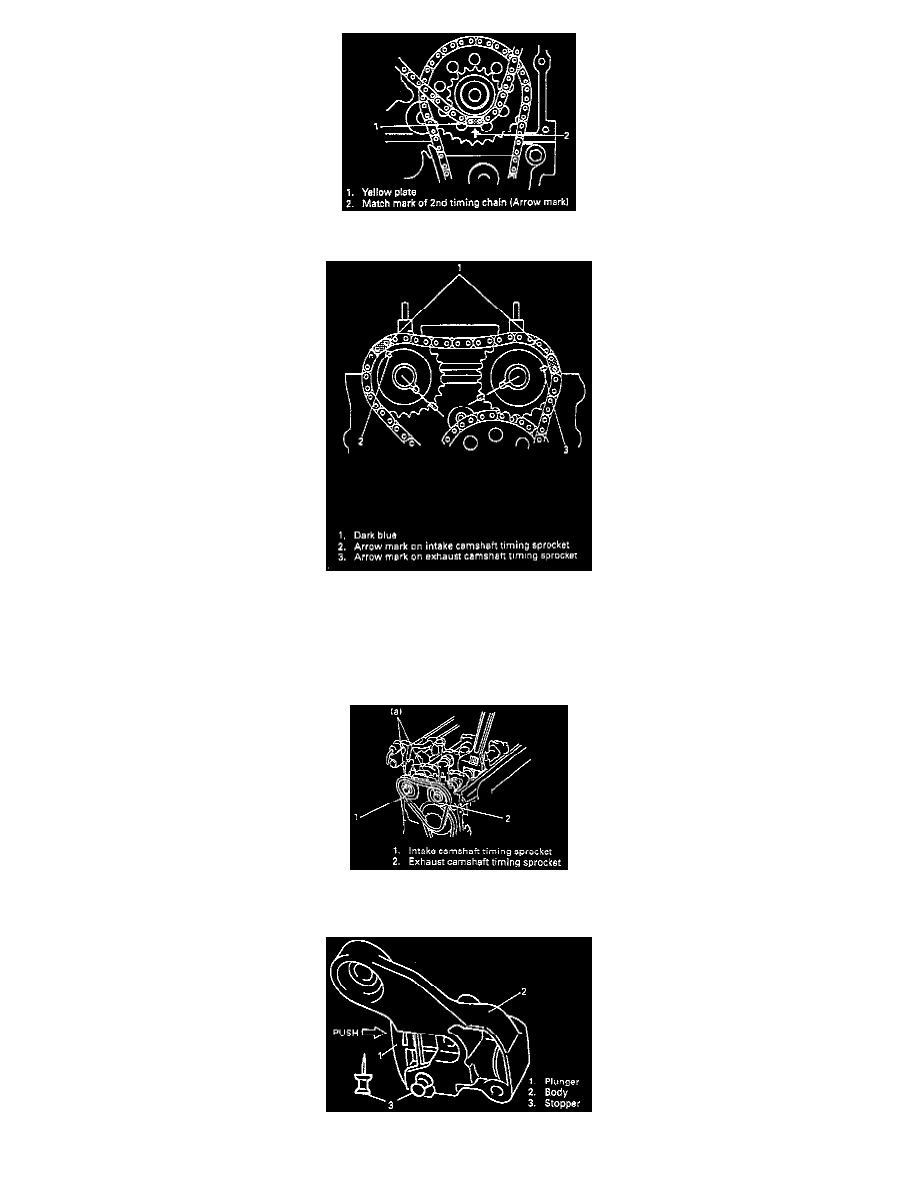
4. Install 2nd timing chain by aligning yellow plate of 2nd timing chain and match marks on idler sprocket.
5. Install sprockets to intake and exhaust camshafts by aligning dark blue plate of 2nd timing chain, match marks on intake sprocket and exhaust
sprocket respectively.
CAUTION: Do not turn camshaft more than necessary. If turned excessively, valve and piston may get damaged.
NOTE: As an arrow mark is provided on both sides, camshaft timing sprocket has no specific installation direction.
6. Install intake and exhaust camshaft timing sprocket bolts. To install it, fit a spanner to hexagonal part at the center of camshaft to hold stationary.
Tightening Torque (a): 60 Nm (6.0 kg-m, 43.5 ft. lbs.).
7. Plunger pushed back into body, insert stopper into body. After inserting it, check to make sure that plunger will not come out.