
Sidekick 4WD L4-1590cc 1.6L SOHC 0 TBI 8V (1990)
Ball Joint: Service and Repair
Removal
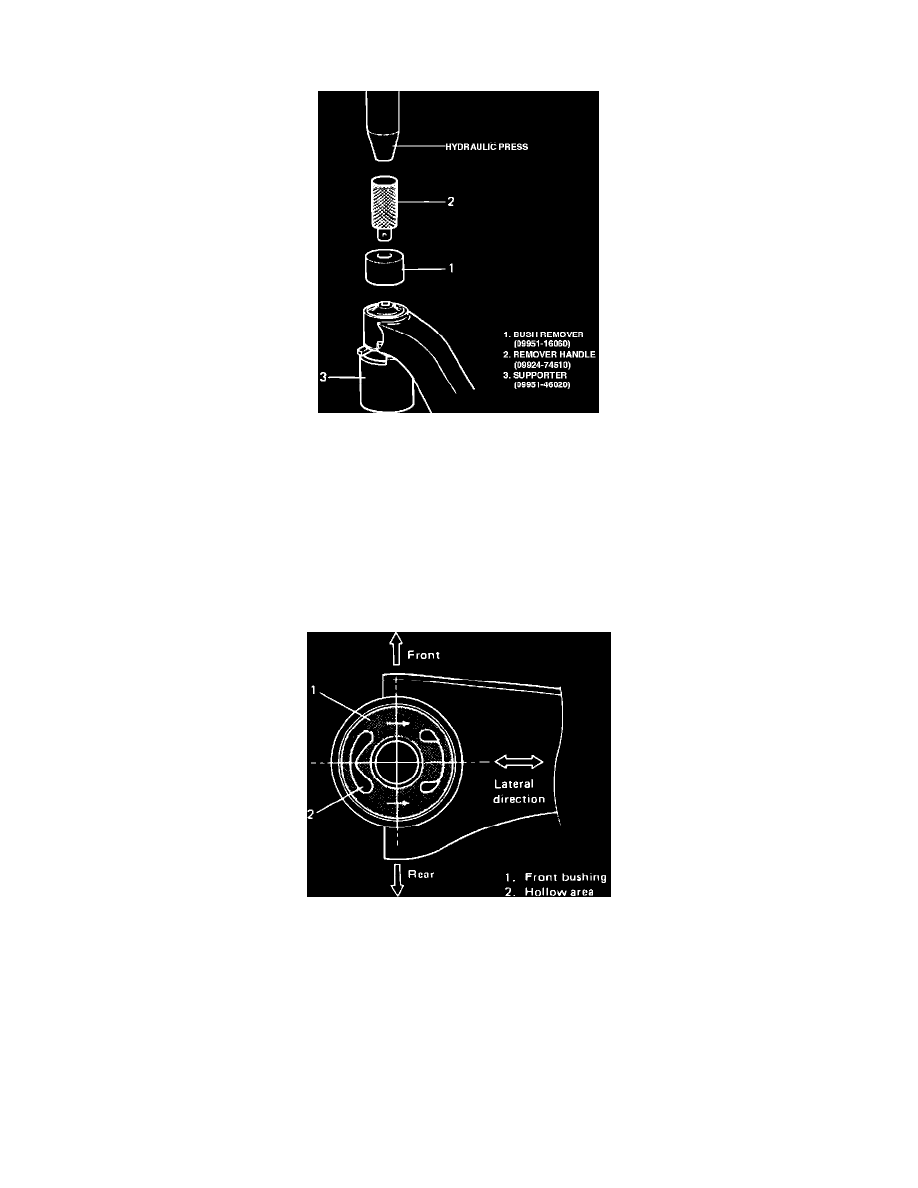
Fig. 17 Removing Suspension Control Arm Front Bushing
1.
Remove coil spring as outlined under COIL SPRING
2.
Remove lower arm bracket bolts, then lower arm.
3.
Remove ball joint assembly three attaching bolts, then ball joint.
4.
Remove front bushing as follows:
a. Cut off 5 mm of bushing flange, then using press and tools shown in Fig. 17, remove bushing.
5.
Remove rear bushing as follows:
a. Cut off bushing flange, then using press and bushing remover set No. 09951-16040 or equivalent, remove bushing.
Installation
Fig. 18 Aligning Suspension Control Arm Front Bushing
1.
Press fit front bushing until its flange contacts housing edge of lower arm. Set bushing in arm aligning hollow areas as shown in Fig. 18.
2.
Press fit rear bushing so that lower arm housing is held between its flanges.
3.
Install ball joint to lower arm torquing bolts to specifications.
4.
Install lower arm to chassis.
5.
Refer to COIL SPRING to complete installation procedure.