
Sidekick JS 2D 2WD L4-1.6L (1998)
Brake Rotor/Disc: Service and Repair
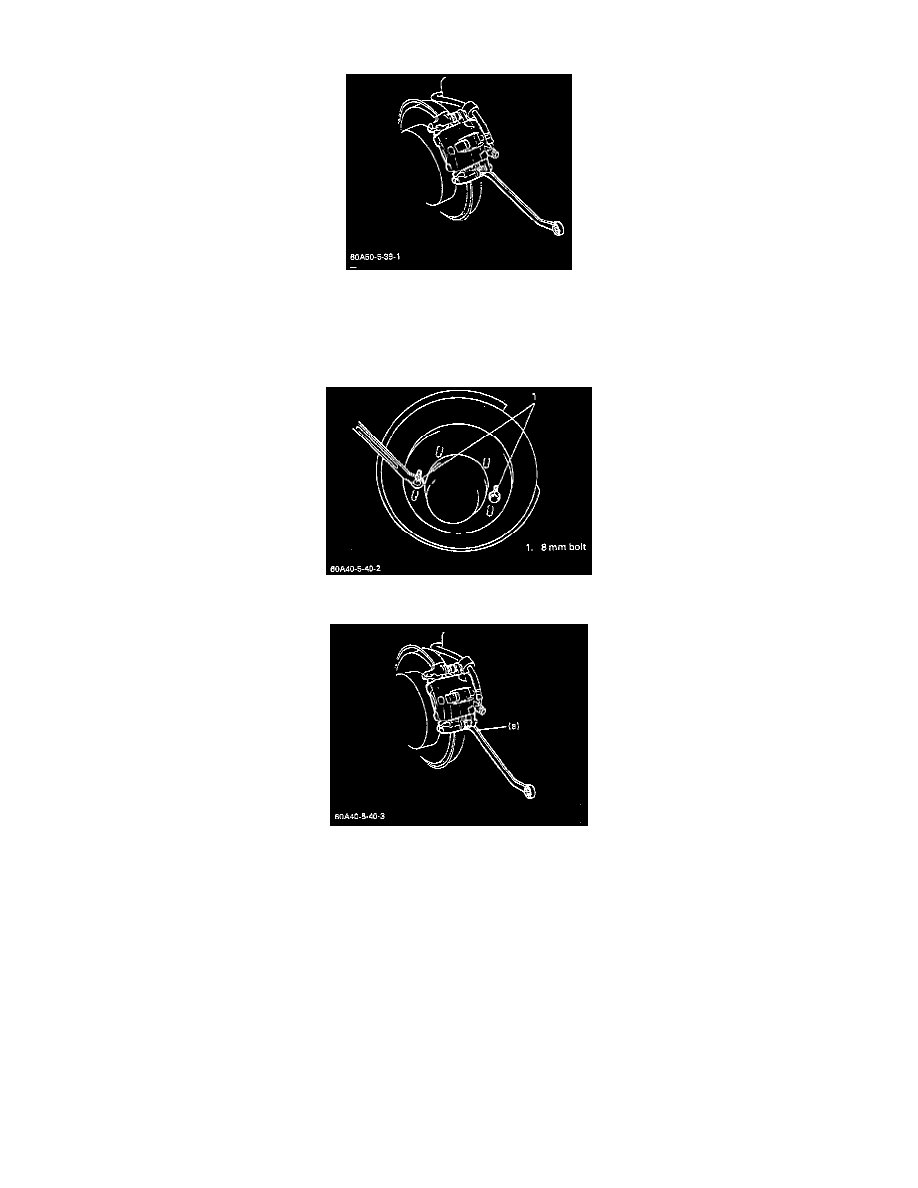
REMOVAL
1) Hoist vehicle and remove wheel.
2) Remove caliper assembly by loosening carrier bolts (2 pcs).
CAUTION: During removal, be careful not to damage brake flexible hose and not to depress brake pedal.
3) Remove disc by using 8 mm bolts (2 pcs).
INSTALLATION
NOTE: All brake fasteners are important attaching parts in that they could affect the performance of vital parts and systems, and/or could result in
major repair expense. They must be replaced with one of same part number or with an equivalent part if replacement becomes necessary. Do not use a
replacement part of lesser quality or substitute design. Torque values must be used as specified during reassembly to assure proper retention of all
parts. There is to be no welding as it may result in extensive damage and weakening of the metal.
1) Install disc to wheel hub.
2) Install caliper assembly to steering knuckle.
3) Torque caliper carrier bolts to specification.
Tightening Torque
(a): 85 Nm (8.5 kg-m, 61.5 ft. lbs.)