Sidekick JS 2D Soft Top 2WD L4-1.6L (1997)

4. Install rear axle shaft to rear axle housing.
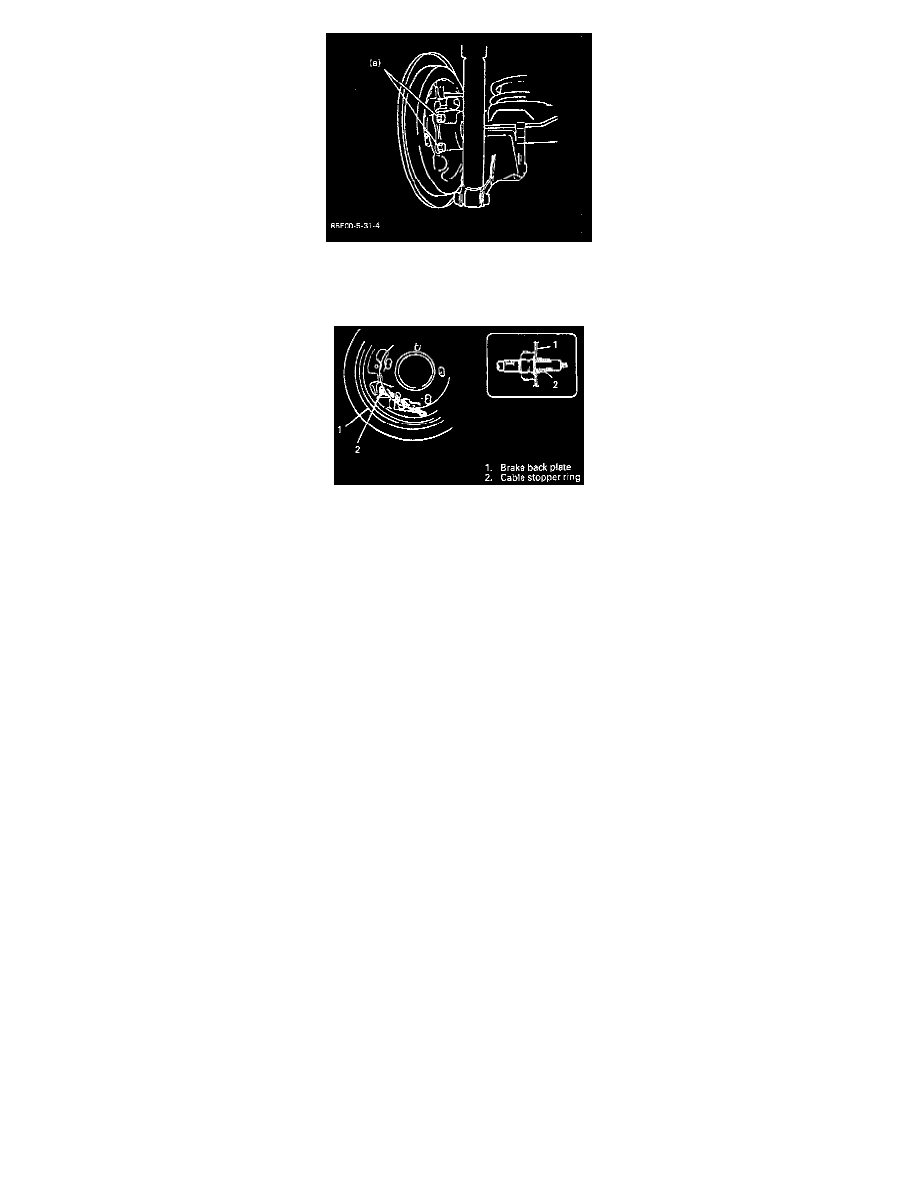
5. Tighten brake back plate nuts (a) to 23 Nm (17.0 ft. lbs.).
6. Install wheel cylinder, and tighten wheel cylinder bolts and brake pipe flare nut (or nuts) to specified torque.
7. Install parking brake cable to brake back plate.
8. Install brake shoes.
9. Install brake drum.
10. Refill differential housing with new specified gear oil.
11. Fill reservoir with brake fluid and bleed brake system. See: Brake Bleeding/Service and Repair
12. Install wheel and tighten wheel nuts to 95 Nm (69.0 ft. lbs.)
13. Upon completion of all jobs, depress brake pedal with about 30 kg (66 lbs.) load three to ten times so as to obtain proper drum-to-shoe clearance
and adjust the parking brake cable as necessary. See: Parking Brake System/Parking Brake Lever/Adjustments
14. Tighten parking brake lever cover screws.
15. Check to ensure that the brake drum is free from dragging and proper braking is obtained. Then remove vehicle from the hoist and perform brake
test (foot brake and parking brake).
16. Check each installed part for oil leakage.
