Sidekick JS 2D Soft Top 2WD L4-1.6L (1997)

Crankshaft: Testing and Inspection
CRANKSHAFT RUNOUT
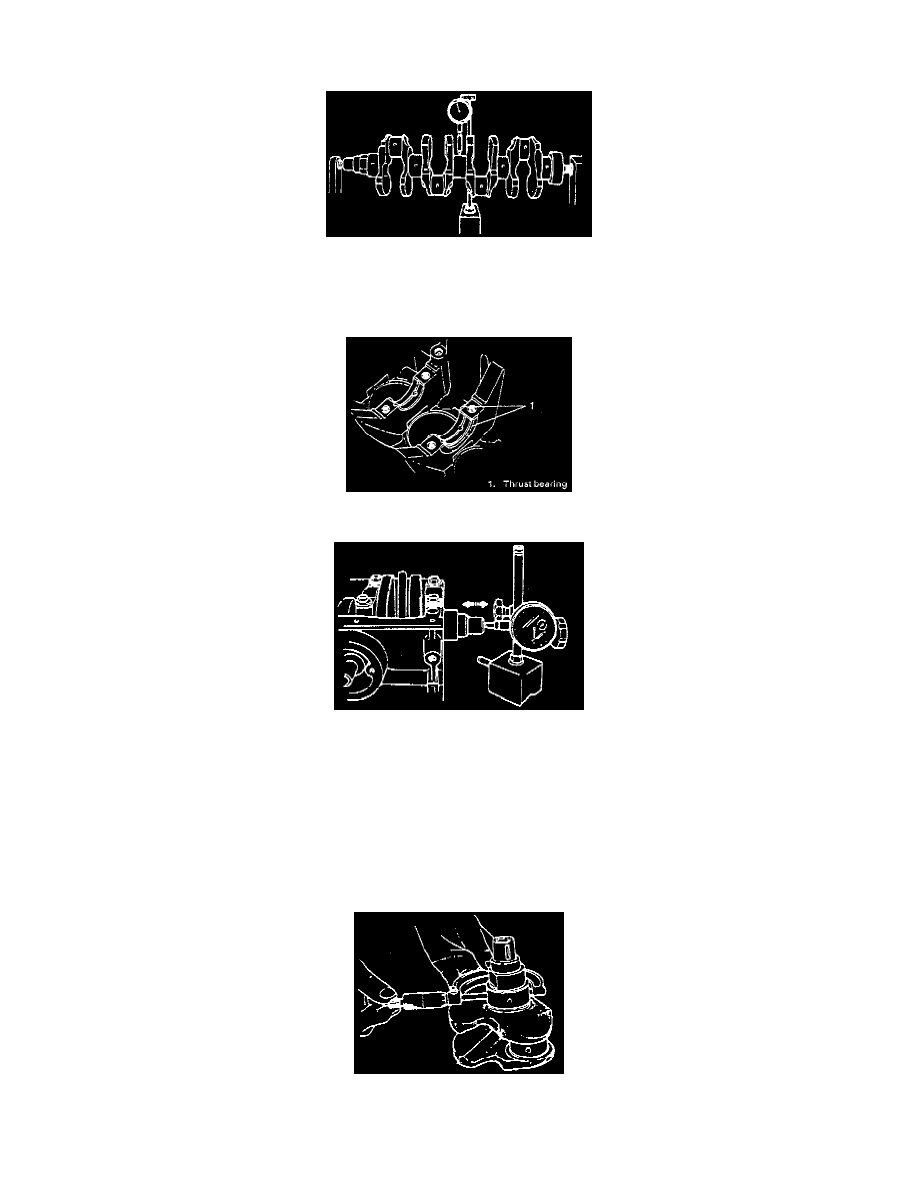
Using a dial gauge, measure runout at center journal. Rotate crankshaft slowly. If runout exceeds its limit, replace crankshaft.
Limit on runout: 0.06 mm (0.0023 inch)
CRANKSHAFT THRUST PLAY
Measure this play with crankshaft set in cylinder block in the normal manner, that is, with thrust bearing and journal bearing caps installed.
Use a dial gauge to read displacement in axial (thrust) direction of crankshaft. If its limit is exceeded, replace thrust bearing with new standard one or
oversize one to obtain standard thrust play.
Crankshaft Thrust Play:
Standard: 0.11 - 0.31 mm (0.0044- 0.0122 inch)
Limit: 0.38 mm (0.0149 inch)
Thickness Of Crankshaft Thrust Bearing:
Standard: 2.500 mm (0.0984 inch)
Oversize 0.125 mm (0.0049 inch): 2.563 mm (0.1009 inch)
OUT-OF-ROUND AND TAPER (UNEVEN WEAR) OF JOURNALS
An unevenly worn crankshaft journal shows up as a difference in diameter at a cross section or along its length (or both). This difference, if any, is
determined by taking micrometer readings. If any one of journals is badly damaged or if amount of uneven wear in the sense explained above exceeds
its limit, regrind or replace crankshaft.
