Sidekick JSS 4D Hard Top 2WD L4-1.8L (1997)

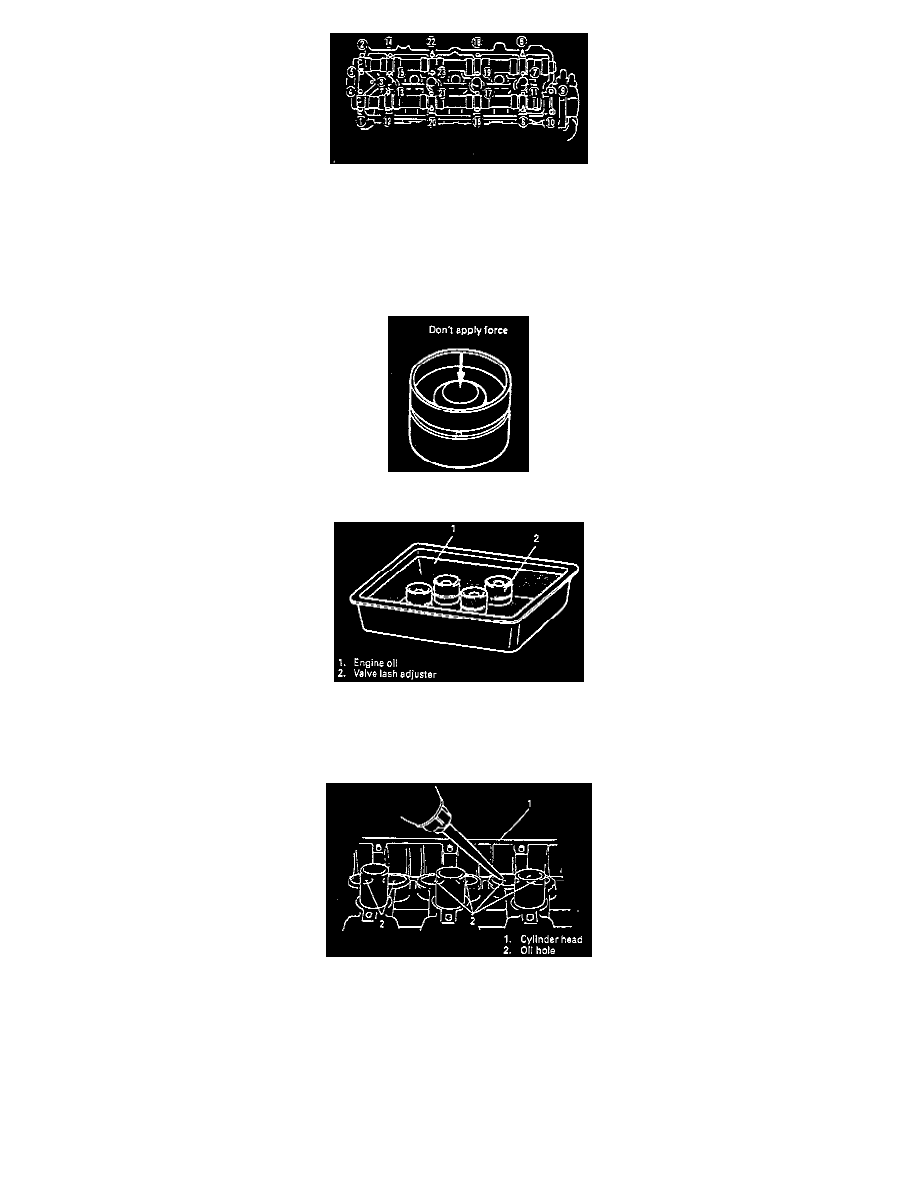
10. Loosen camshaft housing bolts in such order as indicated in figure and remove them.
11. Remove camshaft housings.
12. Remove camshafts.
13. Remove valve lash adjusters.
NOTE:
^
Never disassemble hydraulic valve lash adjuster.
^
Don't apply force to body of adjuster, oil in high pressure chamber in adjuster will leak.
^
Immerse removed adjuster in clean engine oil and keep it there till reinstalling it so as to prevent oil leakage. If it is left in air, place it with its
bucket body facing down. Don't place on its side or with bucket body facing up.
INSTALLATION
1. Before installing valve lash adjuster to cylinder head, fill oil passage of cylinder head with engine oil according to following procedure. Pour
engine oil through oil holes and check that oil comes out from oil holes in sliding part of valve lash adjuster. Perform this check on both intake and
exhaust sides.
