
Sidekick JSS 4D Hard Top 2WD L4-1.8L (1997)
bearing, it is painted red at the position as indicated in figure, undersize bearing thickness is 1.605 - 1.615 mm (0.0632 - 0.0635 inch) at the center of
it.
Rod Bearing Clearance
1. Before checking bearing clearance, clean bearing and crank pin.
2. Install bearing in connecting rod and bearing cap.
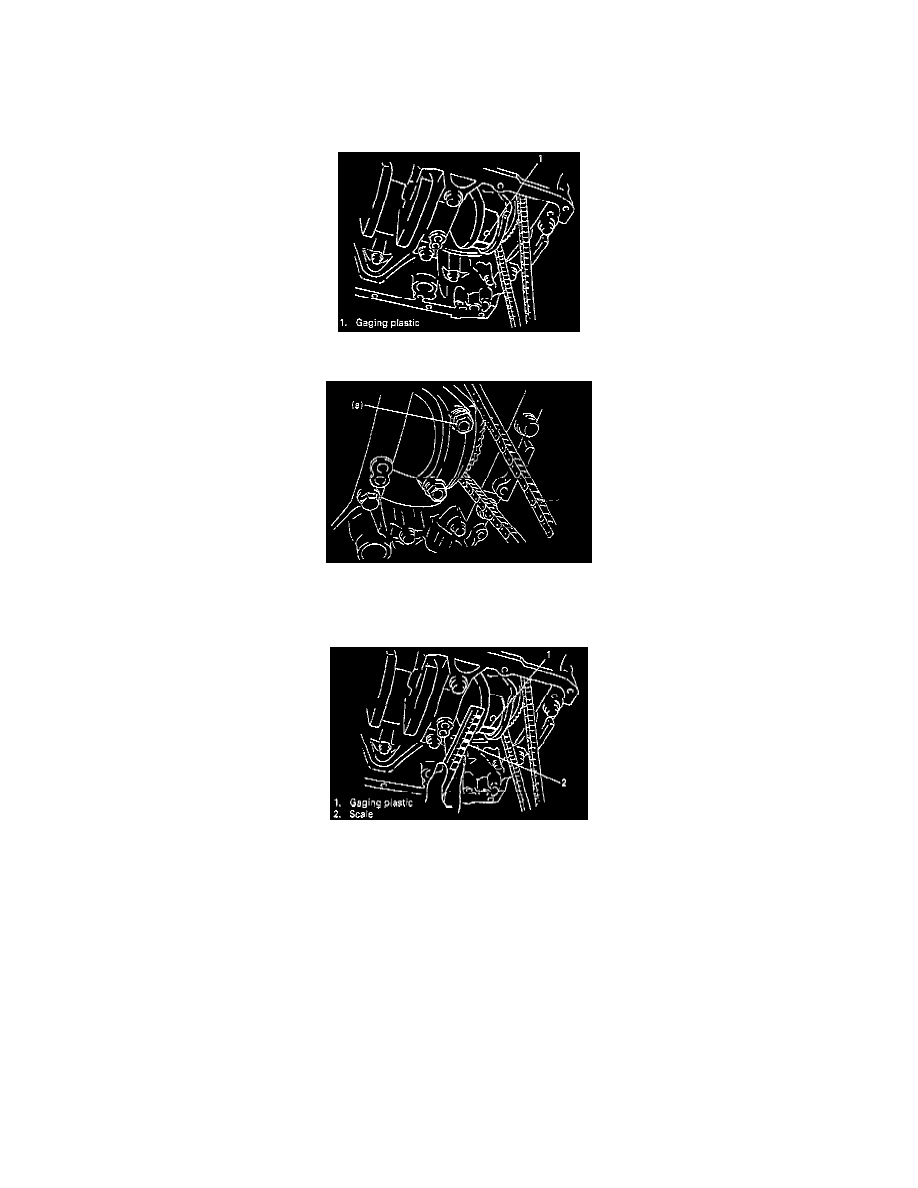
3. Place piece of gaging plastic the full width of crank pin as contacted by bearing (parallel to crankshaft), avoiding oil hole.
4. Install rod bearing cap to connecting rod. When installing cap, be sure to point arrow mark on cap to crankshaft pulley side, as shown in figure.
After applying engine oil to rod bolts, tighten cap nuts to specified torque. DO NOT turn crankshaft with gaging plastic installed.
Tightening Torque (a): 45 N m (4.5 kg-m, 33.0 ft. lbs.).
5. Remove cap and using a scale on gaging plastic envelope, measure gaging plastic width at the widest point (clearance). If clearance exceeds its
limit, use a new standard size bearing and remeasure clearance.
Bearing Clearance:
Standard: 0.045 - 0.063 mm (0.018 - 0.0024 inch)
Limit: 0.08 mm (0.0031 inch)
6. If clearance can not be brought to within its limit even by using a new standard size bearing, regrind crankpin to undersize and use 0.25 mm
undersize bearing.
Selection Of Connecting Rod Bearing
Standard Bearing: If bearing is in malcondition, or bearing clearance is out of specification, select a new standard bearing according to following
procedure and install it.