
Sidekick JX 2D 4WD L4-1.6L (1998)
9. Apply specified fluid to O-ring and install it to pump body securely.
10. Tighten cover bolts to specified torque.
NOTE: After installing cover, check to make sure that shaft can be turned by hand.
Tightening Torque (a): 24 Nm (2.4 kg-m, 17.5 ft. lbs.)
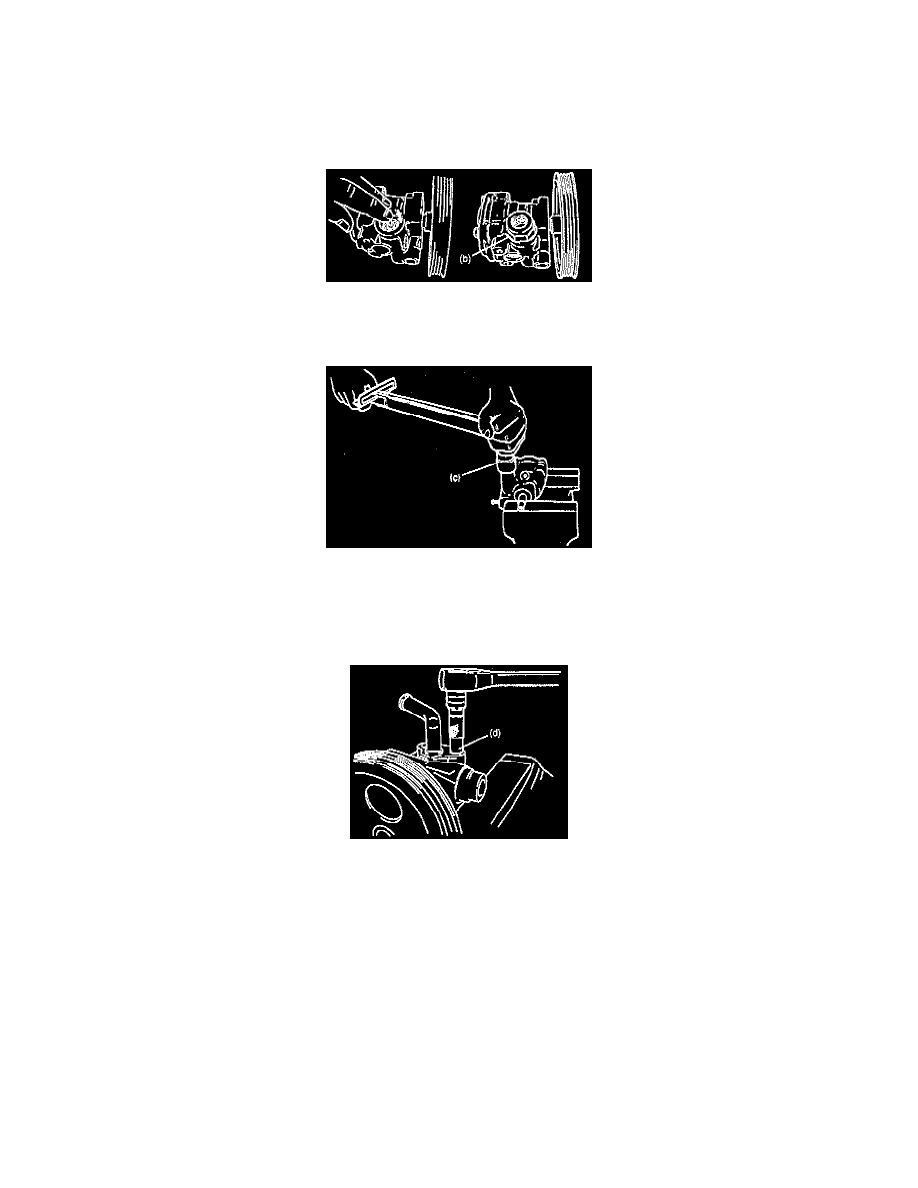
11. Check that flow control valve slides smoothly and tighten discharge (delivery) connector to specified torque.
Tightening Torque (b): 66 Nm (6.6 kg-m, 48.0 ft. lbs.)
12. Tighten power steering pressure switch (terminal set) to specified torque.
Tightening Torque (c): 18 Nm (1.8 kg-m, 13.5 ft. lbs.)
13. Install O-ring to suction connector after applying specified fluid to O-ring.
14. Tighten suction connector bolts to specified torque.
Tightening Torque for connector bolts (d): 10 Nm (1.0 kg-m, 7.5 ft. lbs.)
Type B
DISASSEMBLY
1. Clean its exterior thoroughly.
2. With aluminum plates placed on vise first, grip pump body with it.
3. Remove suction connector bolt, suction connector and O-ring from pump body.
4. Remove power steering pressure switch (terminal set) from pump body.
5. Remove plug, flow control spring and relief valve (flow control valve) from pump body.
6. Remove cover bolts, pump cover and O-ring from pump body.
7. Remove snap ring from pump shaft.
8. Remove vanes from rotor.
9. Remove cam ring, rotor, side plate and O-rings from pump body.
10. Pull out pulley from pump body.
11. Remove oil seal from pump body.