
Sidekick JX 2D 4WD L4-1.6L (1998)
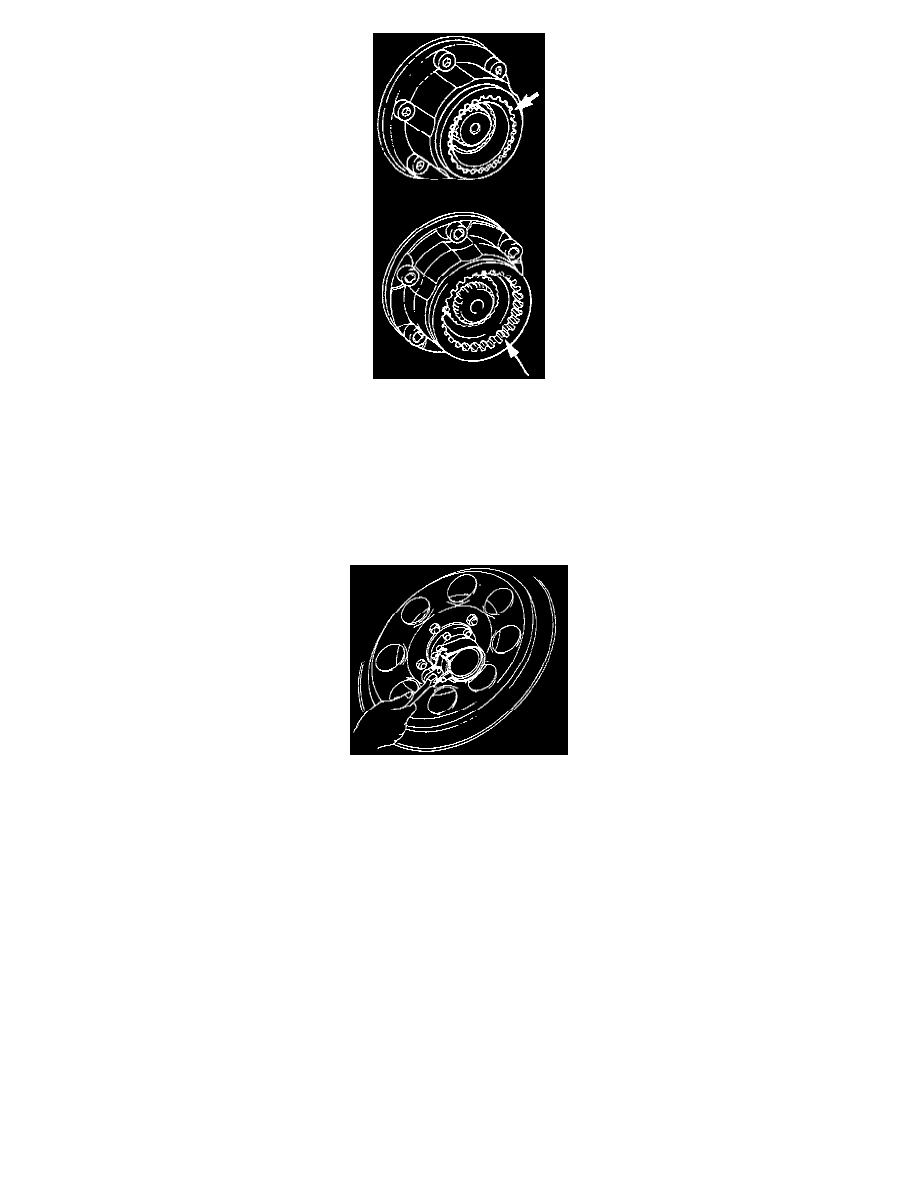
2. Remove each free wheeling hub cover at right and left, and confirm that hub body spline is properly engaged with the slide gear spline
positioned just inside the hub body (i.e., that automatic free wheeling hub is in locked condition).
3. Set transfer gear shift lever to 2H position, and move the war 2 m (6.5 ft) or more backward slowly.
4. Confirm that slide gear of each automatic free wheeling hub at right and left is slid toward hub body-inside so that slide gear spline is
completely disengaged from hub body spline (i.e., each automatic free wheeling hub is in the free condition).
5. Check to ensure that free wheeling hub locks and unlocks properly by reversing car moving directions described in steps 1 to 4. (It should lock
when moving backward and unlock when moving forward.)
If any malfunction is found as to the confirmation in the above steps 1 through 5, the method of assembly is responsible for the malfunction.
Therefore, conduct assembly again.
6. Make sure the automatic free wheeling hub cap has an O-ring correctly installed, and assemble this cap firmly to the free wheeling hub body
using an oil filter wrench, etc. (The cap should not be able to be loosened by hand.)
NOTE: While the automatic free wheeling hub cap is removed, strict care should be taken that foreign matters, such as dust, mud, etc., do not
get into the free wheeling hub interior.