
Sidekick JX 4D Hard Top 4WD L4-1.6L (1997)
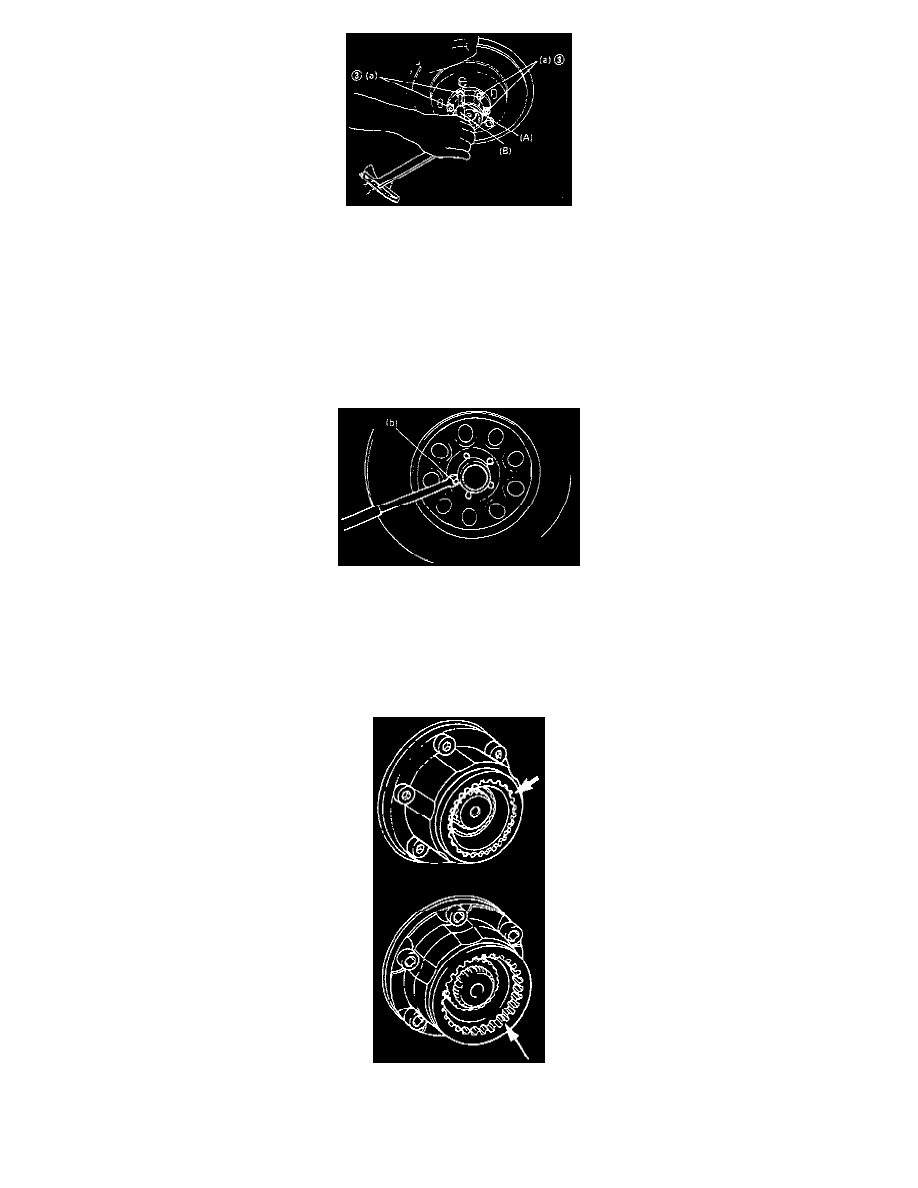
2. Using special tools, (A) and (B), tighten bolts (3) specified torque.
Special Tool:
(A): 09900-00414
(B): 09900-00411 or equivalents.
Tightening Torque (a): 33 Nm (24 ft. lbs.)
3. Install O-ring correctly in the groove provided inside hub cover.
Tighten the cover to hub body assembly by hand.
NOTE: Upon completion of operation check mentioned in the next item "post-assembly confirmation", be sure to firmly tighten this cover using
an oil filter wrench, etc.
4. Install front wheels and tighten wheel nuts to specified torque.
Tightening Torque (b): 95 Nm (69 ft. lbs.)
5. Dismount the vehicle from the lift, and be sure to carry out the operation check of free wheeling hub mentioned in "post-assembly confirmation".
Post-Assembly Confirmation
Confirm automatic free wheeling hub for proper operation in the sequence described below.
1. Set transfer gear shift lever to 4H or 4L position, and move, the car 2 m (6.5 ft.) or more forward slowly.
2. Remove each free wheeling hub cover at right and left, and confirm that hub body spline is properly engaged with the slide gear spline positioned
just inside the hub body (i.e., that automatic free wheeling hub is in locked condition).
3. Set transfer gear shift lever to 2H position, and move the war 2 m (6.5 ft) or more backward slowly.
4. Confirm that slide gear of each automatic free wheeling hub at right and left is slid toward hub body-inside so that slide gear spline is completely