
Swift L4-1298cc 1.3L SOHC MFI (1997)
5. Pull out steering column upper cover as shown in figure.
NOTE: If steering column upper cover cannot be pulled out easily, loosen steering shaft joint upper side bolt first and then steering column
mounting bolts.
6. Loosen clamp and bands for contact coil and combination switch wire harness, and disconnect its connectors from junction/fuse block and other
wire harness.
7. Remove contact coil and combination switch assembly from steering column.
INSTALLATION
1. Check contact coil and combination switch wire harness for any signs of scorching, melting or other damage. If it is damaged, replace.
2. Check to make sure that vehicle wheels (front tires) are set at straight-ahead position and that ignition switch is at "LOCK" position.
3. Install contact coil and combination switch assembly to steering column.
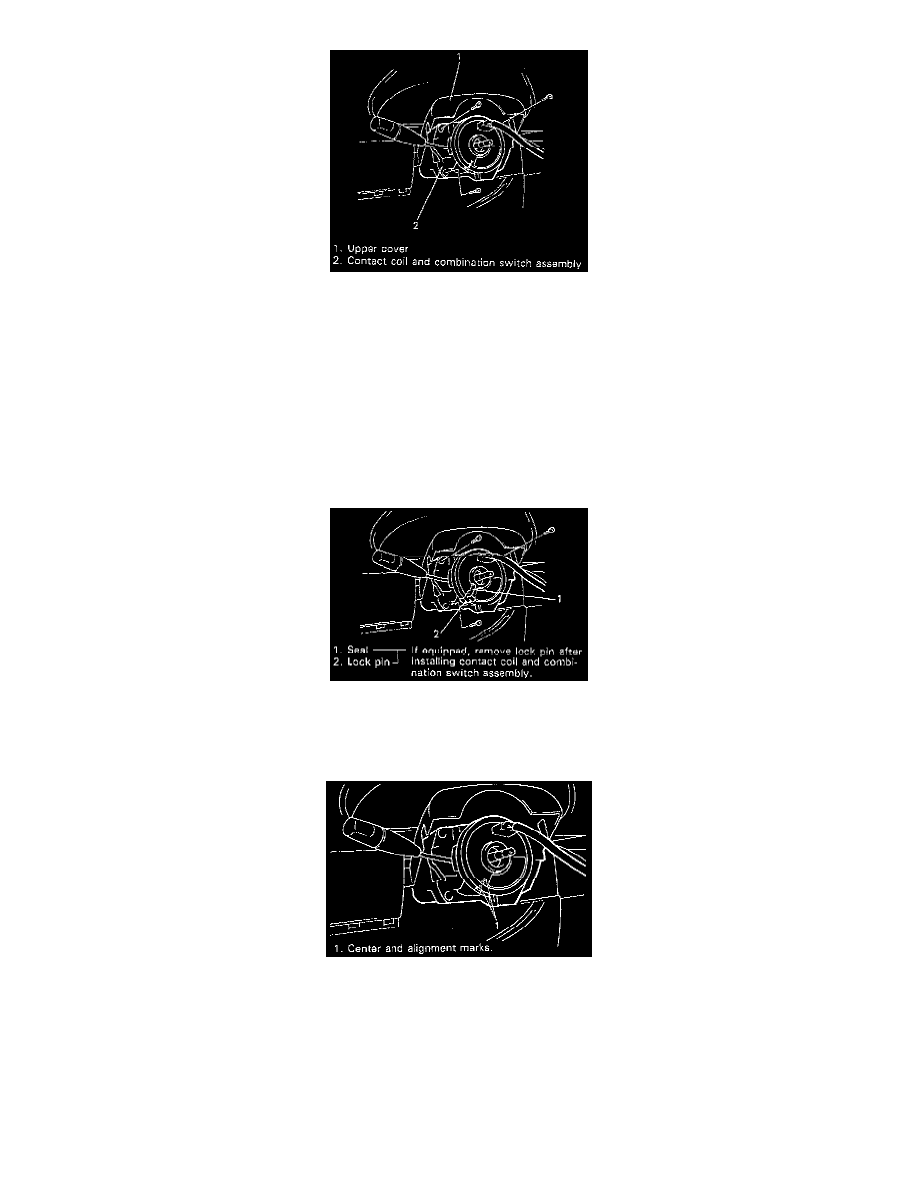
NOTE: New contact coil and combination switch assembly is supplied with contact coil set and held at its center position with a lock pin and
seal. Remove this lock pin after installing contact coil and combination switch assembly to steering column.
4. Check that front tires are at straight-ahead position and contact coil is centered. Refer to Steering and Suspension.
CAUTION: These two conditions are prerequisite for installation of steering wheel. If steering wheel has been installed without these conditions,
contact coil will break when steering wheel is turned.