
Swift GA L4-1298cc 1.3L SOHC MFI (2001)
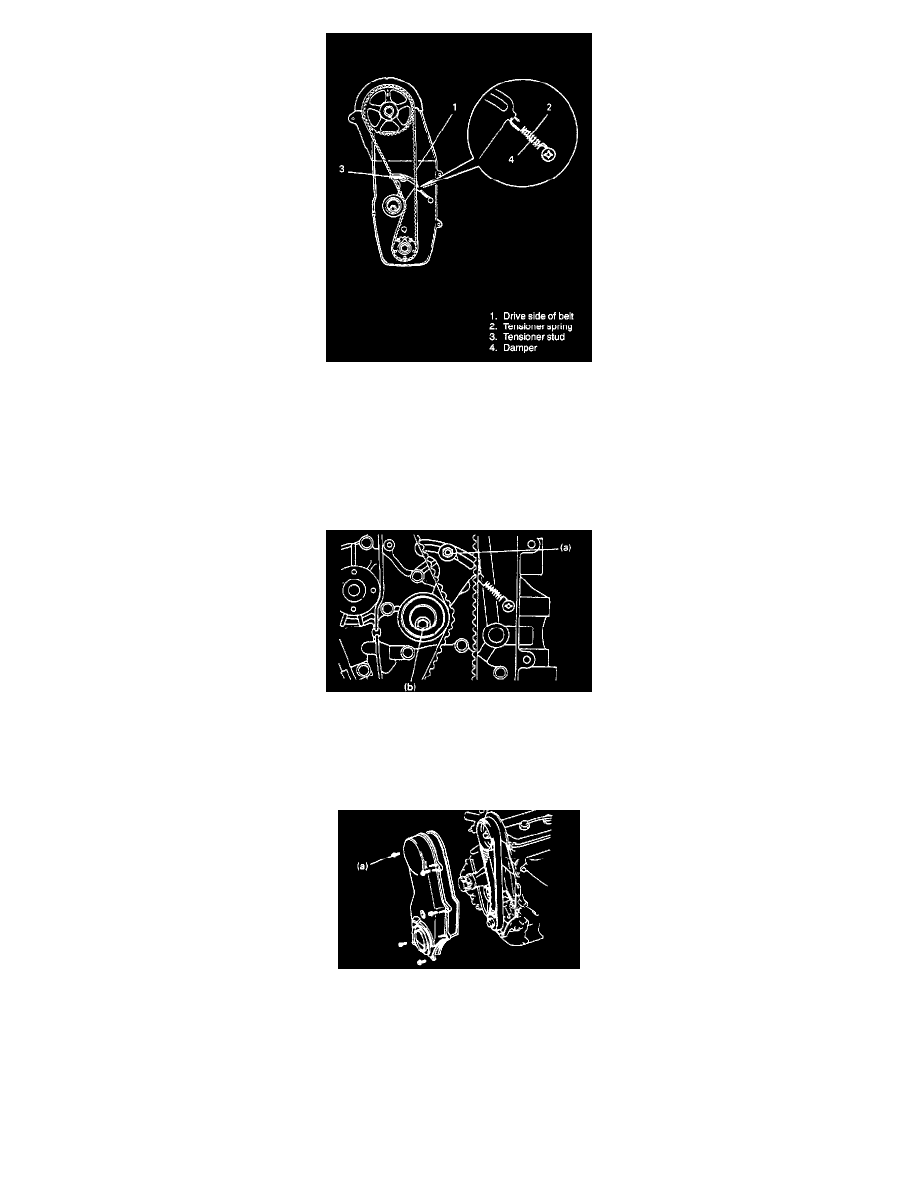
5. Install timing belt and tensioner spring.
With two sets of marks aligned and tensioner plate pushed up, install timing belt on two pulleys in such a way that drive side of belt is free from
any slack.
And then install tensioner spring, and hand tighten tensioner stud.
NOTE:
^
When installing timing belt, match arrow mark (->) on timing belt with rotating direction of crankshaft.
^
In this state, No. 4 piston is at top dead center of compression stroke.
6. To take up slack of timing belt, turn crankshaft two rotations clockwise after installing it. After making sure that belt is free from slack, tighten
tensioner stud first and then tensioner bolt to each specified torque. Then confirm again that two sets of marks are aligned respectively.
Tightening Torque
(a): 11 Nm (1.1 kg-m, 8.0 ft. lbs.)
(b): 25 Nm (2.5 kg-m, 18.0 ft. lbs.)
7. Install timing belt outside cover. Before installing, make sure that seal is between water pump and oil pump case.
Tightening Torque
(a): 11 Nm (1.1 kg-m, 8.0 ft. lbs.)