
Swift GA L4-1298cc 1.3L SOHC MFI (2001)
Installation
1. Using cleaning solvent, clean window frame (body) where glass is to be adhered. (Let it dry for more than 10 minutes.)
2. Install spacers (2 pcs.) to lower side of window frame (body).
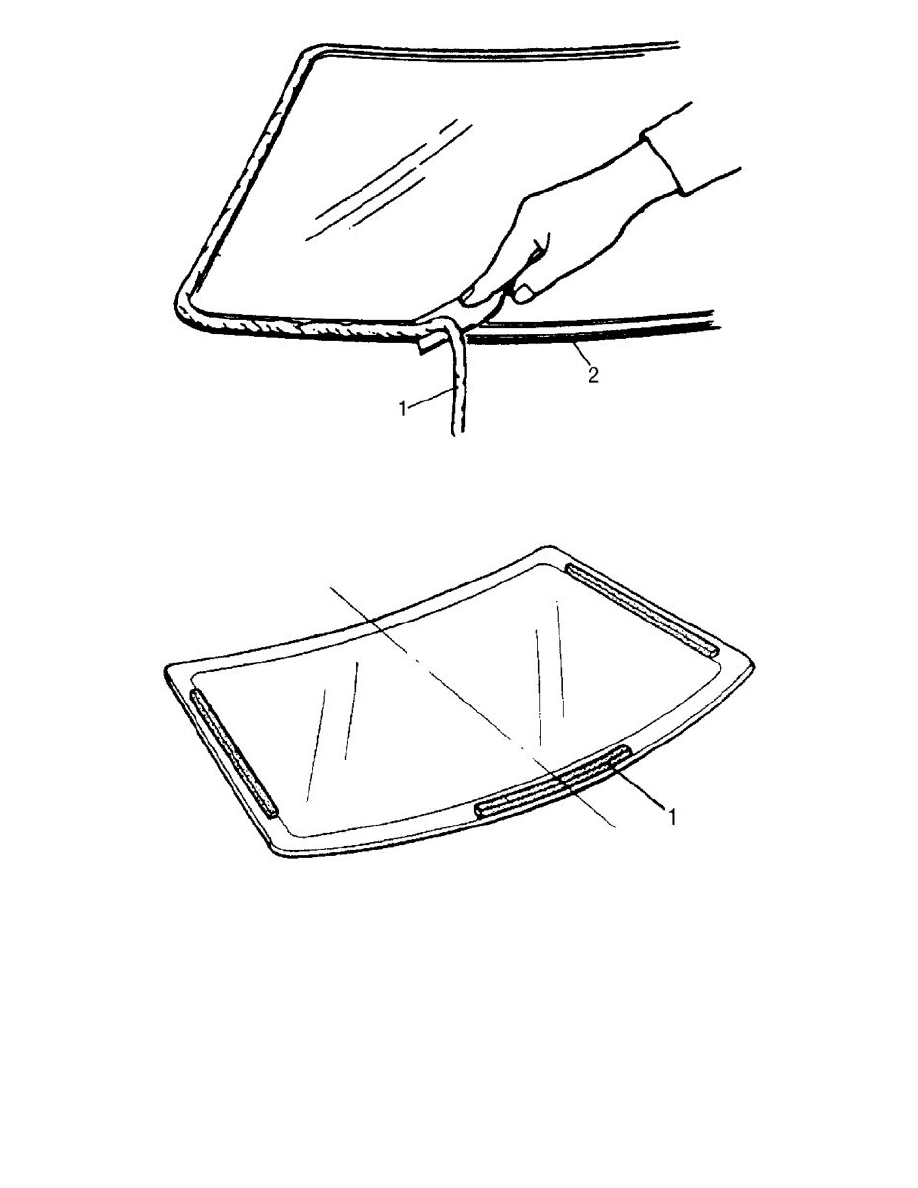
3. Peel paper from one side of new dams (1) (3 pcs.) and attach them to windshield glass at both sides and bottom. Refer to the figure.
4. Install upper molding to glass. Warming molding for over half an hour at 35 °C (95 °F) temperature will facilitate work.
5. To determine installing position of glass to body, position glass against body so that clearance between upper end of glass and body is about 6 mm
(0.236 in.) and clearances between each side end (right and left) of glass and body are even. Then mark mating marks (2) on glass and body as
shown in the figure. Upper clearance can be adjusted by moving stoppers (1) position.
Clearance
"a" : 6 mm (0.236 in.)