
Swift GL L4-1298cc 1.3L SOHC MFI (2000)
Liftgate Window Glass: Service and Repair
Back Door Glass Removal and Installation
Removal
1. Clean both inside and outside of glass and around it.
2. Remove wiper arm.
3. Remove molding by cutting with knife.
4. Using tape, cover body surface around back door glass to prevent any damage.
5. Remove back door trim, rear wiper motor assembly, defogger coupler and high mounted stop lamp.
6. Remove back door window trim, and drill hole with eyeleteer through adhesive and let piano string through it.
7. Cut adhesive all around glass with piano string referring to Windshield Removal and Installation:Hatchback.
NOTE: Use piano string as close to glass as possible so as to prevent damage to body.
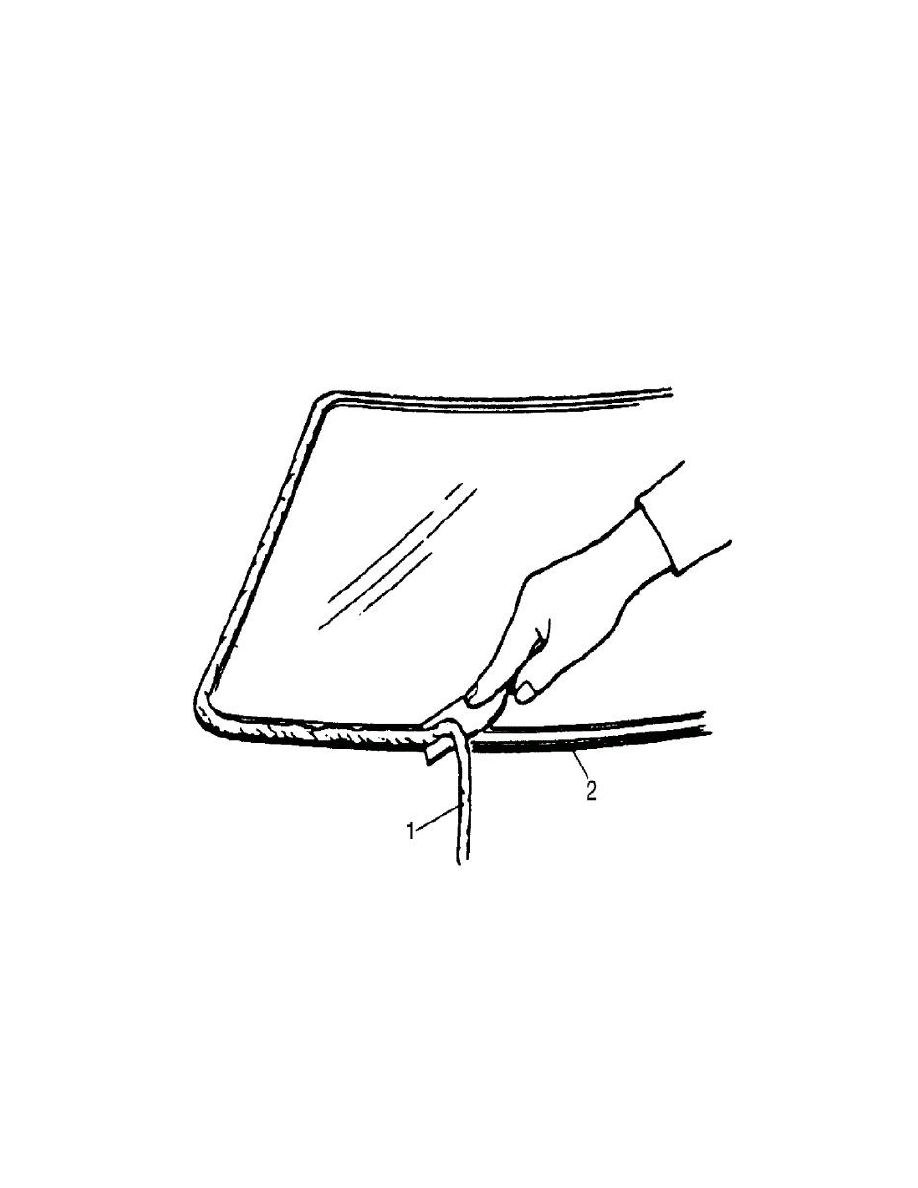
8. Using knife, smooth adhesive (1) remaining on body side so that it is 1 - 2 mm thick all around.
NOTE: Before using knife, clean if with alcohol or the like to remove oil from it.
9. When re-using glass, remove adhesive from glass, using care not to damage primer coated surface (2).
Installation
1. Using cleaning solvent, clean window edge where window glass is to be adhered. (Let it dry for more than 10 minutes.)
2. Install new back door window trim to window (Don't peel off paper of trim at this stage).
3. Using new brush (1), apply sufficient amount of primer (2) for body along body surface where window is to be adhered.
NOTE: Be sure to refer to maker's instruction for proper handling and drying time.