
SX4 4WD L4-2.0L (2008)
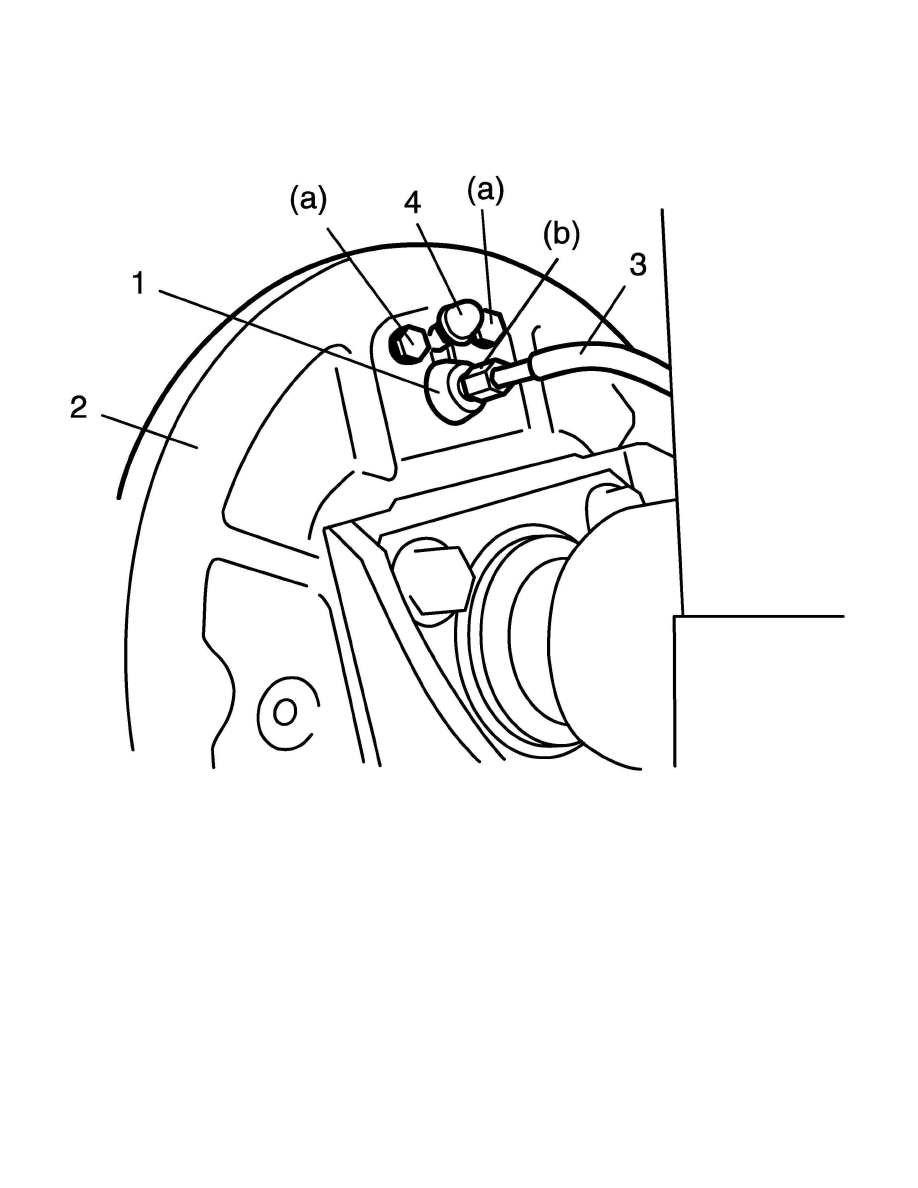
3. Tighten flare nut of brake pipe (3) to specified torque.
Tightening torque
Rear brake pipe flare nut b: 16 Nm (1.6 kgf-m, 11.5 ft. lbs.)
4. Install bleeder plug cap (4) taken off from pipe back to bleeder plug.
5. Install brake shoes.
6. Install brake drum.
7. Fill reservoir with brake fluid and bleed brake system. For bleeding operation refer to Air Bleeding of Brake System. See: Brake Bleeding/Service
and Repair
8. Upon completion of all jobs, depress brake pedal with about 300 N (30 kg, 66 lbs) load at least 15 times until adjuster actuator clicking sound
from drum brake can not be heard so as to obtain proper drum-to-shoe clearance. Adjust parking brake cable.
9. Install rear wheel.
10. Check to ensure that brake drum is free from dragging and proper braking is obtained. Remove vehicle from hoist and perform brake test (foot
brake and parking brake).