
SX4 4WD L4-2.0L (2008)
Pressure Plate: Service and Repair
Clutch Cover and Clutch Disc Removal and Installation
Clutch Cover and Clutch Disc Removal and Installation
Removal
1. Dismount manual transaxle assembly.
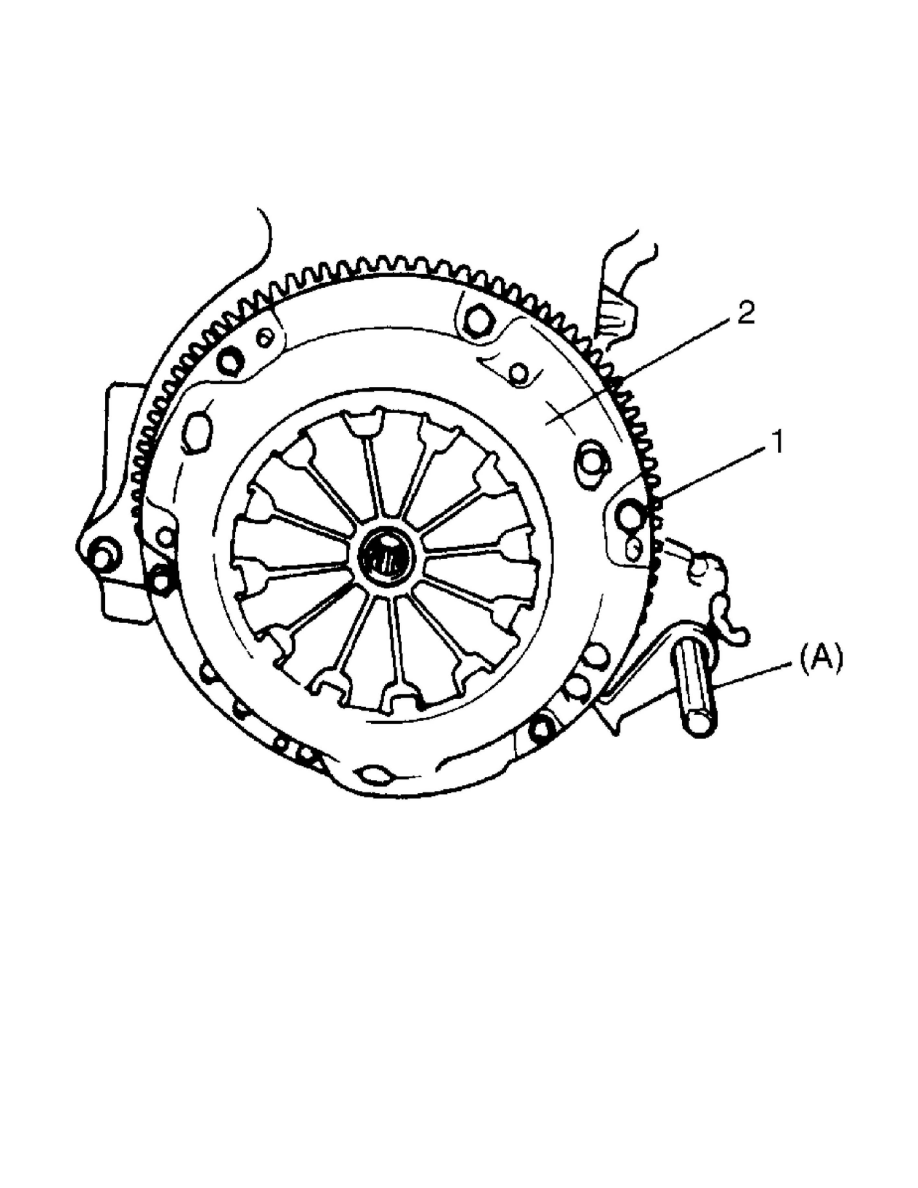
2. Hold flywheel with special tool and remove clutch cover bolts (1), clutch cover (2) and clutch disc.
Special Tool (A):09924-17811
Installation
NOTE: Before assembling, make sure that flywheel surface and pressure plate surface have been cleaned and dried thoroughly.
1. Aligning clutch disc to flywheel center using special tool, install clutch cover (1) and bolts (2). Then tighten bolts (2) to specification.
NOTE:
^
While tightening clutch cover bolts, compress clutch disc with special tool (clutch center guide) by hand so that disc is centered.
^
Tighten cover bolts little by little evenly in diagonal order.
Special Tool
(A):09924-17811
(B):09923-36320
Tightening torque
Clutch cover bolt a: 23 Nm (2.3 kgf-m, 17.0 ft. lbs.)