
Verona L6-2.5L (2005)
Hood Latch Release Cable: Service and Repair
Hood Latch Release Cable Removal and Installation
Hood Latch Release Cable Removal
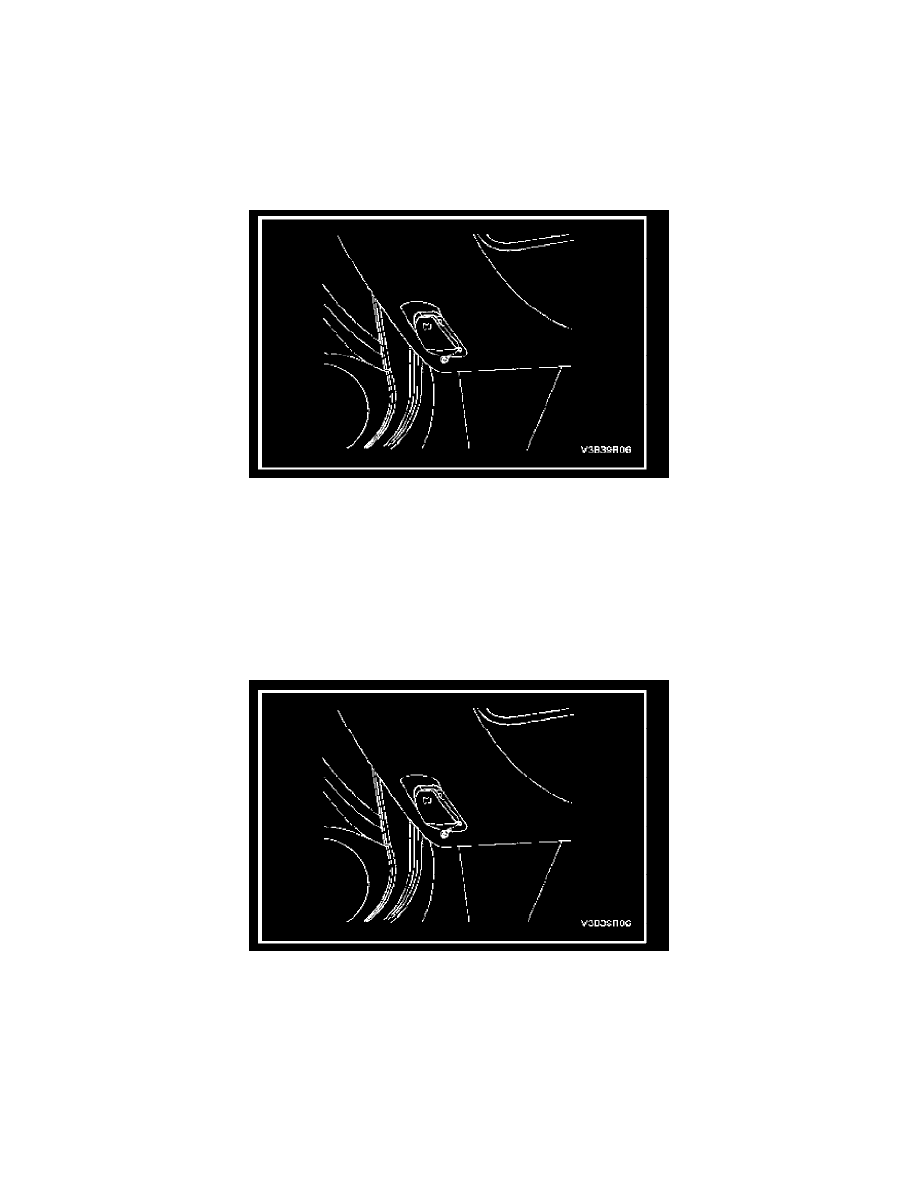
1. Remove the hood release handle screw.
2. Remove the knee bolster and the hood release handle.
3. Remove the cable from the hood release handle.
4. Remove the hood secondary latch. Refer to Hood Secondary Latch Removal.
5. Remove the cable from the engine compartment.
Hood Latch Release Cable Installation
CAUTION: Dissimilar metals in direct contact with each other may corrode rapidly. Make sure to use the correct fasteners to prevent premature
corrosion.
1. Install the cable through the engine compartment.
2. Install the hood secondary latch. Refer to Hood Secondary Latch Removal.
3. Install the cable to the hood release handle.
4. Install the hood release handle and the knee bolster with the screw.
Tighten:
Tighten the hood release handle screw to 2.5 N.m (22 lb.in).