
Verona L6-2.5L (2005)
Seat Back: Service and Repair
Split Rear Seatback Removal and Installation
Split Rear Seatback Removal and Installation
Split Rear Seatback Removal
1. Lower the rear seatbacks.
2. Remove the retaining clips and reposition the rear seatback backside cover.
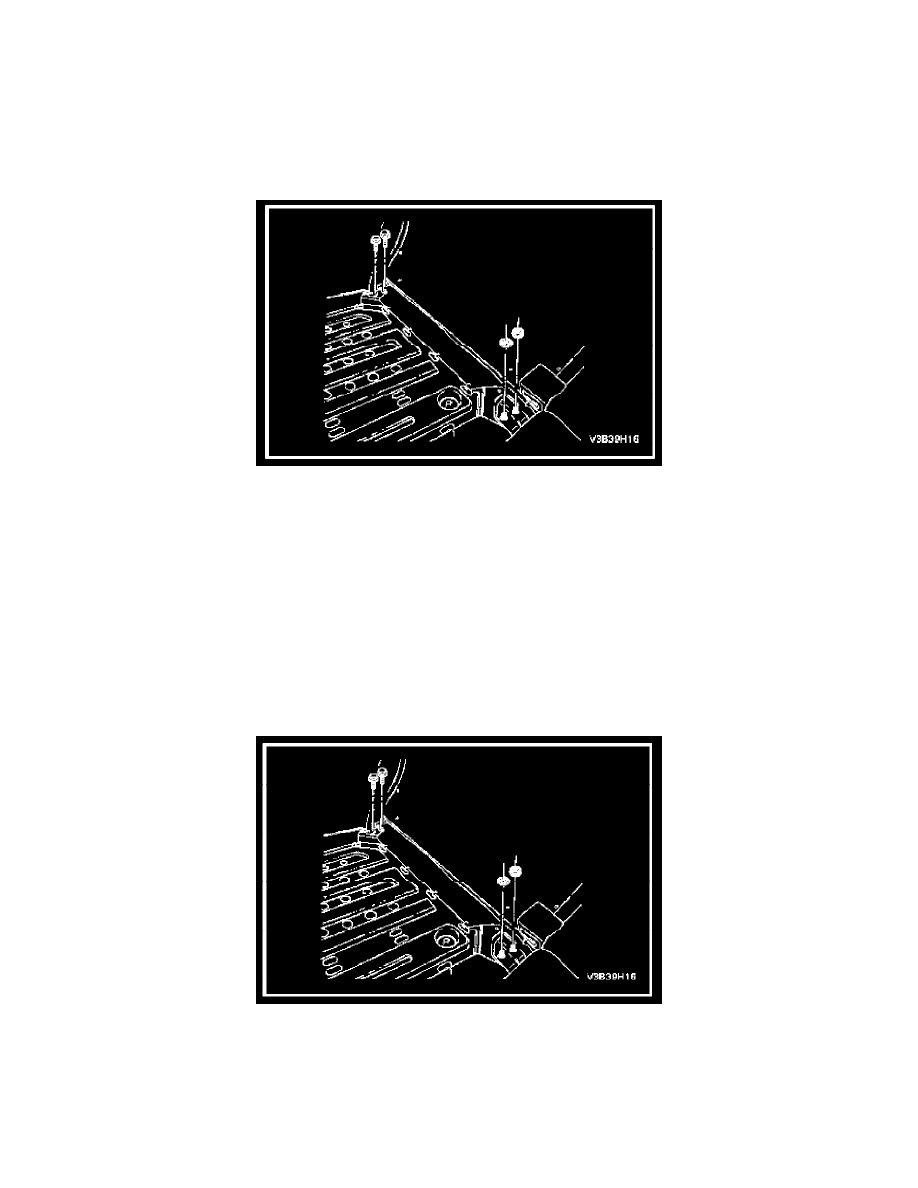
3. Remove the nuts, the bolts, and the seatback from the hinges.
Split Rear Seatback Installation
CAUTION: Dissimilar metals in direct contact with each other may corrode rapidly. Make sure to use the correct fasteners to prevent premature
corrosion.
1. Install the seatback to the hinges with the bolts and the nuts.
Tighten:
Tighten the rear seatback bolts to 25 N.m (18 lb.ft).
Tighten the rear seatback nuts to 25 N.m (18 lb.ft).
2. Install the rear seatback backside cover with the retaining clips.
3. Raise and secure the rear seatbacks in the upright position.