
Verona L6-2.5L (2005)
Compressor Clutch: Service and Repair
Clutch Rotor and Bearing Disassembly and Assembly
Clutch Rotor and Bearing Disassembly
Tools Required:
J-6083 Snap Ring Pliers
J-9398-A Bearing Remover
J-9481 Bearing Installer
J-33020 Pulley Puller
J-33023-A Puller Pilot
J-33019 Bearing Staking Tool Set
Includes: J-33019-1 Bearing Staking Guide
Includes: J-33019-2 Bearing Staking Pin
Includes: J-33019-1 Bearing Staking Guide
J-33017 Pulley Rotor and Bearing Installer
J-8433-1 Puller Crossbar
J-34992 Compressor Holding Fixture
J-8092 Driver Handle
J-8433-3 Forcing Screw
1. Disconnect the negative battery cable.
2. Recover the refrigerant. Refer to Discharging, Adding Oil, Evacuating, and Charging Procedures for A/C System.
3. Remove the compressor. Refer to Compressor Removal.
4. Remove the clutch drive plate and hub assembly. Refer to Clutch Plate and Hub Assembly Disassembly.
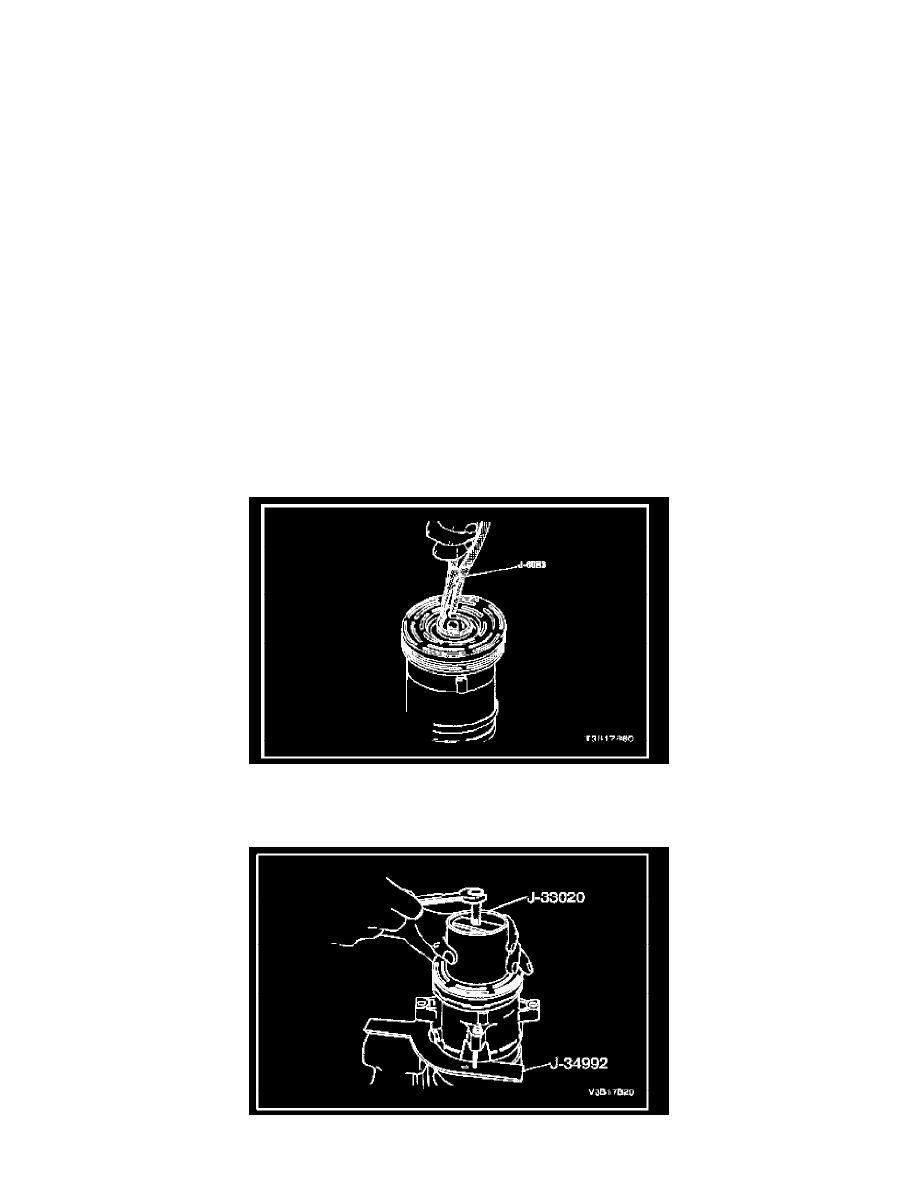
5. Remove the pulley rotor and bearing assembly retaining ring using the snap ring pliers J-6083.
6. With the compressor mounted to the compressor holding fixture J-34992, install the pulley puller J-33020 into the inner circle of slots in the pulley
rotor. Turn the pulley puller J-33020 clockwise in the slots to engage the puller tangs with the segments between the slots in the rotor.
7. Hold the pulley puller J-33020 in place and tighten the puller bolt against the compressor shaft to remove the pulley rotor and bearing assembly.